Gigabyte GZ-FSCA1-SN, GZ-FSCA1-AN user manual 9DIY Front Bracket of Projector Light

Models: GZ-FSCA1-SN GZ-FSCA1-AN

1 18
Download 18 pages 30.46 Kb
Page 15
Image 15

4-9DIY Front Bracket of Projector Light

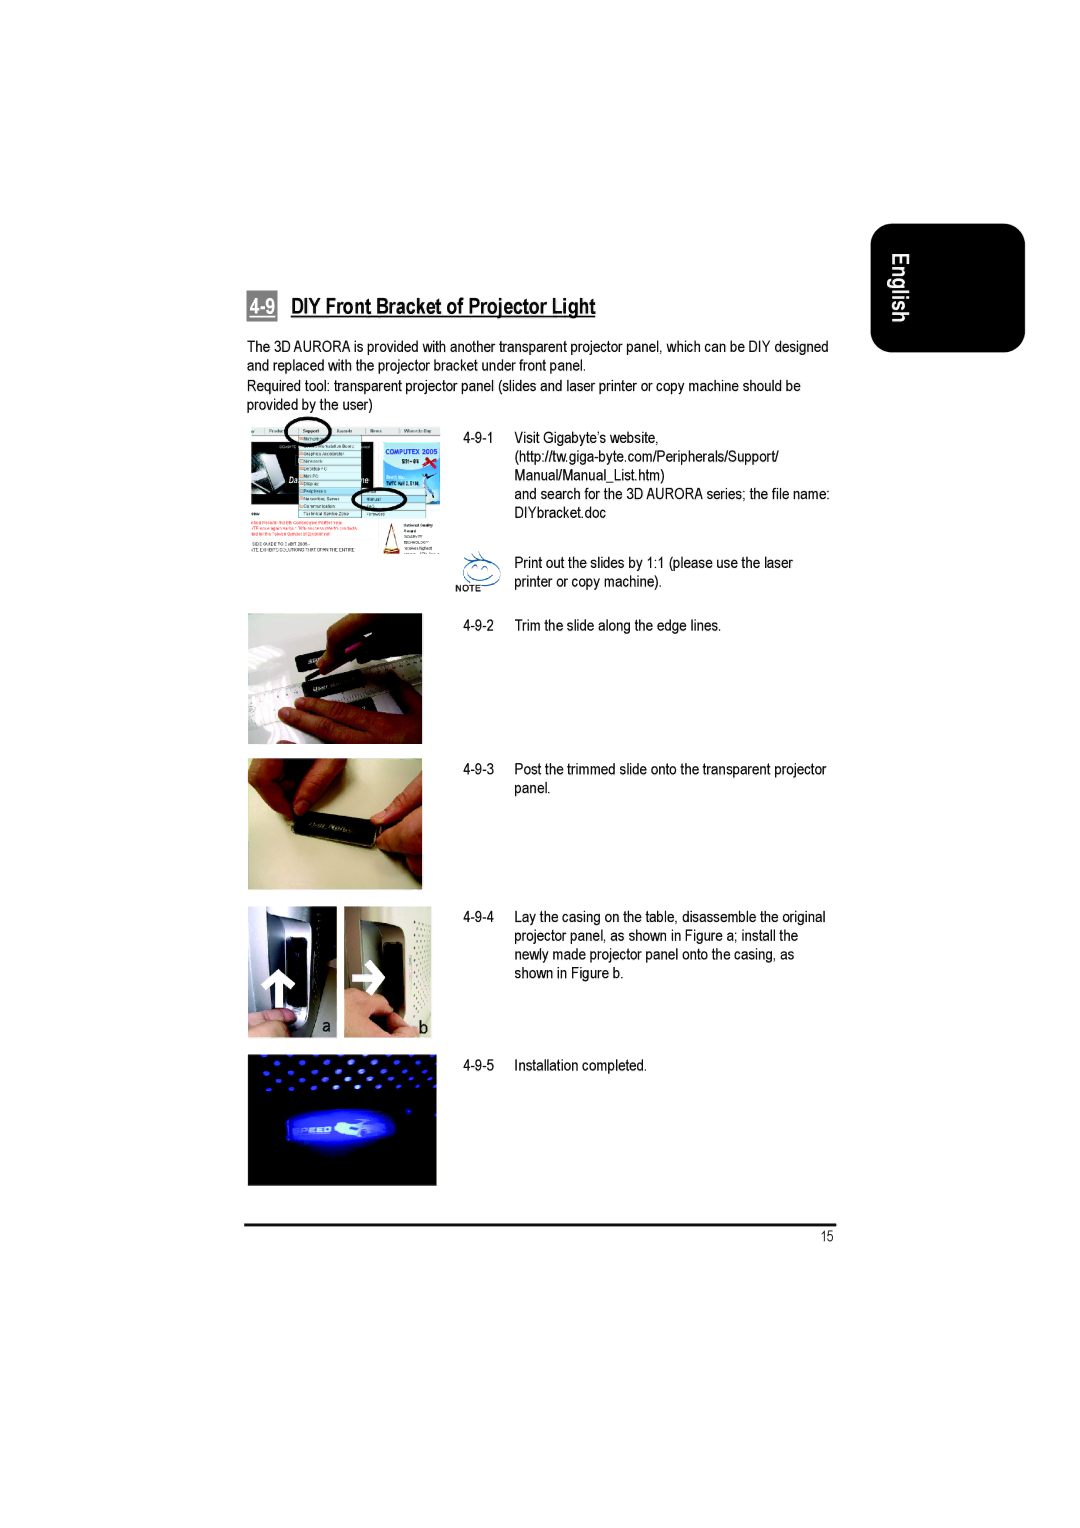
The 3D AURORA is provided with another transparent projector panel, which can be DIY designed and replaced with the projector bracket under front panel.

Required tool: transparent projector panel (slides and laser printer or copy machine should be provided by the user)

4-9-1 Visit Gigabyte’s website, (http://tw.giga-byte.com/Peripherals/Support/ Manual/Manual_List.htm)

and search for the 3D AURORA series; the file name: DIYbracket.doc

Print out the slides by 1:1 (please use the laser printer or copy machine).

4-9-2 Trim the slide along the edge lines.

4-9-3 Post the trimmed slide onto the transparent projector panel.

4-9-4 Lay the casing on the table, disassemble the original projector panel, as shown in Figure a; install the newly made projector panel onto the casing, as shown in Figure b.

4-9-5 Installation completed.

English

15

Page 15
Image 15
Gigabyte GZ-FSCA1-SN, GZ-FSCA1-AN user manual 9DIY Front Bracket of Projector Light