EVAPORATOR FAN ROTATION CHECK (THREE PHASE MODELS ONLY)
Check that fan rotates clockwise when viewed from the drive side of unit and in accordance with rotation arrow shown on blower housing. If it does not, reverse any two incoming power cables at Single Point Power Block. In this case, repeat bear- ing check.
Do not attempt to change load side wiring. Internal wiring assures all motors and compressors will rotate in correct di- rection once evaporator fan motor rotation check has been made.
ELECTRICAL INPUT CHECK
Make preliminary check of evaporator fan ampere draw and verify that motor nameplate amps are not exceeded. A final check of amp draw should be made upon completion of air balancing of the duct system (see Appendix C).
RESTORING CONNECTIONS
With disconnect switch open, remove jumper wire from ter- minals R and G at TB1 terminal block, and reconnect ther- mostat wires to terminals Y and W.
REFRIGERATION SYSTEM CHECKS
Ensure the
Install service manifold hoses. Gauges should read satura- tion pressure corresponding to ambient temperature. Charge should be checked to obtain 12° to 15° of
Rollout Protection Control
If the power to the unit is interrupted during the heating cycle, it may cause the secondary limit to trip. Once the blower com- partment temperature drops below the limit reset tempera- ture, the limit will automatically reset. The unit will restart after one (1) hour.
1.Close the manual gas valve external to the unit.
2.Turn off the electrical power supply to the unit.
3.Set the room thermostat to its lowest possible setting.
4.Remove the heat exchanger door on the side of the unit by removing screws.
5.This unit is equipped with an ignition device which automatically lights the main burner. DO NOT try to light burner by any other method.
6.Move the gas control valve switch to the OFF position. Do not force.
7.Wait five minutes to clear out any gas.
8.Smell for gas, including near the ground. This is important because some types of gas are heavier than air. If you have waited five minutes and you do smell gas, immediately follow the warnings on page 3 of this manual. If having waited for five minutes and no gas smell is noted, move the gas control valve switch to the ON position.
9.Replace the heat exchanger door on the side of the unit.
10.Open the manual gas valve external to the unit.
11.Turn on the electrical power supply to the unit.
12.Set the thermostat to desired setting.
Gas Supply And Manifold Check
Gas supply pressure and manifold pressure with the burners operating must be as specified on the rating plate.
Gas Inlet Pressure Check
Gas inlet pressure must be checked and adjusted in accor- dance to the type of fuel being consumed.
With Power And Gas Off:
The rollout protection device opens, cutting power to the gas valve, if the flames from the burners are not properly drawn into the heat exchanger. The rollout protection device is located on the burner bracket. The reason for elevated temperatures at the control should be determined and repaired prior to resetting this manual reset control.
![]() WARNING
WARNING
TO AVOID PROPERTY DAMAGE, PERSONAL INJURY OR DEATH DUE TO FIRE OR EXPLOSION, A QUALIFIED SERVICER MUST INVESTIGATE THE REASON FOR THE ROLLOUT PROTECTION DEVICE TO OPEN BEFORE MANUALLY RESETTING THE ROLLOUT PROTECTION DEVICE.
1.Connect a water manometer or adequate gauge to the inlet pressure tap of the gas valve.
Inlet gas pressure can also be measured by removing the cap from the dripleg and installing a predrilled cap with a hose fitting.
With Power And Gas On:
2.Put unit into heating cycle and turn on all other gas consuming appliances.
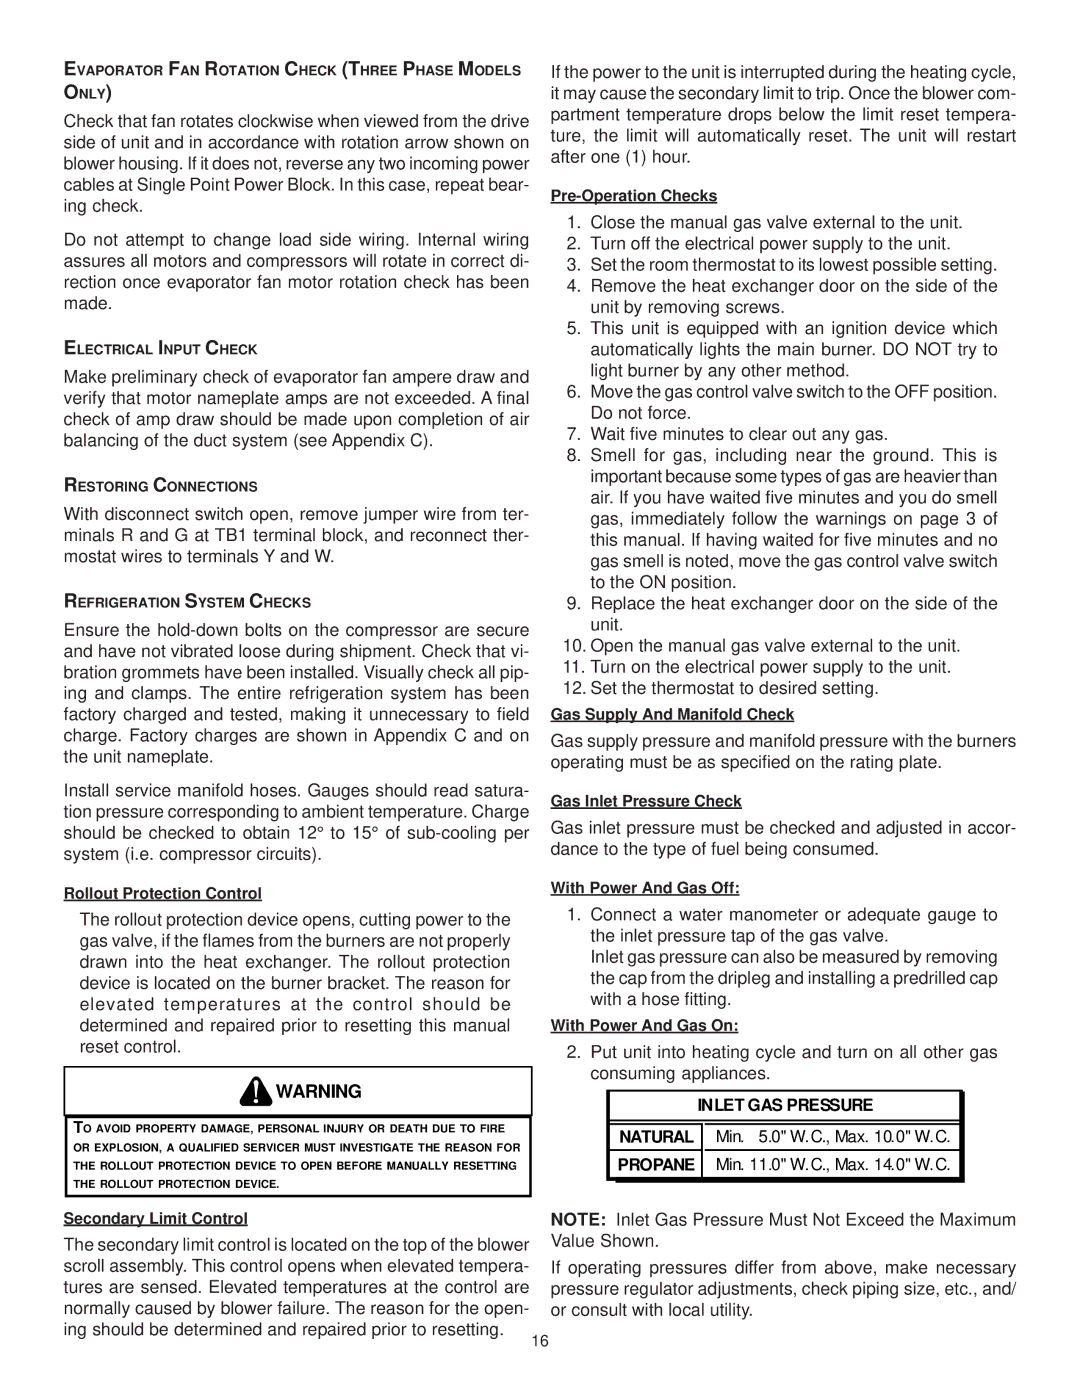
INLET GAS PRESSURE
NATURAL Min. 5.0" W.C., Max. 10.0" W.C.
PROPANE Min. 11.0" W.C., Max. 14.0" W.C.
Secondary Limit Control
The secondary limit control is located on the top of the blower scroll assembly. This control opens when elevated tempera- tures are sensed. Elevated temperatures at the control are normally caused by blower failure. The reason for the open- ing should be determined and repaired prior to resetting.
16
NOTE: Inlet Gas Pressure Must Not Exceed the Maximum Value Shown.
If operating pressures differ from above, make necessary pressure regulator adjustments, check piping size, etc., and/ or consult with local utility.
