Outlet Valve Fitting Repair
This equipment stays pressurized until pressure is manually relieved. To help prevent serious injury from pressurized fluid, such as skin injection, splashing fluid and moving parts, follow the Pressure Relief Procedure when you stop spraying and before cleaning, checking, or servicing the equipment.
Move sprayer to a
NOTE: Before doing any repair to pump, perform Flushing Sprayer procedure, page 15.
Removal
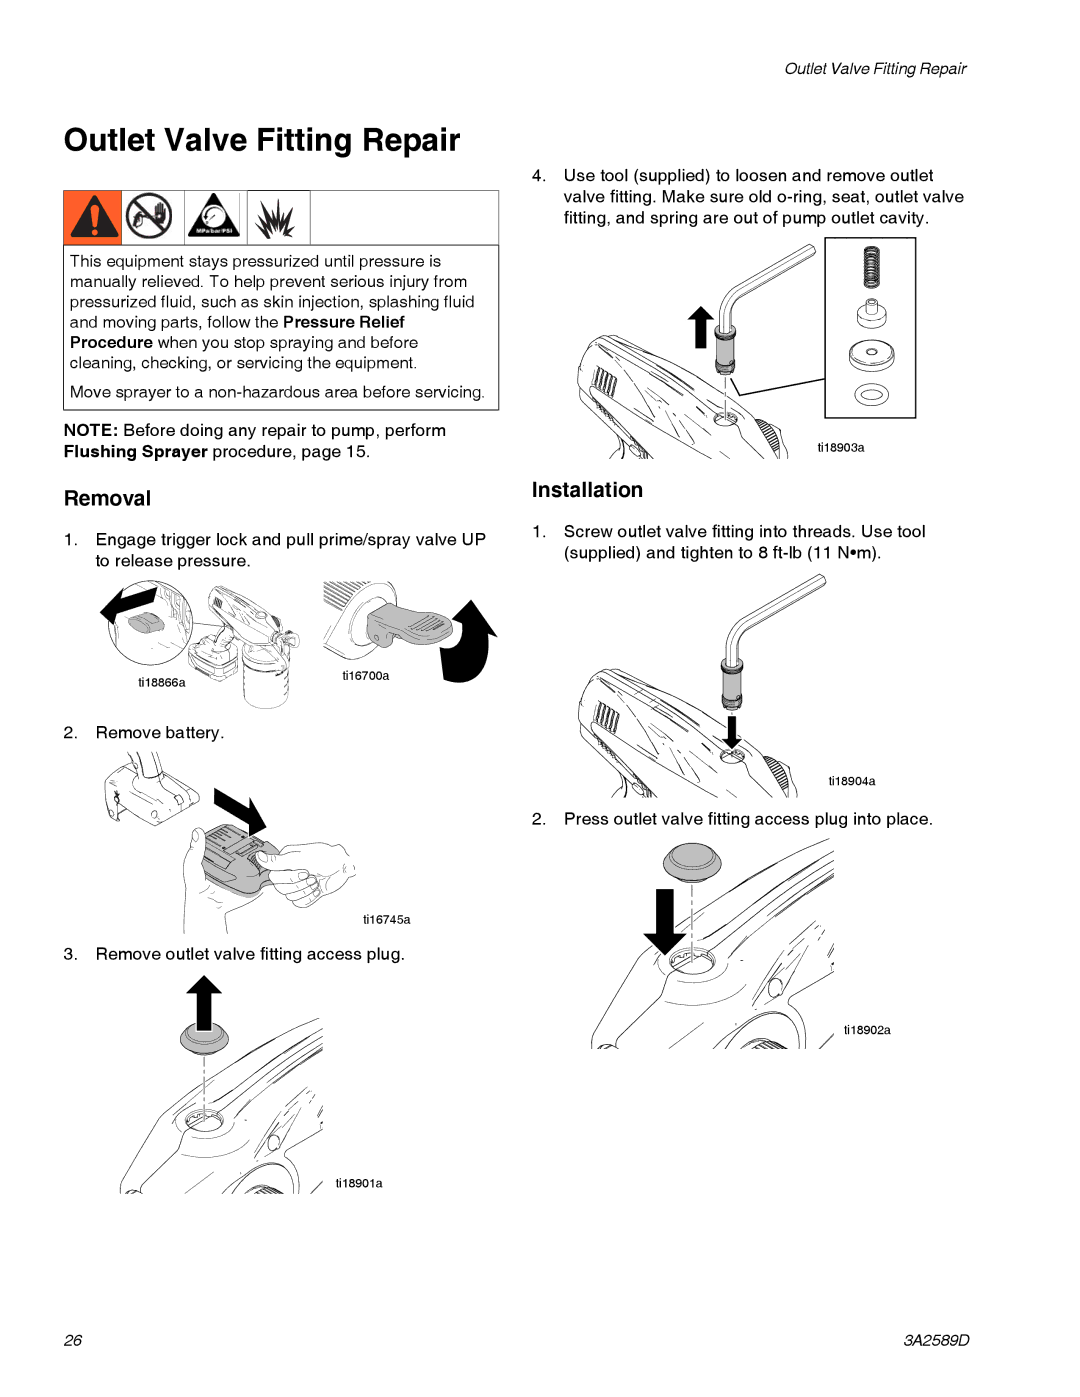
1.Engage trigger lock and pull prime/spray valve UP to release pressure.
ti18866a | ti16700a |
|
2. Remove battery.
ti14996a
ti16745a
3. Remove outlet valve fitting access plug.
![]()
![]()
![]() ti15503a
ti15503a
ti18901a
Outlet Valve Fitting Repair
4.Use tool (supplied) to loosen and remove outlet valve fitting. Make sure old
ti15506a
ti18903a
Installation
1.Screw outlet valve fitting into threads. Use tool (supplied) and tighten to 8
ti15508a![]()
![]() ti18904a
ti18904a
2. Press outlet valve fitting access plug into place.
![]()
![]() ti15507a
ti15507a
ti18902a
26 | 3A2589D |