Instant Wireless® Series
Chapter 4: Fast Setup for Head-to- Head Play
Note: These directions are provided for gamers playing
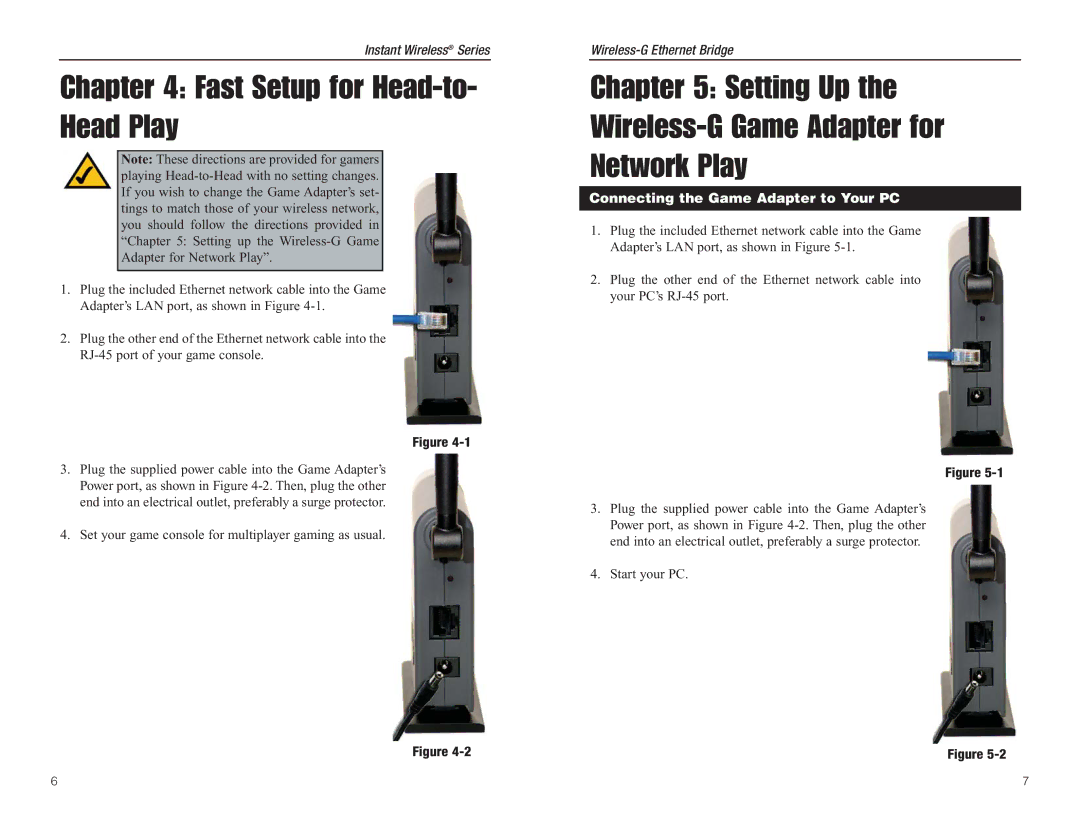
1.Plug the included Ethernet network cable into the Game Adapter’s LAN port, as shown in Figure
2.Plug the other end of the Ethernet network cable into the
Figure
3.Plug the supplied power cable into the Game Adapter’s Power port, as shown in Figure
4.Set your game console for multiplayer gaming as usual.
Figure
Chapter 5: Setting Up the Wireless-G Game Adapter for Network Play
Connecting the Game Adapter to Your PC
1.Plug the included Ethernet network cable into the Game Adapter’s LAN port, as shown in Figure
2.Plug the other end of the Ethernet network cable into your PC’s
Figure
3.Plug the supplied power cable into the Game Adapter’s Power port, as shown in Figure
4.Start your PC.
Figure
6 | 7 |