Pressure Rollers
To adjust the pressure rollers:
1.Disconnect the sander from the power source!
2.Plane (2) 36" long 2x4’s to a uniform thick- nesses. Place one board along the length of the feed belt on the
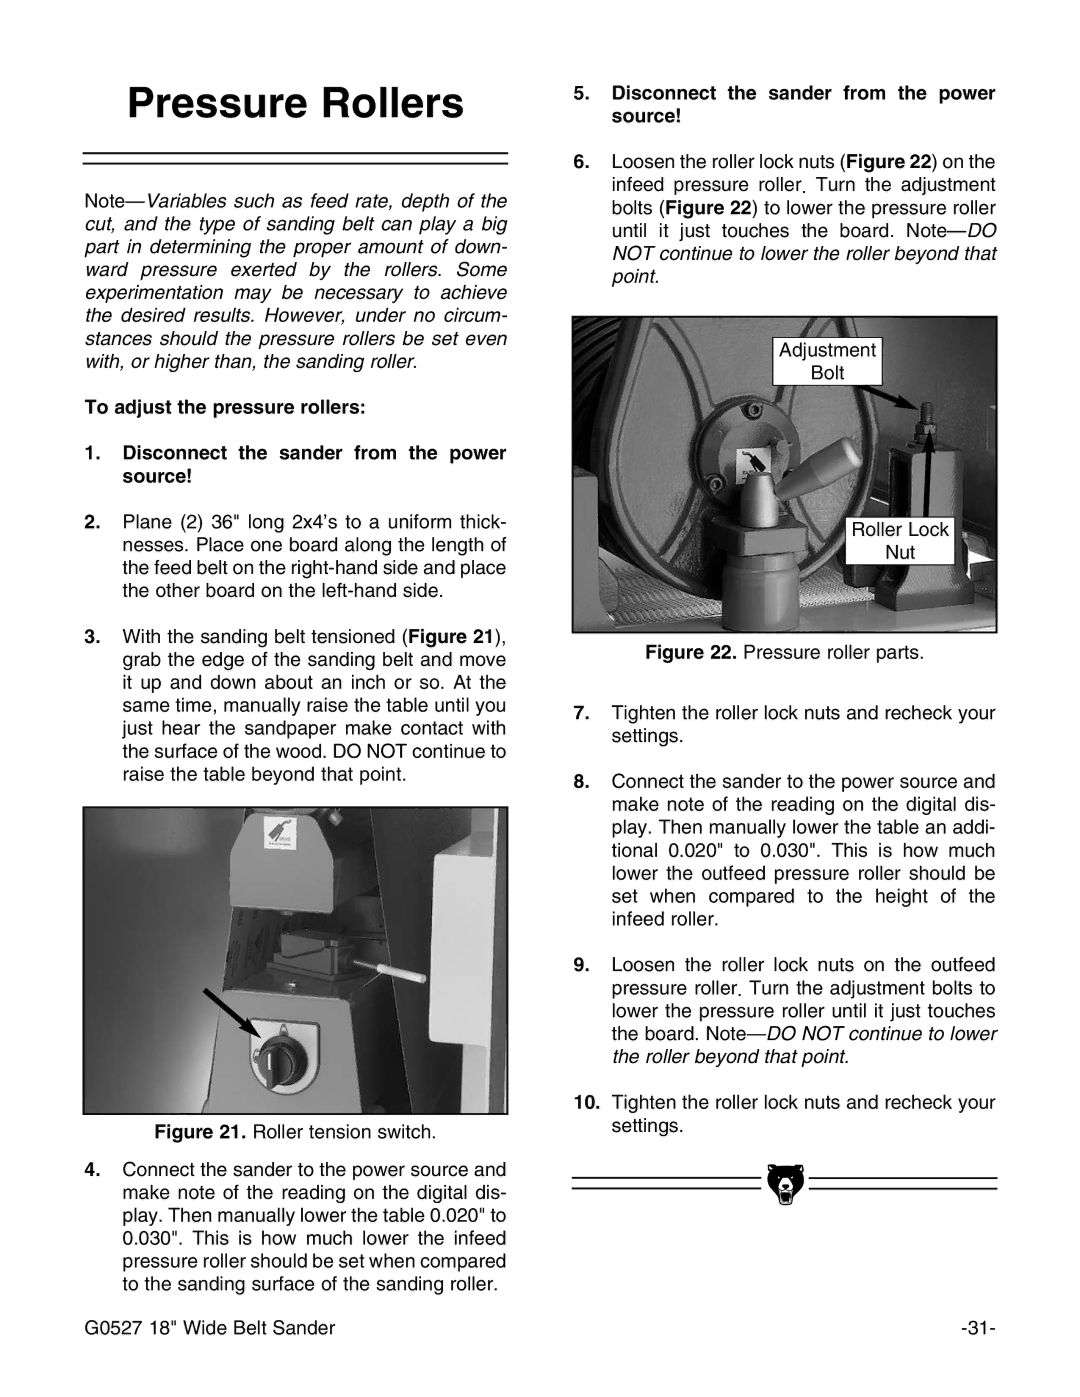
3.With the sanding belt tensioned (Figure 21), grab the edge of the sanding belt and move it up and down about an inch or so. At the same time, manually raise the table until you just hear the sandpaper make contact with the surface of the wood. DO NOT continue to raise the table beyond that point.
Figure 21. Roller tension switch.
4.Connect the sander to the power source and make note of the reading on the digital dis- play. Then manually lower the table 0.020" to 0.030". This is how much lower the infeed pressure roller should be set when compared to the sanding surface of the sanding roller.
G0527 18" Wide Belt Sander
5.Disconnect the sander from the power source!
6.Loosen the roller lock nuts (Figure 22) on the infeed pressure roller. Turn the adjustment bolts (Figure 22) to lower the pressure roller until it just touches the board.
Adjustment
Bolt
Roller Lock
Nut
Figure 22. Pressure roller parts.
7.Tighten the roller lock nuts and recheck your settings.
8.Connect the sander to the power source and make note of the reading on the digital dis- play. Then manually lower the table an addi- tional 0.020" to 0.030". This is how much lower the outfeed pressure roller should be set when compared to the height of the infeed roller.
9.Loosen the roller lock nuts on the outfeed pressure roller. Turn the adjustment bolts to lower the pressure roller until it just touches the board. Note—DO NOT continue to lower the roller beyond that point.
10.Tighten the roller lock nuts and recheck your settings.
