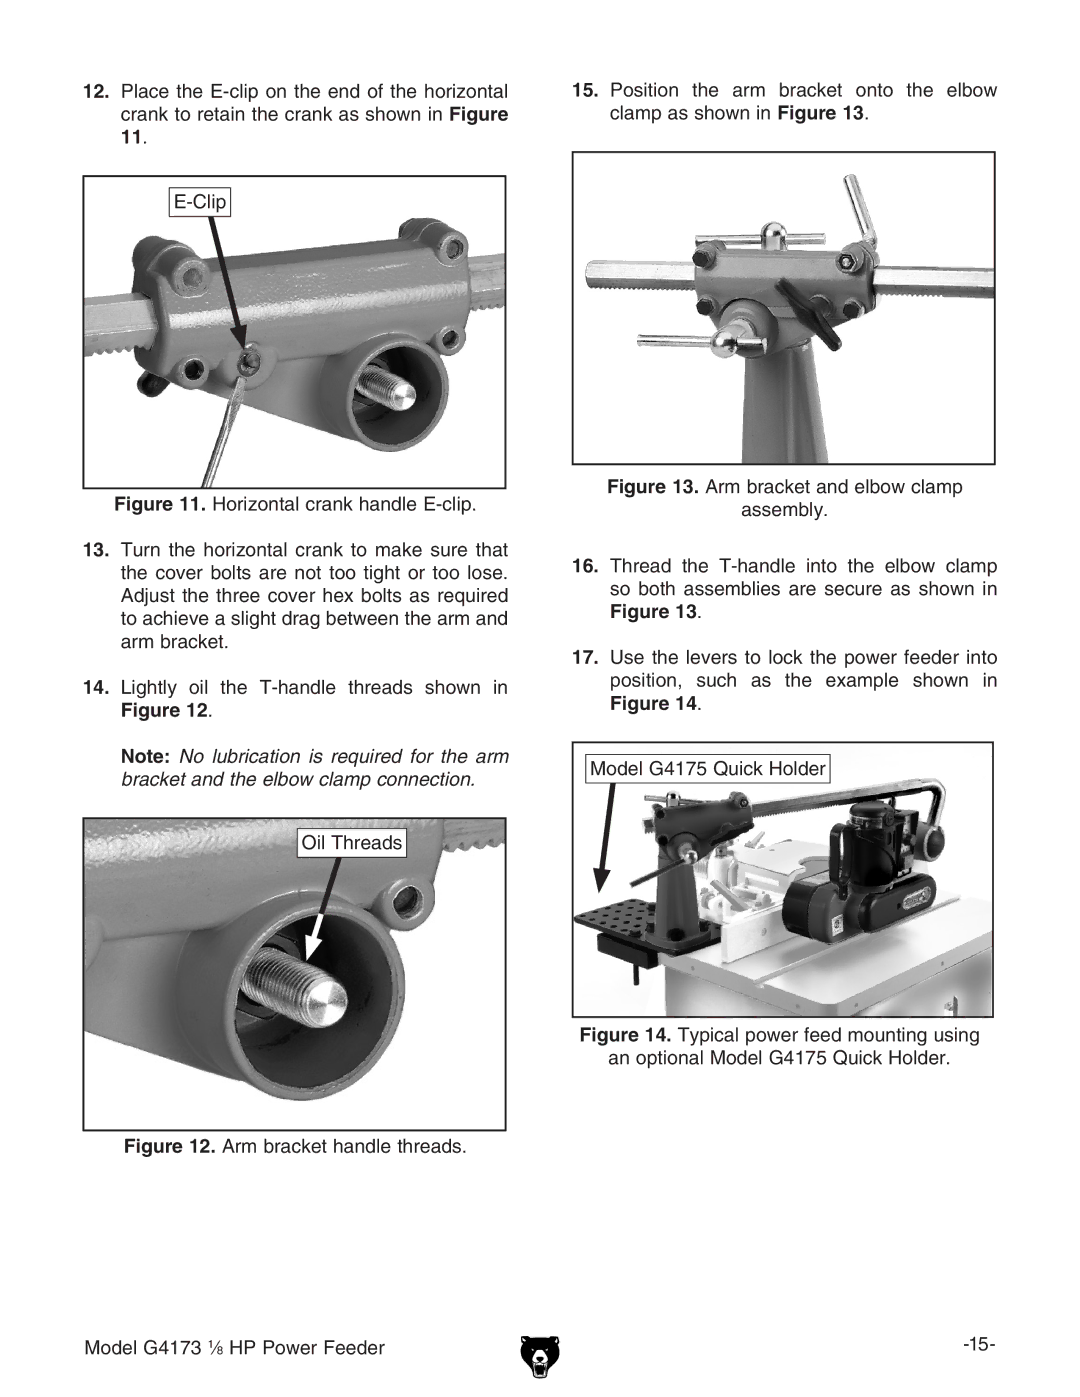
12.Place the
Figure 11. Horizontal crank handle E-clip.
13.Turn the horizontal crank to make sure that the cover bolts are not too tight or too lose. Adjust the three cover hex bolts as required to achieve a slight drag between the arm and arm bracket.
14.Lightly oil the T-handle threads shown in
Figure 12.
Note: No lubrication is required for the arm bracket and the elbow clamp connection.
Oil Threads
Figure 12. Arm bracket handle threads.
Model G4173 1⁄8 HP Power Feeder
15.Position the arm bracket onto the elbow clamp as shown in Figure 13.
Figure 13. Arm bracket and elbow clamp
assembly.
16.Thread the T-handle into the elbow clamp so both assemblies are secure as shown in
Figure 13.
17.Use the levers to lock the power feeder into position, such as the example shown in
Figure 14.