Installing/Removing
Drill Bits
Any drill bit you install in the chuck must be tight enough that it will not come loose during opera- tion.
To install a drill bit into the chuck:
1.UNPLUG THE DRILL PRESS!
2.Open the chuck jaws wide enough to accept the drill bit shank.
3.Insert the drill bit as far as possible into the chuck WITHOUT allowing the chuck jaws to touch the fluted or cutting portion of the drill bit, then hand tighten the chuck.
Note: Make sure small drill bits are not trapped between the edges of two jaws. If they are, reinstall the drill bit properly before use.
4.Use the included chuck key to fully tighten the chuck around the drill bit.
To remove a drill bit from the chuck:
1.UNPLUG THE DRILL PRESS!
2.Use the chuck key to open the chuck, and catch the drill bit with a rag to protect your hands.
Changing Speeds
NOTICE
DO NOT attempt to change speeds unless the drill press is ON. Attempting to rotate the speed control when the drill press is OFF could damage the variable speed mechanism.
The Model G9749 drill press is capable of variable speeds from
To change speed of the drill press:
1.Turn the drill press ON.
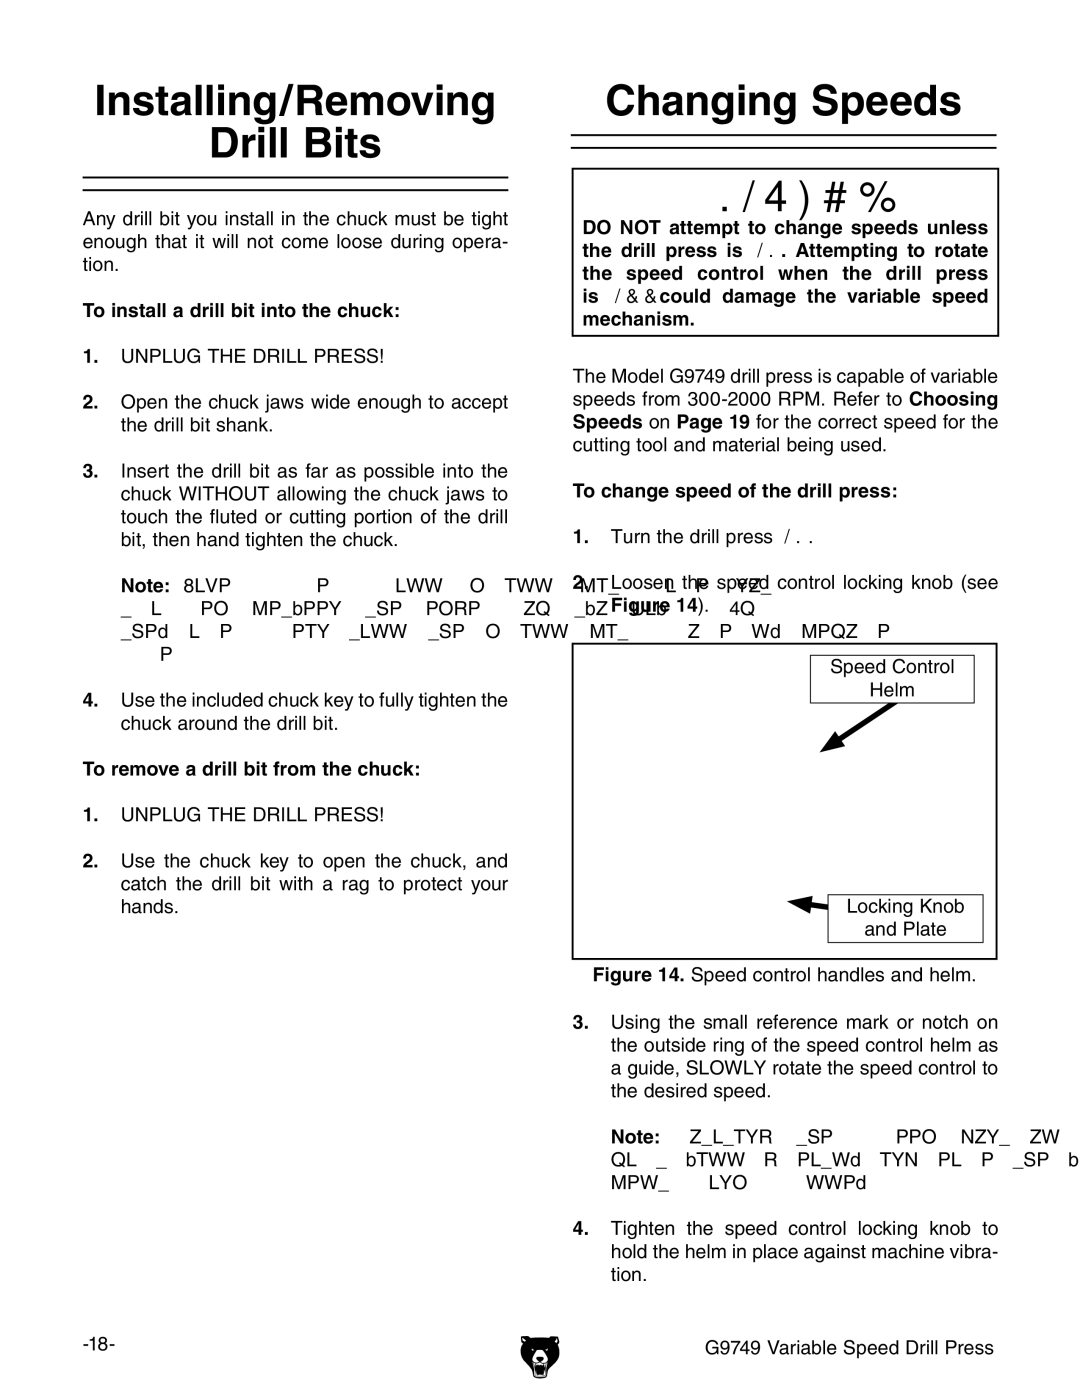
2.Loosen the speed control locking knob (see Figure 14).
Speed Control
Helm
Locking Knob
and Plate
Figure 14. Speed control handles and helm.
3.Using the small reference mark or notch on the outside ring of the speed control helm as a guide, SLOWLY rotate the speed control to the desired speed.
Note: Rotating the speed control helm too fast will greatly increase the wear on the drive belts and pulleys.