VIDEO QUALITY
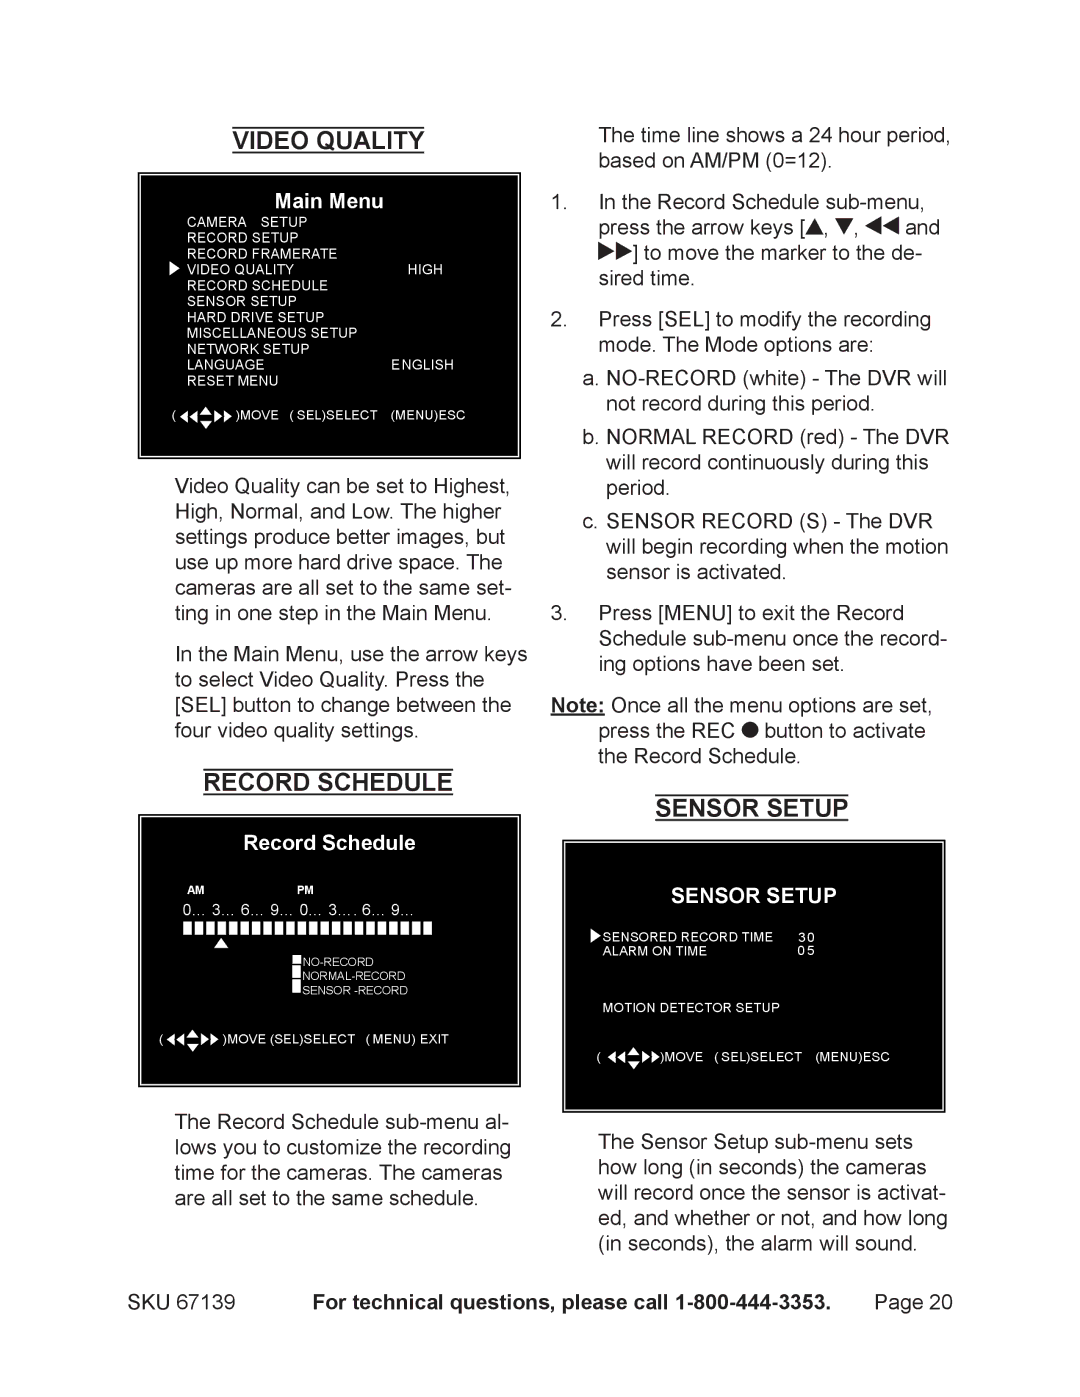
main menu
CAMERA SETUP |
|
RECORD SETUP |
|
RECORD FRAMERATE |
|
VIDEO qUALITY | HIGH |
RECORD SCHEDULE |
|
SENSOR SETUP |
|
HARD DRIVE SETUP |
|
MISCELLANEOUS SETUP |
|
NETWORK SETUP | ENGLISH |
LANGUAGE | |
RESET MENU |
|
(![]()
![]()
![]() )MOVE ( SEL)SELECT (MENU)ESC
)MOVE ( SEL)SELECT (MENU)ESC
Video Quality can be set to Highest, High, Normal, and Low. The higher settings produce better images, but use up more hard drive space. The cameras are all set to the same set- ting in one step in the Main Menu.
In the Main Menu, use the arrow keys to select Video Quality. Press the [SEL] button to change between the four video quality settings.
RECORD SCHEDULE
record schedule
ampm
0… 3… 6… 9… 0… 3…. 6… 9…
![]() NO-RECORD
NO-RECORD
SSENSOR
(![]()
![]()
![]() )MOVE (SEL)SELECT ( MENU) EXIT
)MOVE (SEL)SELECT ( MENU) EXIT
The Record Schedule
The time line shows a 24 hour period, based on AM/PM (0=12).
1.In the Record Schedule ![]() ,
, ![]() ,
, ![]() and
and
![]() ] to move the marker to the de- sired time.
] to move the marker to the de- sired time.
2.Press [SEL] to modify the recording mode. The Mode options are:
a.
b.NORMAL RECORD (red) - The DVR will record continuously during this period.
c.SENSOR RECORD (S) - The DVR will begin recording when the motion sensor is activated.
3.Press [MENU] to exit the Record Schedule
Note: Once all the menu options are set, press the REC ![]() button to activate the Record Schedule.
button to activate the Record Schedule.
SENSOR SETUP
sensOr setup
SENSORED RECORD TIME | 30 |
ALARM ON TIME | 0 5 |
MOTION DETECTOR SETUP
( ![]()
![]()
![]() )MOVE ( SEL)SELECT (MENU)ESC
)MOVE ( SEL)SELECT (MENU)ESC
The Sensor Setup
SKU 67139 | For technical questions, please call | Page 20 |