System Configuration
At this line you will select the frequency at which bass information is directed to the Subwoofer Output . The choices available will depend on the setting made previously for the front left/right speakers. When making these selec- tions, choose the crossover frequency that is clos- est to the lower frequency limit of your front left/right speakers or, if using large full range front L/R speakers able to reproduce bass below 40Hz, choose the frequency that is closest to the upper frequency limit of your subwoofer. This fig- ure is normally printed in the Owner’s Manual or data sheet for the speakers, or consult the speak- er’s manufacturer.
•When the front speakers have been set to LARGE, the crossover choices are 4 0 H z or 6 0 H z to match the typical crossover points of full range speakers. Choose the option that is closest to your speakers’ design.
•When the front speakers have been set to SMALL, the crossover choices are
8 0 H z or 100 H z to match the typical crossover points of the smaller speakers used in satellite speaker systems. Choose the option that is closest to your speakers’ design.
10.When all speaker selections have been made, press the ¤ button Dand then the Set button Fto return to main menu.
11.The Speaker Configuration may also be changed at any time without using the
. Once the button is pressed, FNT SPEAKER will appear in both the lower third of the video display and the Main Information Display Y.
Within five seconds, either press the front panel ‹/› Selector buttons 5or the ⁄/¤ buttons
Don the remote to select a different speaker position, or press the Set Button ÔF to begin the adjustment process for the front left and right speakers
When the Set button ÔFhas been pressed and the system is ready for a change to the front speaker setting, the
If another speaker position needs to be changed, press the front panel ‹/› Selector buttons 5 or the ⁄/¤ buttons Don the remote to select a different speaker position, press the Set button ÔF and then press the front panel ‹/› Selector buttons 5or the ⁄/¤ buttons
Don the remote until the correct speaker set- ting is shown and press the Set button ÔF again to confirm the selection.
To assist in making these settings, the icons in the Speaker/Channel Input Indicators Q will change as the speaker type is selected at each position. When only the inner icon box is lit, the speaker is set for “small.” When the inner box and the two outer boxes with circles inside them are lit, the speaker is set for “large." When no indicator appears at a speaker location, that position is set for “none” or “no” speaker.
Note: These icons are available only when mak- ing setup changes in the
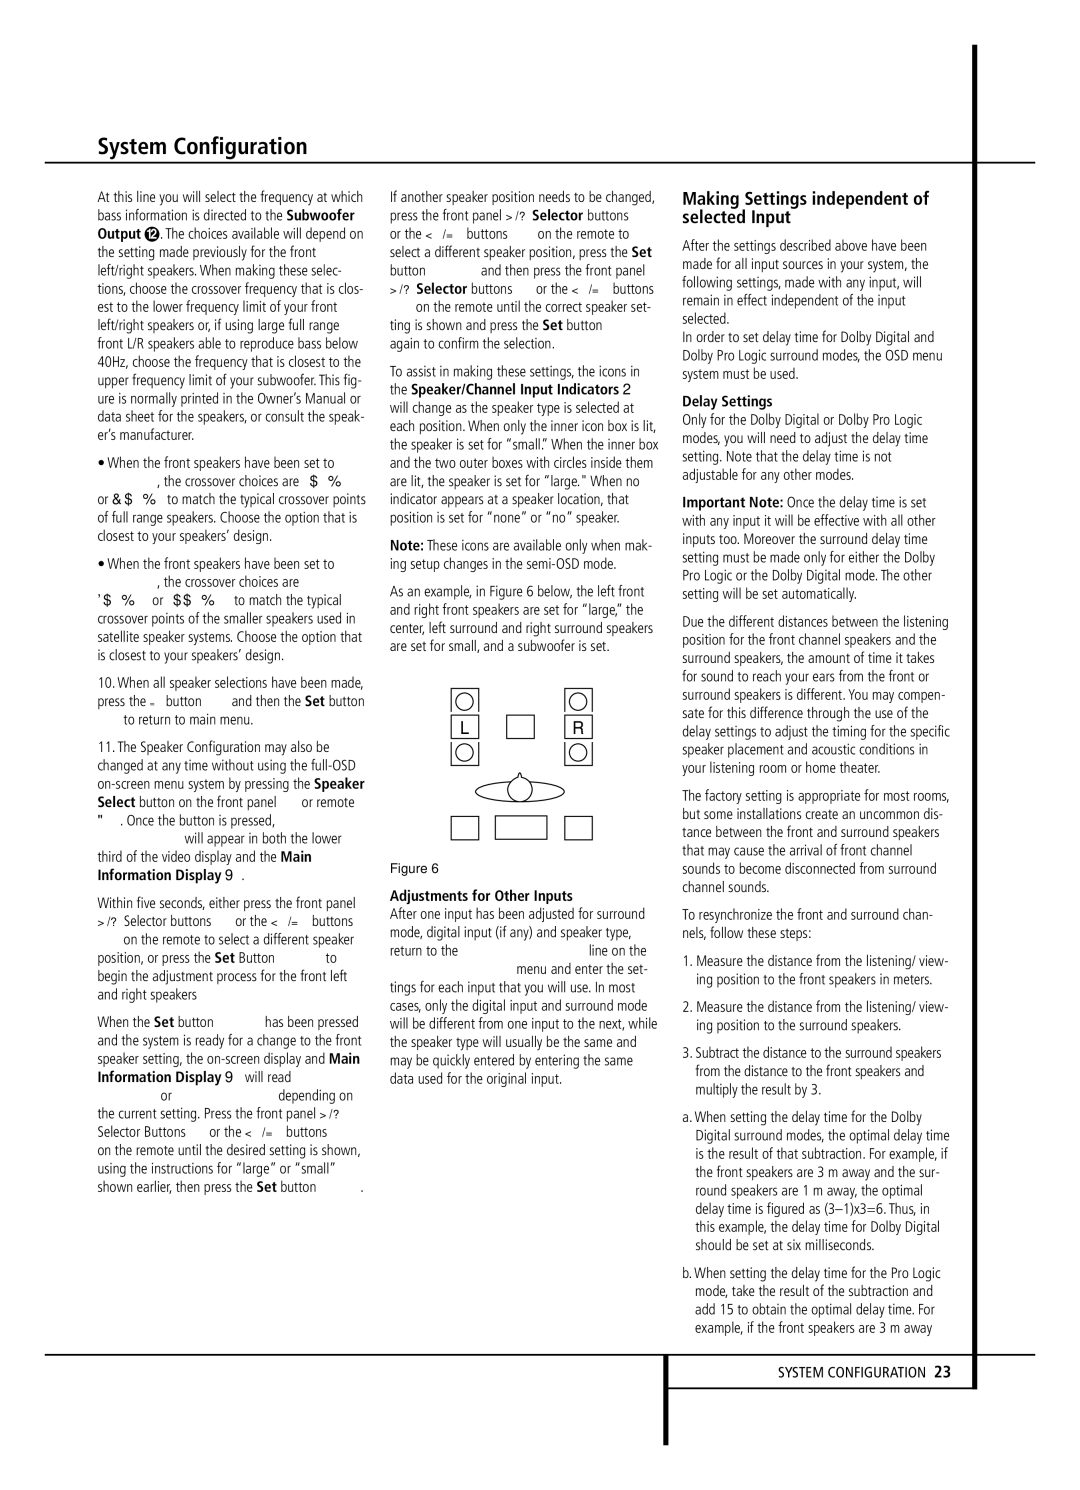
As an example, in Figure 6 below, the left front and right front speakers are set for “large,” the center, left surround and right surround speakers are set for small, and a subwoofer is set.
LR
Figure 6
Adjustments for Other Inputs
After one input has been adjusted for surround mode, digital input (if any) and speaker type, return to the INPUT SETUP line on the AUDIO SETUP menu and enter the set- tings for each input that you will use. In most cases, only the digital input and surround mode will be different from one input to the next, while the speaker type will usually be the same and may be quickly entered by entering the same data used for the original input.
Making Settings independent of selected Input
After the settings described above have been made for all input sources in your system, the following settings, made with any input, will remain in effect independent of the input selected.
In order to set delay time for Dolby Digital and Dolby Pro Logic surround modes, the OSD menu system must be used.
Delay Settings
Only for the Dolby Digital or Dolby Pro Logic modes, you will need to adjust the delay time setting. Note that the delay time is not adjustable for any other modes.
Important Note: Once the delay time is set with any input it will be effective with all other inputs too. Moreover the surround delay time setting must be made only for either the Dolby Pro Logic or the Dolby Digital mode. The other setting will be set automatically.
Due the different distances between the listening position for the front channel speakers and the surround speakers, the amount of time it takes for sound to reach your ears from the front or surround speakers is different. You may compen- sate for this difference through the use of the delay settings to adjust the timing for the specific speaker placement and acoustic conditions in your listening room or home theater.
The factory setting is appropriate for most rooms, but some installations create an uncommon dis- tance between the front and surround speakers that may cause the arrival of front channel sounds to become disconnected from surround channel sounds.
To resynchronize the front and surround chan- nels, follow these steps:
1.Measure the distance from the listening/ view- ing position to the front speakers in meters.
2.Measure the distance from the listening/ view- ing position to the surround speakers.
3.Subtract the distance to the surround speakers from the distance to the front speakers and multiply the result by 3.
a. When setting the delay time for the Dolby Digital surround modes, the optimal delay time is the result of that subtraction. For example, if the front speakers are 3 m away and the sur- round speakers are 1 m away, the optimal delay time is figured as
b. When setting the delay time for the Pro Logic mode, take the result of the subtraction and add 15 to obtain the optimal delay time. For example, if the front speakers are 3 m away