BW36 SERIES WOODBURNING FIREPLACE
STEP 4 - Assembling Chimney Sections.
Attach either a straight chimney section or an offset to the top of the fireplace depending on your installation requirement. When using offsets and returns, we highly recommend securing in place on the top of the fireplace with screws to permanently attach them to the top of the fireplace. See Figure 11.
When using elbows right off of the top of the unit, you will need to flatten the lances before you slip it on the collar. Once it is on, line it up and secure it with screws to the unit collar through the slots in the elbow.
Figure 11
Offset Secured to Fireplace
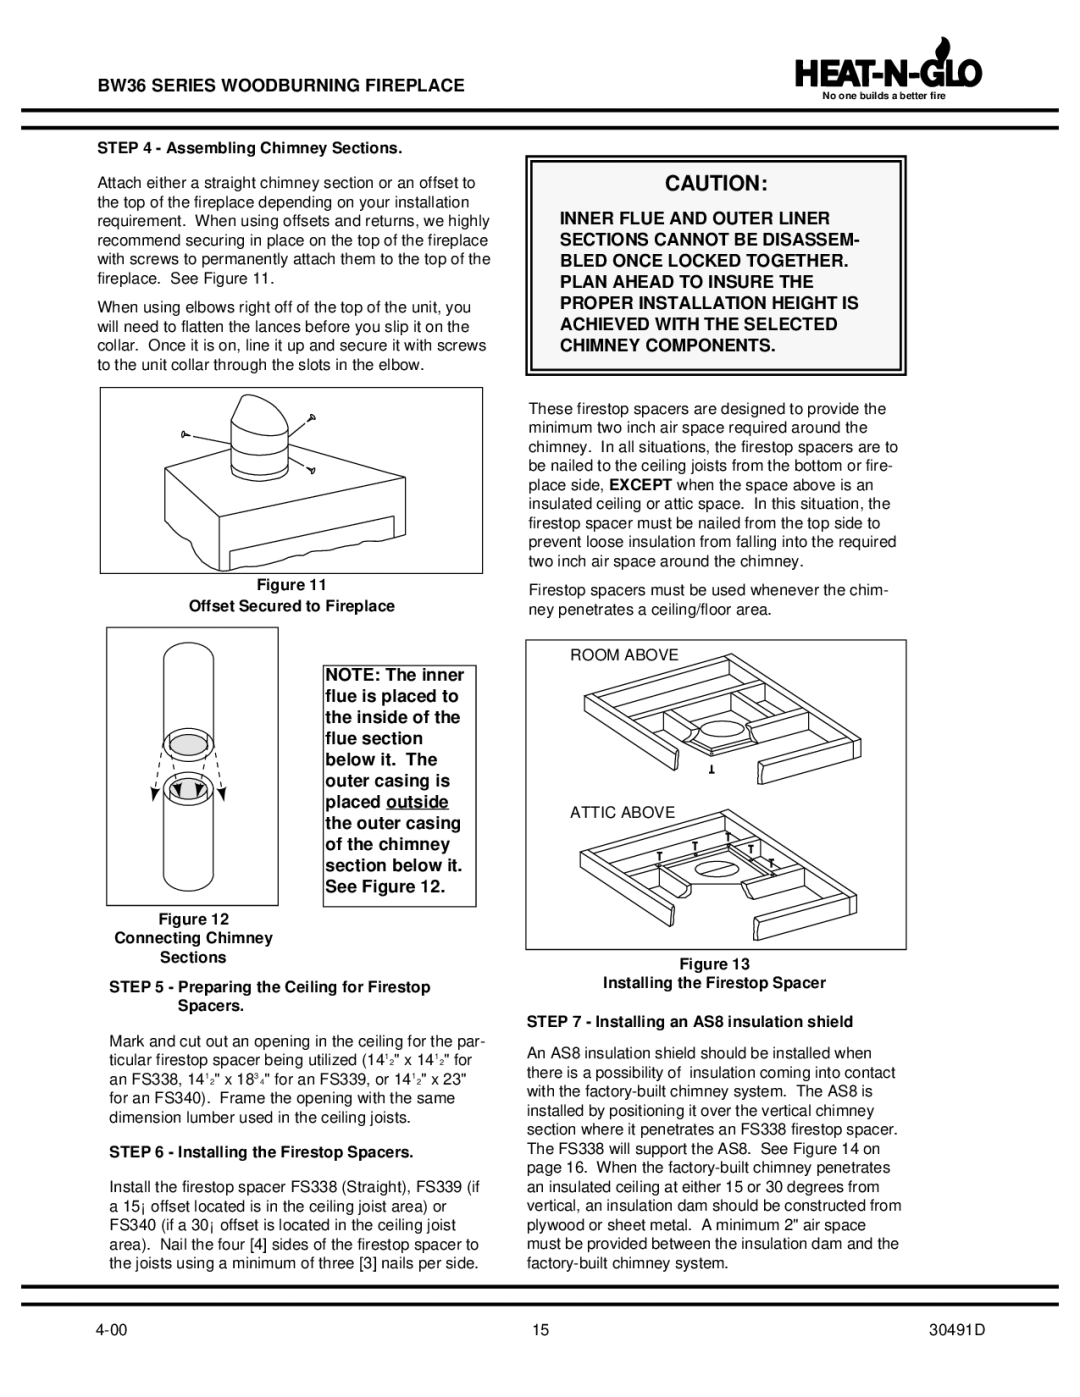
NOTE: The inner flue is placed to the inside of the flue section below it. The outer casing is placed outside the outer casing of the chimney section below it. See Figure 12.
Figure 12
Connecting Chimney
Sections
STEP 5 - Preparing the Ceiling for Firestop Spacers.
Mark and cut out an opening in the ceiling for the par- ticular firestop spacer being utilized (141⁄2" x 141⁄2" for an FS338, 141⁄2" x 183⁄4" for an FS339, or 141⁄2" x 23" for an FS340). Frame the opening with the same dimension lumber used in the ceiling joists.
STEP 6 - Installing the Firestop Spacers.
Install the firestop spacer FS338 (Straight), FS339 (if a 15° offset located is in the ceiling joist area) or FS340 (if a 30° offset is located in the ceiling joist area). Nail the four [4] sides of the firestop spacer to the joists using a minimum of three [3] nails per side.
No one builds a better fire
CAUTION:
INNER FLUE AND OUTER LINER
SECTIONS CANNOT BE DISASSEM-
BLED ONCE LOCKED TOGETHER.
PLAN AHEAD TO INSURE THE
PROPER INSTALLATION HEIGHT IS
ACHIEVED WITH THE SELECTED
CHIMNEY COMPONENTS.
These firestop spacers are designed to provide the minimum two inch air space required around the chimney. In all situations, the firestop spacers are to be nailed to the ceiling joists from the bottom or fire- place side, EXCEPT when the space above is an insulated ceiling or attic space. In this situation, the firestop spacer must be nailed from the top side to prevent loose insulation from falling into the required two inch air space around the chimney.
Firestop spacers must be used whenever the chim- ney penetrates a ceiling/floor area.
ROOM ABOVE
ATTIC ABOVE
Figure 13
Installing the Firestop Spacer
STEP 7 - Installing an AS8 insulation shield
An AS8 insulation shield should be installed when there is a possibility of insulation coming into contact with the
15 | 30491D |