Escape-42DVLP, Escape-42DV specifications
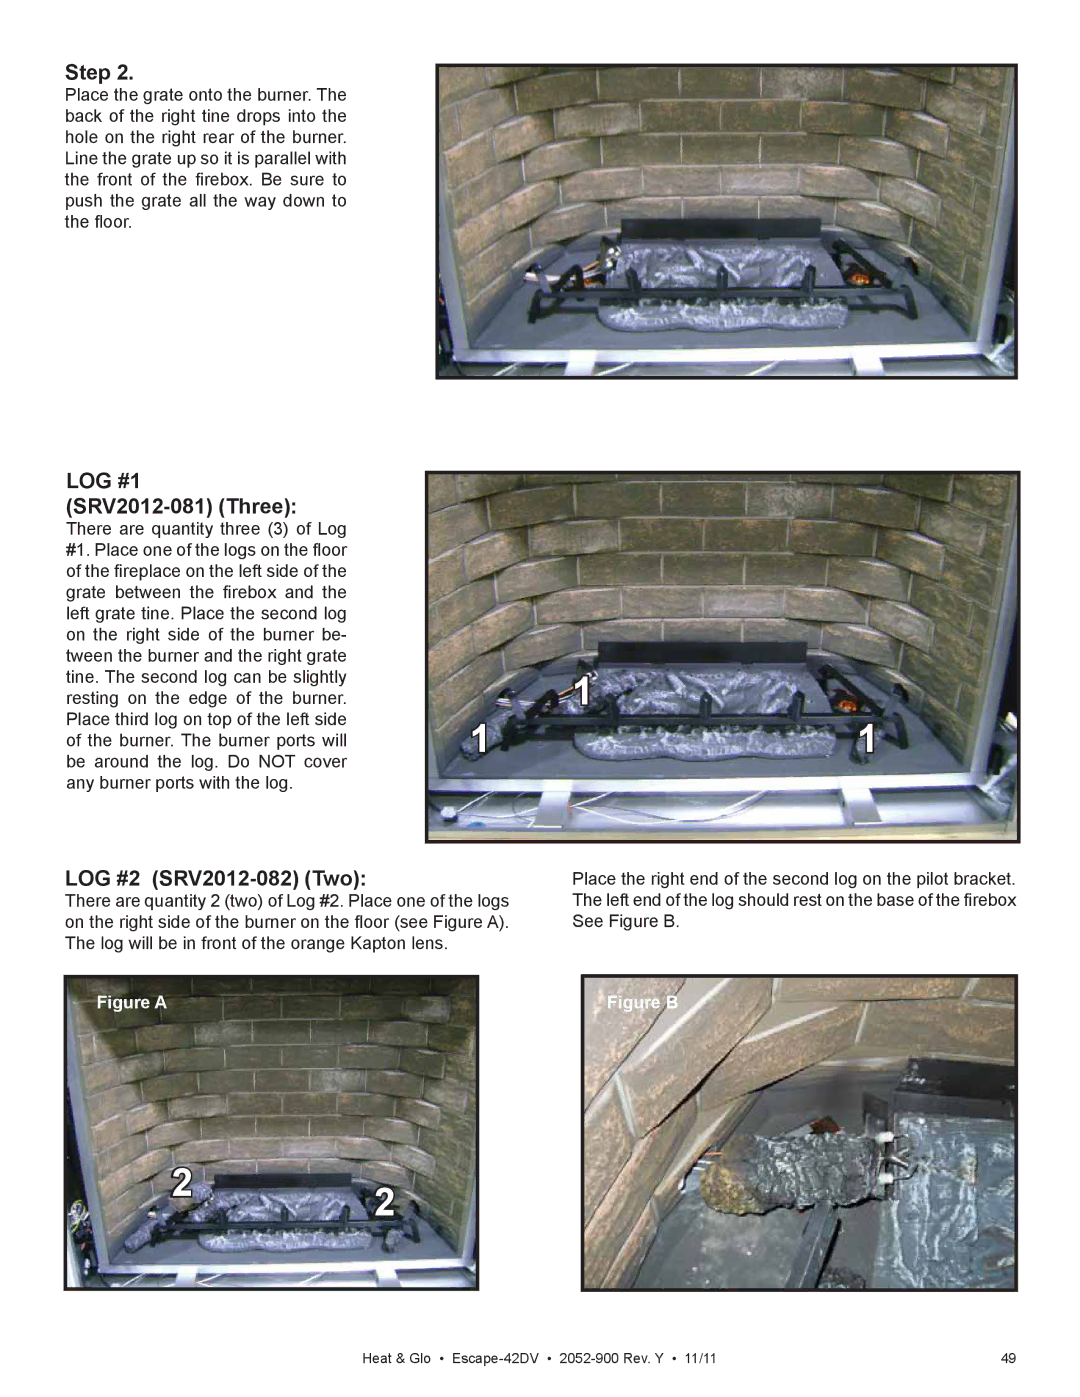
The Heat & Glo LifeStyle Escape-42DV and Escape-42DVLP are innovative direct vent gas fireplaces designed to enhance the ambiance of any living space while providing efficient heating. These models represent the perfect blend of modern technology, aesthetic appeal, and user-friendly features, making them popular choices for homeowners seeking a stylish and functional heating solution.One of the standout features of the Heat & Glo LifeStyle Escape-42DV is its impressive design. With a large viewing area, the fireplace allows for a mesmerizing display of flames, creating a focal point in any room. The clean, contemporary lines of the unit fit seamlessly into various décor styles, whether modern, traditional, or transitional. Furthermore, the Escape-42DVLP version, designed for those desiring a low-profile option, ensures that homeowners can enjoy the aesthetics of a fireplace without overwhelming the space.
Both models boast advanced technologies that enhance performance and usability. The Direct Vent System allows for efficient combustion by drawing air from outside the home and expelling exhaust gases through a sealed vent. This ensures optimal efficiency and makes them suitable for tight, energy-efficient homes. Additionally, these fireplaces include a Status Light feature that indicates when the fireplace is operating, ensuring peace of mind for users.
The LifeStyle Escape series also excels in customizability. Homeowners can choose from various log sets, decorative media, and tile surrounds, allowing them to tailor their fireplace to match personal styles and preferences. The IntelliFire app provides a convenient way to control the fireplace from a smartphone, featuring options for remote ignition, programmable timers, and flame height adjustments, putting users in complete control of their heating experience.
Safety is paramount, and the Heat & Glo LifeStyle Escape models come equipped with an advanced safety barrier to prevent accidental contact with the hot glass surface, making them family-friendly options. Moreover, their low emissions and high-efficiency ratings contribute to environmentally responsible heating.
In summary, the Heat & Glo LifeStyle Escape-42DV and Escape-42DVLP models combine striking aesthetics, efficient heating technologies, and user-centric features. They offer a modern solution for anyone looking to elevate their home's warmth and sophistication, making them a smart investment for comfort and style.

