HMC30AS-1, HMH30BS-1SINGLE-ZONE, HMH30AS-1, HMC30BS-1 specifications
The Heat Controller HMC30AS-1, HMH30AS-1, HMH30BS-1 SINGLE-ZONE, and HMC30BS-1 are cutting-edge HVAC systems designed to provide optimal comfort and efficiency in both residential and commercial settings. These models embody the latest advancements in heating and cooling technology, making them ideal choices for anyone looking to enhance their indoor environment.One of the standout features of these heat controllers is their energy efficiency. With advanced inverter technology, these products adjust compressor speed based on the heating or cooling demand, significantly reducing energy consumption compared to traditional systems. This not only lowers utility bills but also reduces environmental impact, making them a sustainable choice for eco-conscious consumers.
The HMC30AS-1, HMH30AS-1, HMH30BS-1 SINGLE-ZONE, and HMC30BS-1 also come with programmable thermostats, allowing users to set specific temperature schedules according to their daily routines. This convenience ensures that spaces are always at the desired temperature when occupied, providing a perfect balance between comfort and energy conservation.
Another impressive characteristic is their quiet operation. These systems are engineered with sound-dampening technology, minimizing noise levels and ensuring a peaceful indoor atmosphere. This is especially beneficial for bedrooms, offices, or any spaces where tranquility is essential.
Durability and reliability are also hallmarks of these models. Built with high-quality materials and robust components, they are designed to withstand varying environmental conditions while providing consistent performance. The heat controllers also come with comprehensive warranties, giving users added peace of mind regarding their investment.
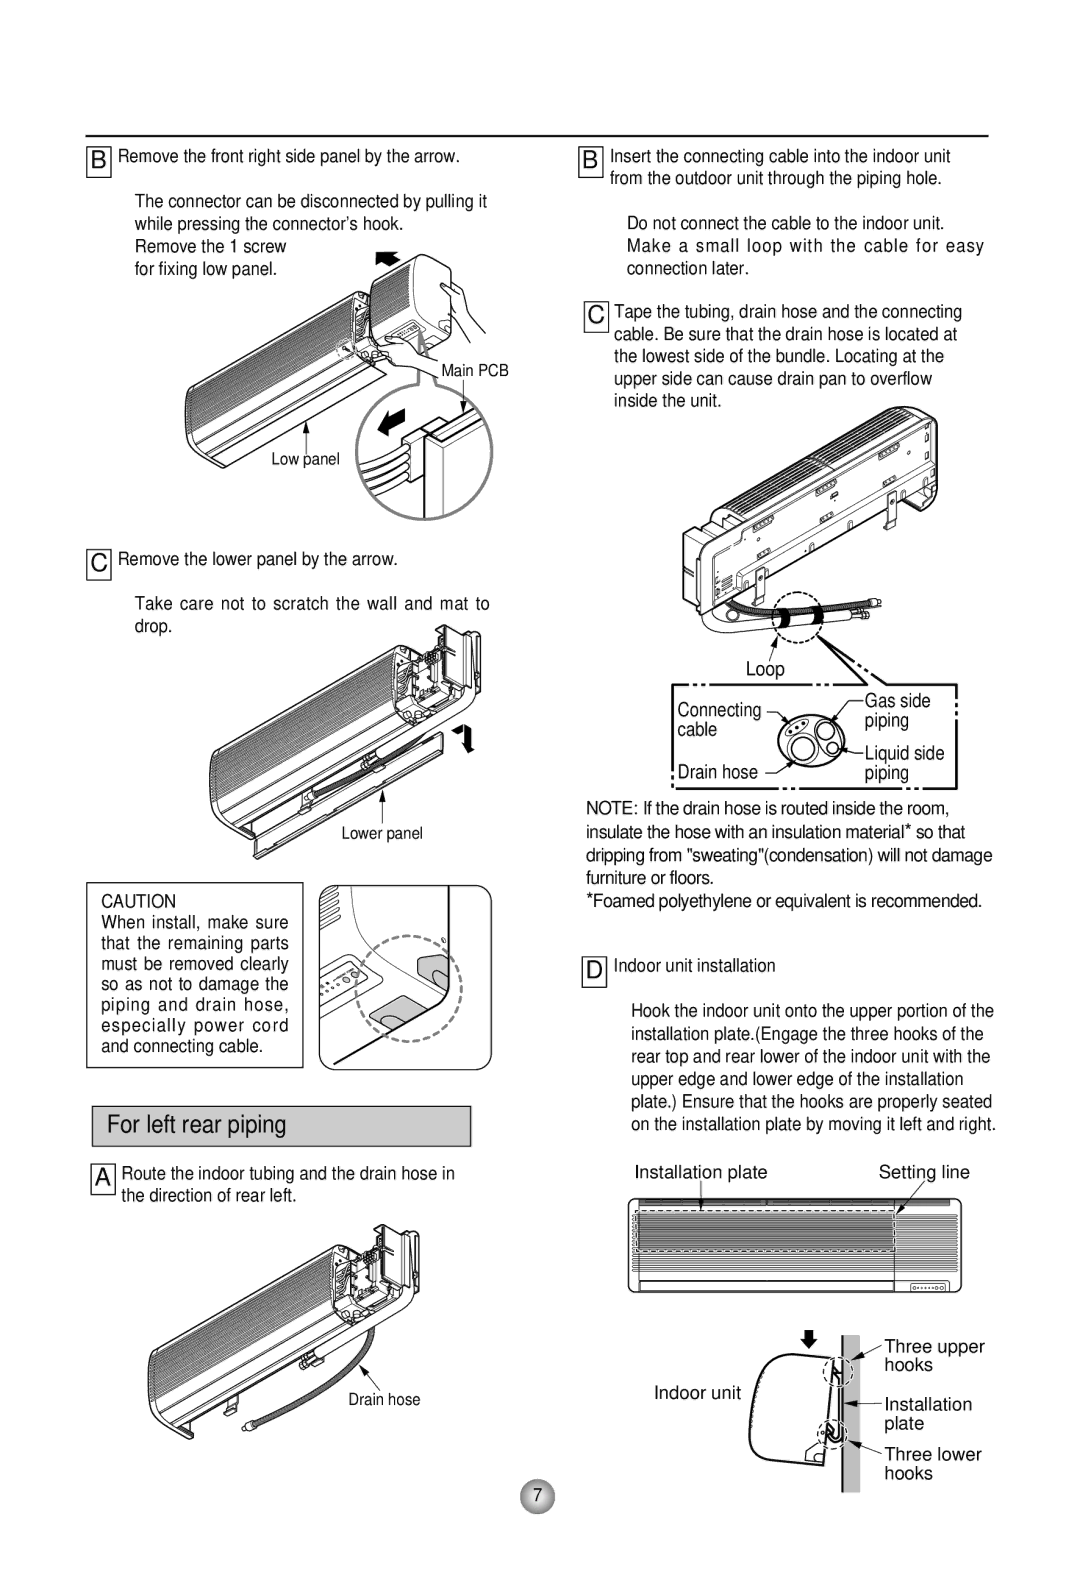
In addition to their efficiency and durability, these systems offer versatile installation options. Whether it's a compact single-zone setup or a larger installation, the HMC30 series is adaptable, making it suitable for various building layouts.
With their modern design and user-friendly interfaces, these heat controllers blend seamlessly into contemporary spaces. Smart technology options enable integration with mobile apps and smart home systems, allowing for remote monitoring and adjustment.
From energy-saving features to quiet operation, the Heat Controller HMC30AS-1, HMH30AS-1, HMH30BS-1 SINGLE-ZONE, and HMC30BS-1 represent the pinnacle of heating and cooling solutions, meeting the diverse needs of today's consumers.

