Conveyor
To maintain proper belt tension, adjust the conveyor belt to remove any slack.
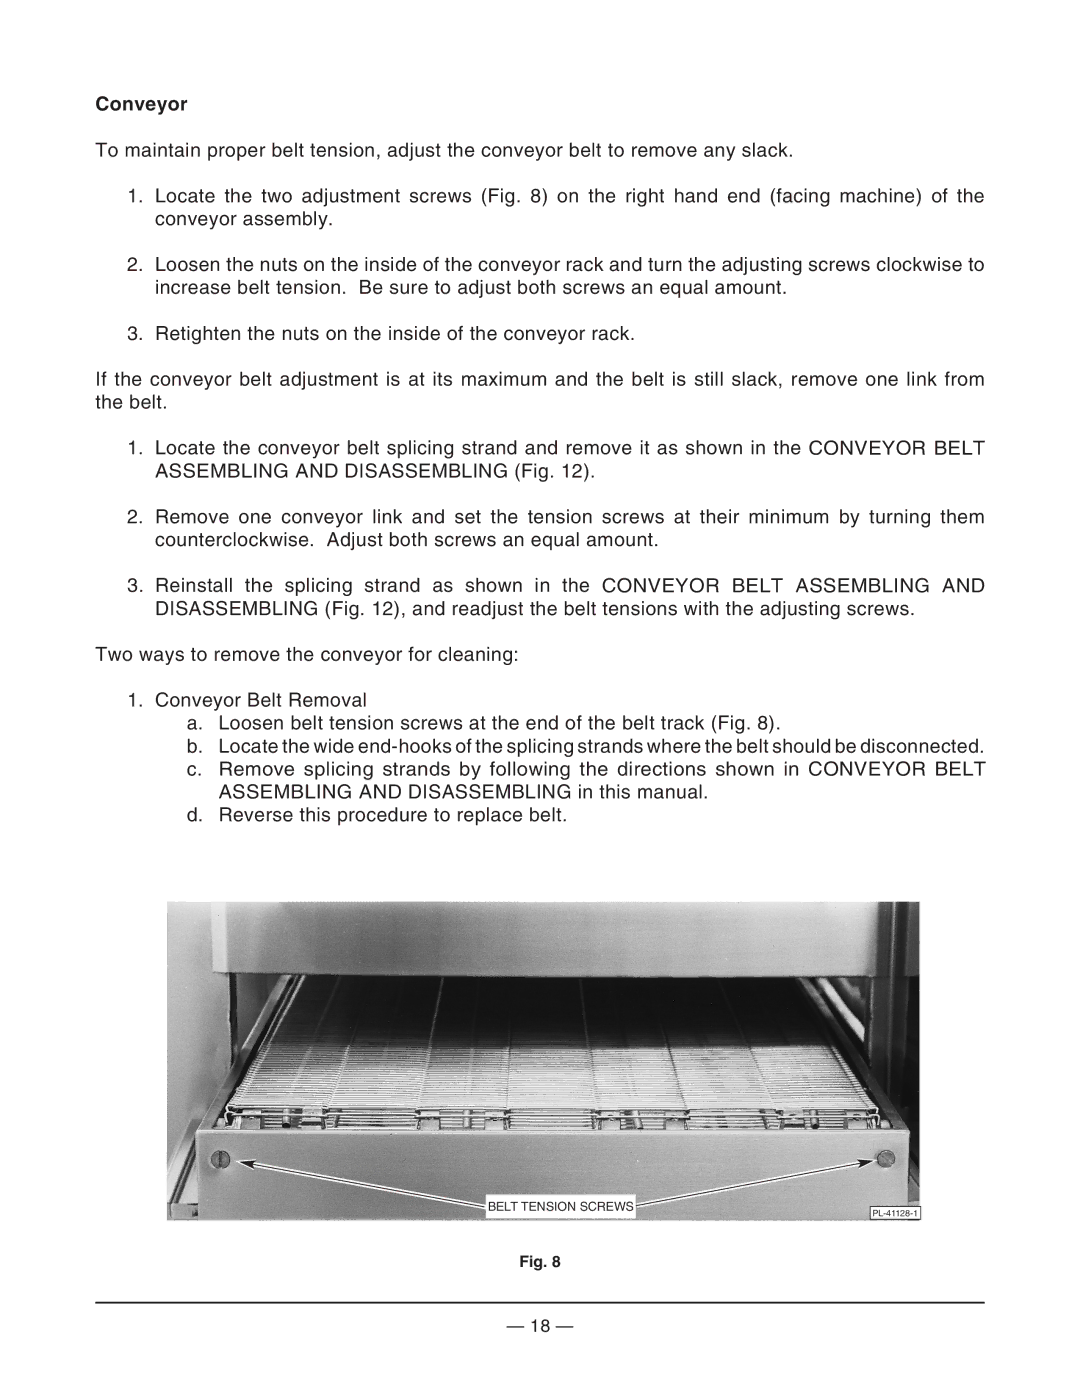
1.Locate the two adjustment screws (Fig. 8) on the right hand end (facing machine) of the conveyor assembly.
2.Loosen the nuts on the inside of the conveyor rack and turn the adjusting screws clockwise to increase belt tension. Be sure to adjust both screws an equal amount.
3.Retighten the nuts on the inside of the conveyor rack.
If the conveyor belt adjustment is at its maximum and the belt is still slack, remove one link from the belt.
1.Locate the conveyor belt splicing strand and remove it as shown in the CONVEYOR BELT ASSEMBLING AND DISASSEMBLING (Fig. 12).
2.Remove one conveyor link and set the tension screws at their minimum by turning them counterclockwise. Adjust both screws an equal amount.
3.Reinstall the splicing strand as shown in the CONVEYOR BELT ASSEMBLING AND DISASSEMBLING (Fig. 12), and readjust the belt tensions with the adjusting screws.
Two ways to remove the conveyor for cleaning:
1.Conveyor Belt Removal
a.Loosen belt tension screws at the end of the belt track (Fig. 8).
b.Locate the wide
c.Remove splicing strands by following the directions shown in CONVEYOR BELT ASSEMBLING AND DISASSEMBLING in this manual.
d.Reverse this procedure to replace belt.
BELT TENSION SCREWS
Fig. 8
— 18 —