ASSEMBLY
Ovens Mounted on Legs or Feet
To service the oven when mounted on legs or feet, a minimum clearance of 18" (457 mm) from service compartment is required.
Ovens Mounted on Casters
NOTICE: In order to be able to service this appliance, it must be installed with the casters supplied,
aconnector complying with ANSI Z21.69 or
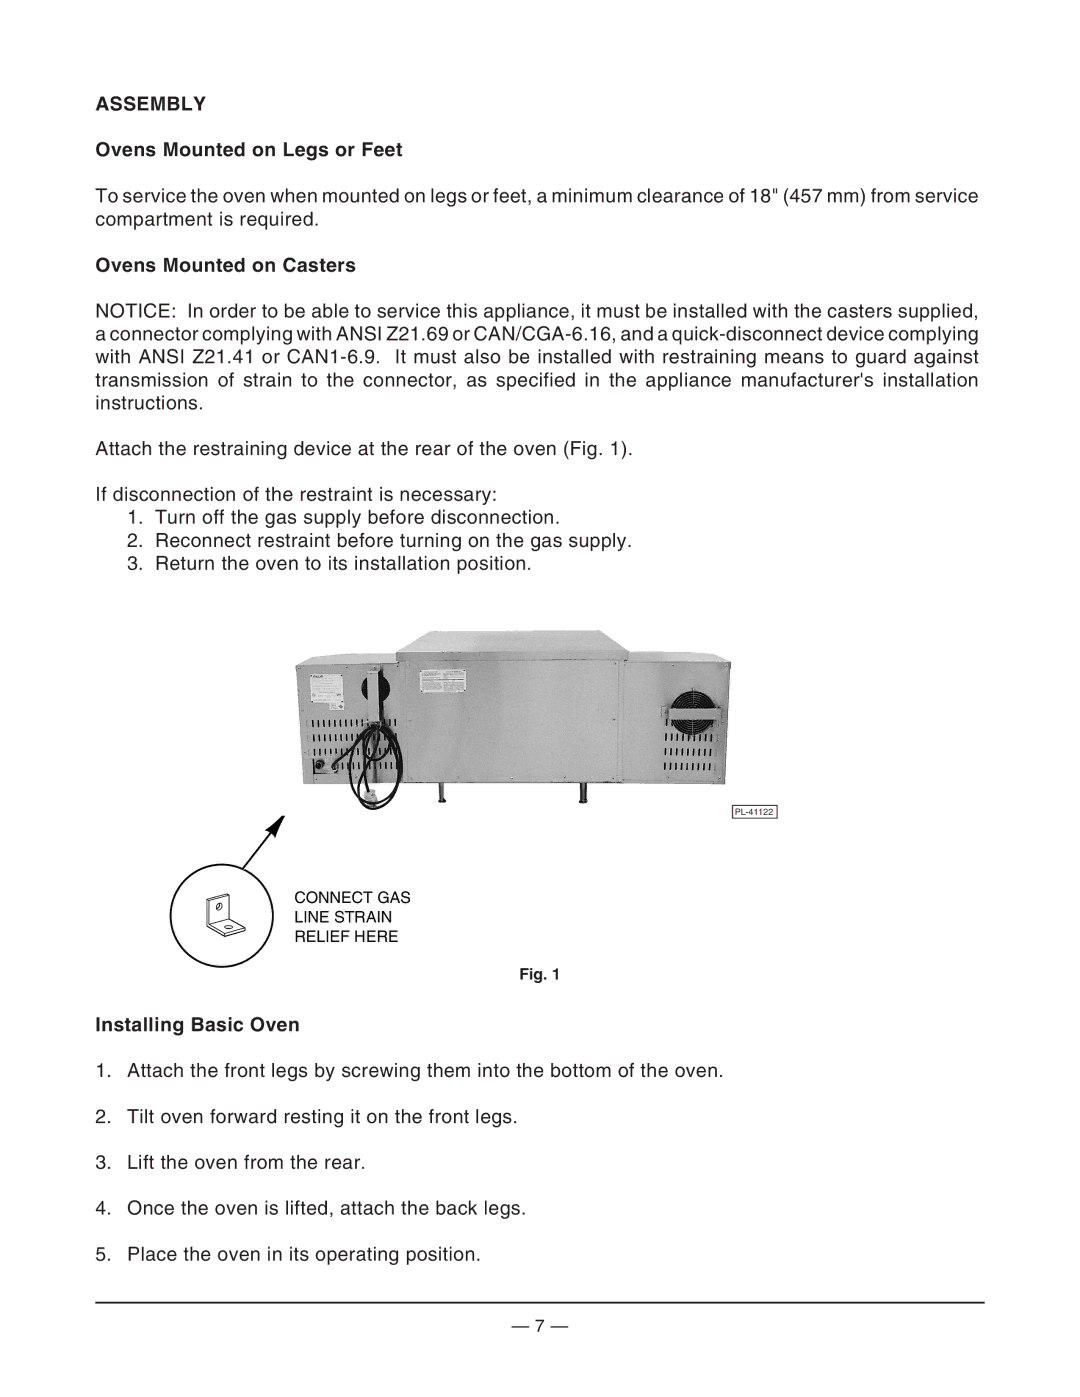
Attach the restraining device at the rear of the oven (Fig. 1).
If disconnection of the restraint is necessary:
1.Turn off the gas supply before disconnection.
2.Reconnect restraint before turning on the gas supply.
3.Return the oven to its installation position.
CONNECT GAS
LINE STRAIN
RELIEF HERE
Fig. 1
Installing Basic Oven
1.Attach the front legs by screwing them into the bottom of the oven.
2.Tilt oven forward resting it on the front legs.
3.Lift the oven from the rear.
4.Once the oven is lifted, attach the back legs.
5.Place the oven in its operating position.
— 7 —