..
13Mrneron your rangetirelighted
by electricignitionThe. ovenand broilercannotbe operatedinthe eventofa powerFailuree
To light the burners, push in and turn the OVEN TEMP knob to the desired temperature. The burner should ignite within 60 seconds.
CAUTION: DO N~ MAKE ANY ATTEMPT ~ OPERATE THE
ELEaNc IGNITION OVEN DUWNG AN ELE~MCAL POWERFAILURE. Resumption of electrical power when OVEN TEMP and OVEN SET controls are in any position other than OFF will result in automatic ignition of the ovenor broiler burner and could cause severe burns if, at the time, you were attempting to light the burner with a match.
A burner in use when an electrical power failure occurs will continue to operate normally.
Before using Your oven
Be sure you understand how to set the controls properly. Practice removing and replacing the shelves while the oven is cool. Read the information on the followingpages, and keep this book handy.
Oven controls
The controls for your oven
are marked OVEN SET and OVEN TEMP.
.
BROI&Use this settingfor broiling. Only the top (broil) burner will operate.
TWD
The O~N TEW control maintains the temperature you set for normal oven operation as well as for broiling.
For normal oven operation, push in and turn the knob to the desired temperature which is marked in 25° increments. It will normally take
30 to 60 seconds before the flame comes on.
After the oven reaches the selected temperature, the ovenburner cycles
~~~~ “~n” Indicator
Light on upper control panel glows when oven is in operation; it goes out when the OVEN SET knob is turned to OFF.
oven sheIR~es
The shelves arc designedwith
When placing cbokwareon a shelf, pt~llthe shelf out to the “stop” position. Place the cookwareon the shelf, then slidethe shelfback into the oven. This will eliminate reaching into the hot oven.
‘~or~movea shelffrom the oven, pull it out to the stop position, lift up on front and pull out.
shelf Positiom
The ovenhas five shelf supports—
A(bottom),B, C,D andE (top).Shelf positior~sfor cooking are suggested on Baking and Roastingpages.
oven vent
Youroven is ventedthrough ducts at the rear of the range (seepage 6). Do not block these ducts when cooking in the
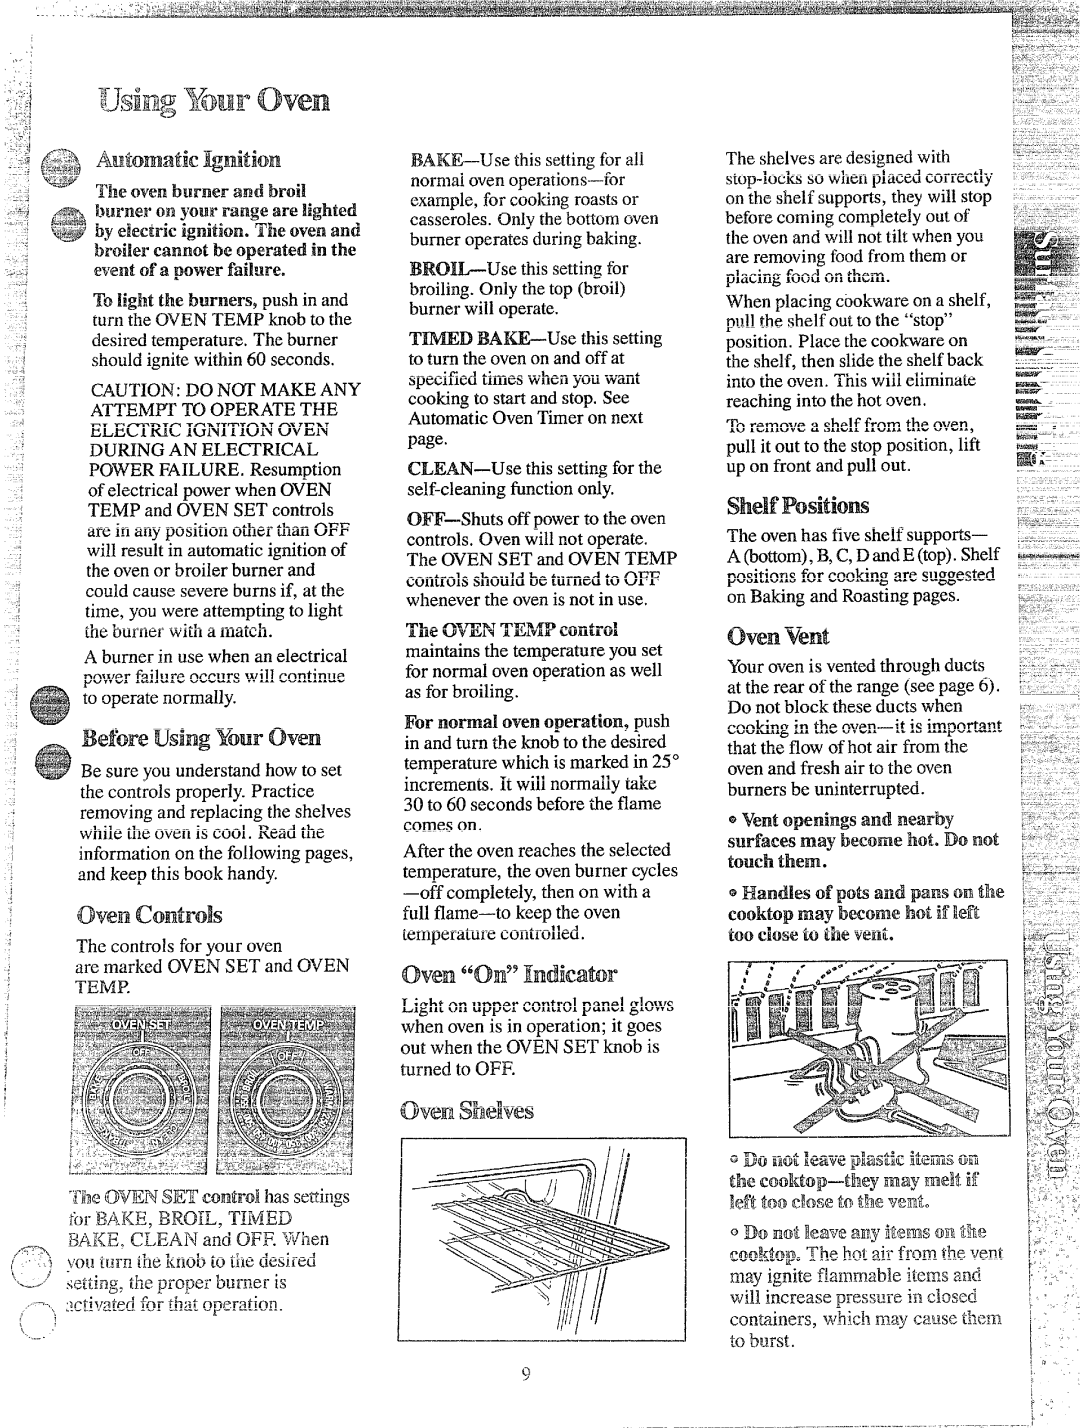
~vent openings and nearby surfaces may become hot. Do not touch them.
@Handles of pob and pans on the eooktop may become hot if Reft too Closeto the vent.
‘1
. .
