Display Panel
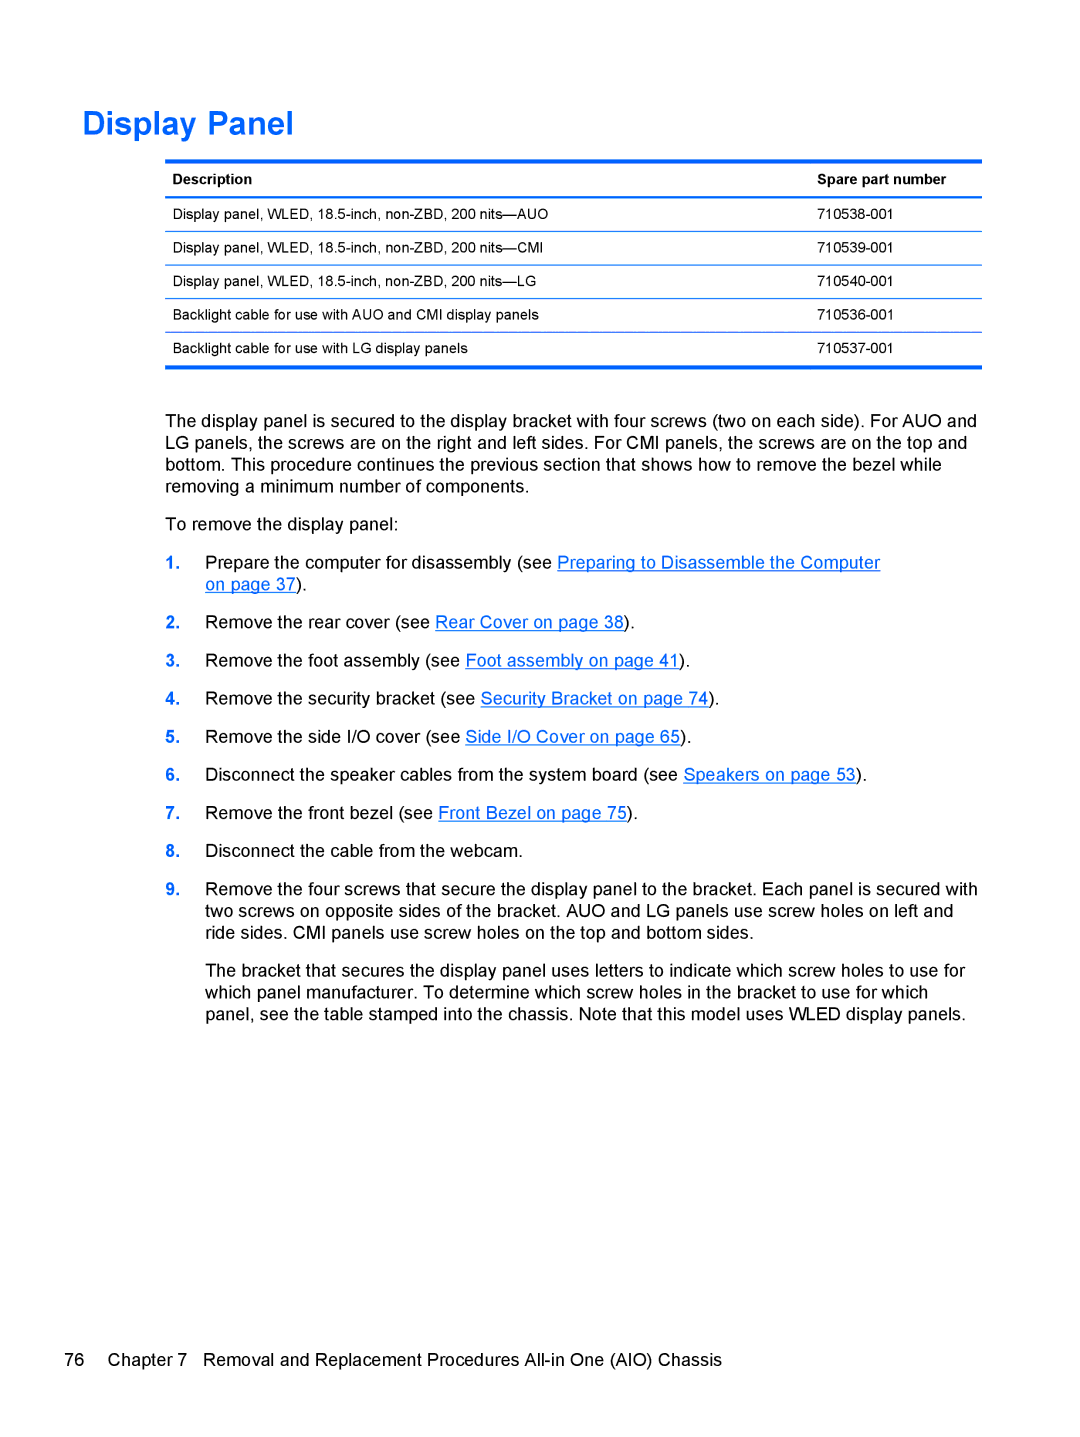
Description | Spare part number |
|
|
Display panel, WLED, | |
|
|
Display panel, WLED, | |
|
|
Display panel, WLED, | |
|
|
Backlight cable for use with AUO and CMI display panels | |
|
|
Backlight cable for use with LG display panels | |
|
|
The display panel is secured to the display bracket with four screws (two on each side). For AUO and LG panels, the screws are on the right and left sides. For CMI panels, the screws are on the top and bottom. This procedure continues the previous section that shows how to remove the bezel while removing a minimum number of components.
To remove the display panel:
1.Prepare the computer for disassembly (see Preparing to Disassemble the Computer on page 37).
2.Remove the rear cover (see Rear Cover on page 38).
3.Remove the foot assembly (see Foot assembly on page 41).
4.Remove the security bracket (see Security Bracket on page 74).
5.Remove the side I/O cover (see Side I/O Cover on page 65).
6.Disconnect the speaker cables from the system board (see Speakers on page 53).
7.Remove the front bezel (see Front Bezel on page 75).
8.Disconnect the cable from the webcam.
9.Remove the four screws that secure the display panel to the bracket. Each panel is secured with two screws on opposite sides of the bracket. AUO and LG panels use screw holes on left and ride sides. CMI panels use screw holes on the top and bottom sides.
The bracket that secures the display panel uses letters to indicate which screw holes to use for which panel manufacturer. To determine which screw holes in the bracket to use for which panel, see the table stamped into the chassis. Note that this model uses WLED display panels.
76 Chapter 7 Removal and Replacement Procedures