To set a policy, do the following:
1.Select the Policy Enable state and enter the Policy Number and Destination Selector information. o The Policy Enable field enables you to selectively enable and disable trap forwarding.
o The Policy Number field enables you to select a policy that will be used in PEF configuration.
o The Destination Selector field specifies where to send the PET trap from the destinations defined in the PET Destination section.
2.Click Apply.
User administration
The User Configuration option on the main menu navigation bar enables you (if authorized) to edit the username and password for existing users. You must be logged in as a user with administrative privileges to modify the user configuration. You cannot create a new user. The user password is stored in nonvolatile memory and can be changed through a web browser ("Changing user settings through a web browser" on page 42) or the through the CLP ("Changing user settings through the CLP" on page 43).
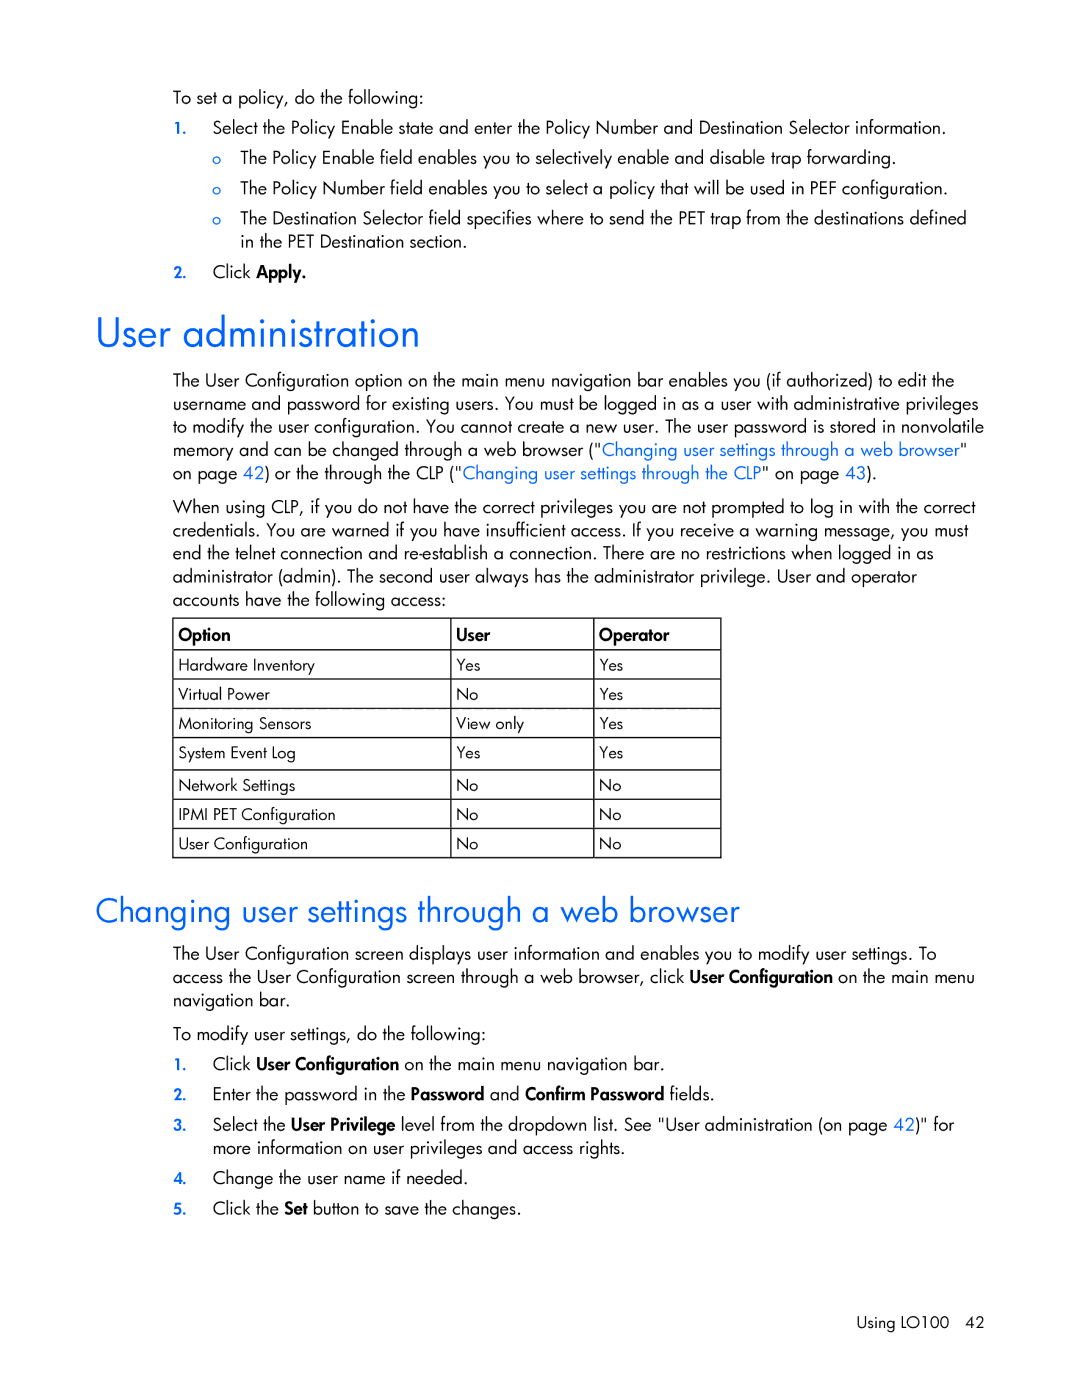
When using CLP, if you do not have the correct privileges you are not prompted to log in with the correct credentials. You are warned if you have insufficient access. If you receive a warning message, you must end the telnet connection and
Option | User | Operator |
|
|
|
Hardware Inventory | Yes | Yes |
|
|
|
Virtual Power | No | Yes |
|
|
|
Monitoring Sensors | View only | Yes |
|
|
|
System Event Log | Yes | Yes |
|
|
|
Network Settings | No | No |
|
|
|
IPMI PET Configuration | No | No |
|
|
|
User Configuration | No | No |
|
|
|
Changing user settings through a web browser
The User Configuration screen displays user information and enables you to modify user settings. To access the User Configuration screen through a web browser, click User Configuration on the main menu navigation bar.
To modify user settings, do the following:
1.Click User Configuration on the main menu navigation bar.
2.Enter the password in the Password and Confirm Password fields.
3.Select the User Privilege level from the dropdown list. See "User administration (on page 42)" for more information on user privileges and access rights.
4.Change the user name if needed.
5.Click the Set button to save the changes.
