hp pavilion f50/f70 LCD Monitor Using the Monitor
3Press the Menu button to exit the setting screen.
•In the Horizontal Position screen, pressing the left Browse button moves the horizontal position to the left, and pressing the right Browse button moves the horizontal position to the right.
•In the Vertical Position screen, pressing the left Browse button moves the vertical position down, and pressing the right Browse button moves the vertical position up.
•In the Clock screen, pressing the left Browse button sets the clock to an earlier time, and pressing the right Browse button sets the clock to a later time.
•In the Phase screen, pressing the left Browse button decreases phase setting values, and pressing the right Browse button increases phase setting values.
•In the Contrast screen, pressing the left Browse button decreases the contrast, and pressing the right Browse button increases the contrast.
•In the Brightness screen, pressing the left Browse button decreases the brightness, and pressing the right Browse button increases the brightness.
Auto Config settings
With Auto Config you can reset Horizontal Position, Vertical Position, Clock, and Phase to optimize the image quality. When using this option, please view a full Windows screen, such as Windows Explorer, or use the test pattern provided on the CD before pressing the Select button on the Auto Config menu. These test pattern files are named F50.exe and F70.exe.
To change settings with Auto Config:
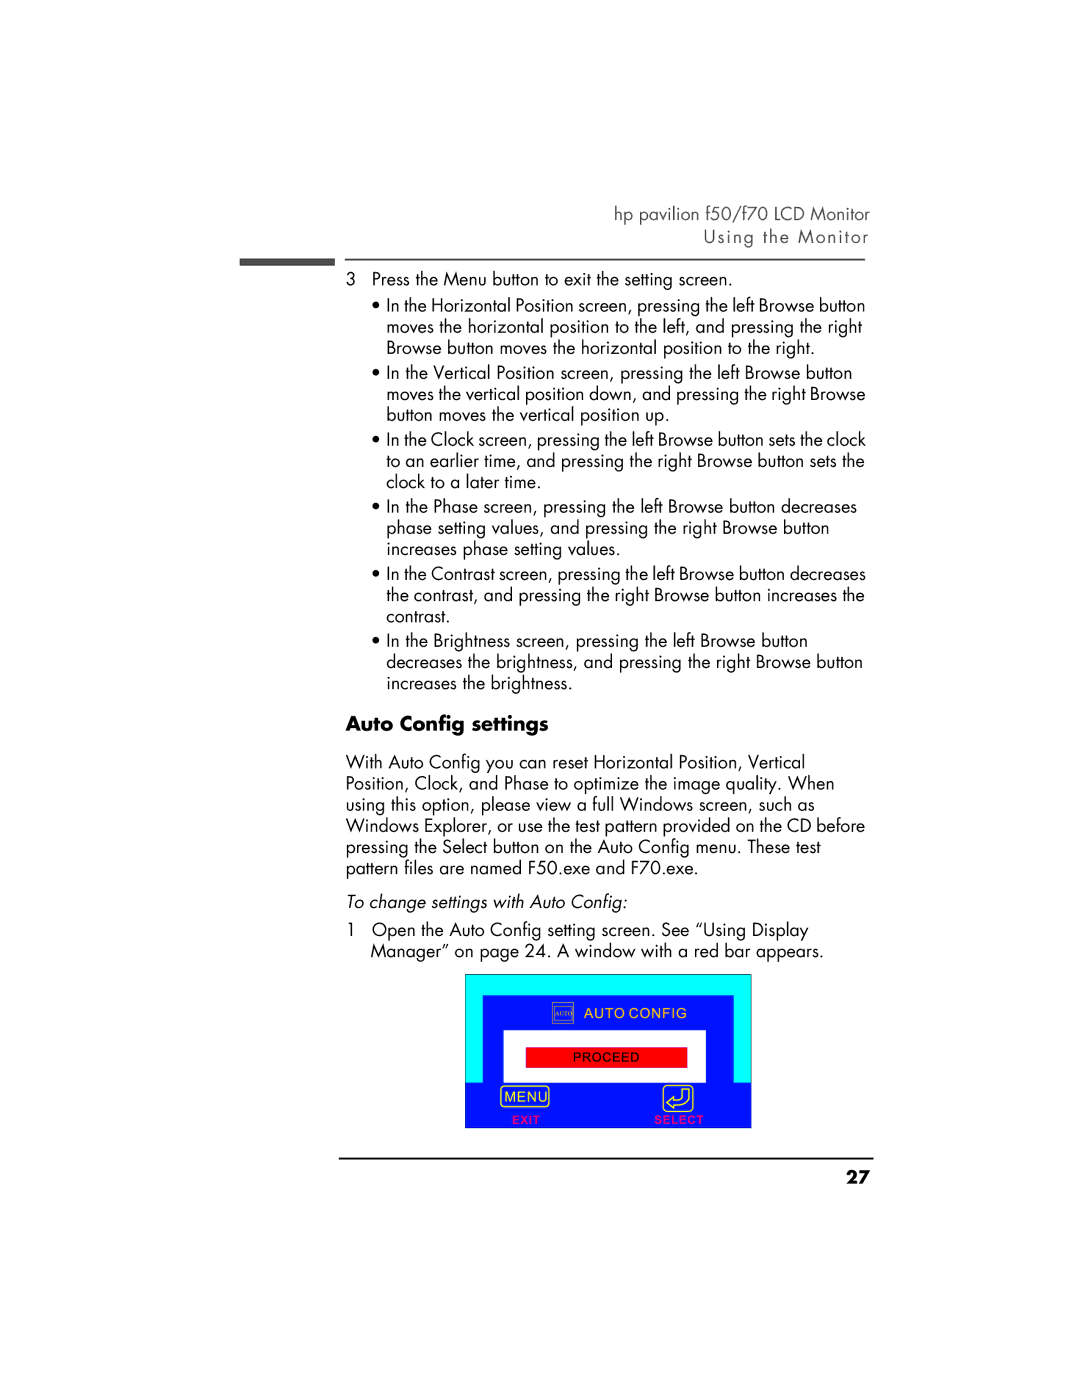
1Open the Auto Config setting screen. See “Using Display Manager” on page 24. A window with a red bar appears.
