LD4730 47-inch Micro-Bezel Video Wall Display specifications
The HP LD4730 is a state-of-the-art 47-inch Micro-Bezel Video Wall Display designed to enhance visual experiences in various settings, including retail, control rooms, and corporate environments. With its ultra-narrow bezels, the LD4730 offers an immersive viewing experience by minimizing the gaps between screens, allowing for seamless video wall configurations.One of the standout features of the HP LD4730 is its impressive Full HD resolution of 1920 x 1080 pixels, which ensures crystal-clear image quality. The display leverages advanced LED backlighting technology, delivering vibrant colors and deep blacks, making it suitable for a wide range of applications, from showcasing promotional content to displaying critical data in real-time.
The LD4730 is engineered for 24/7 operation, providing reliability and durability for continuous use in demanding environments. This makes it ideal for digital signage applications where uptime is crucial. Its robust design is complemented by a sophisticated thermal management system that ensures optimal performance while preventing overheating, thereby prolonging the lifespan of the display.
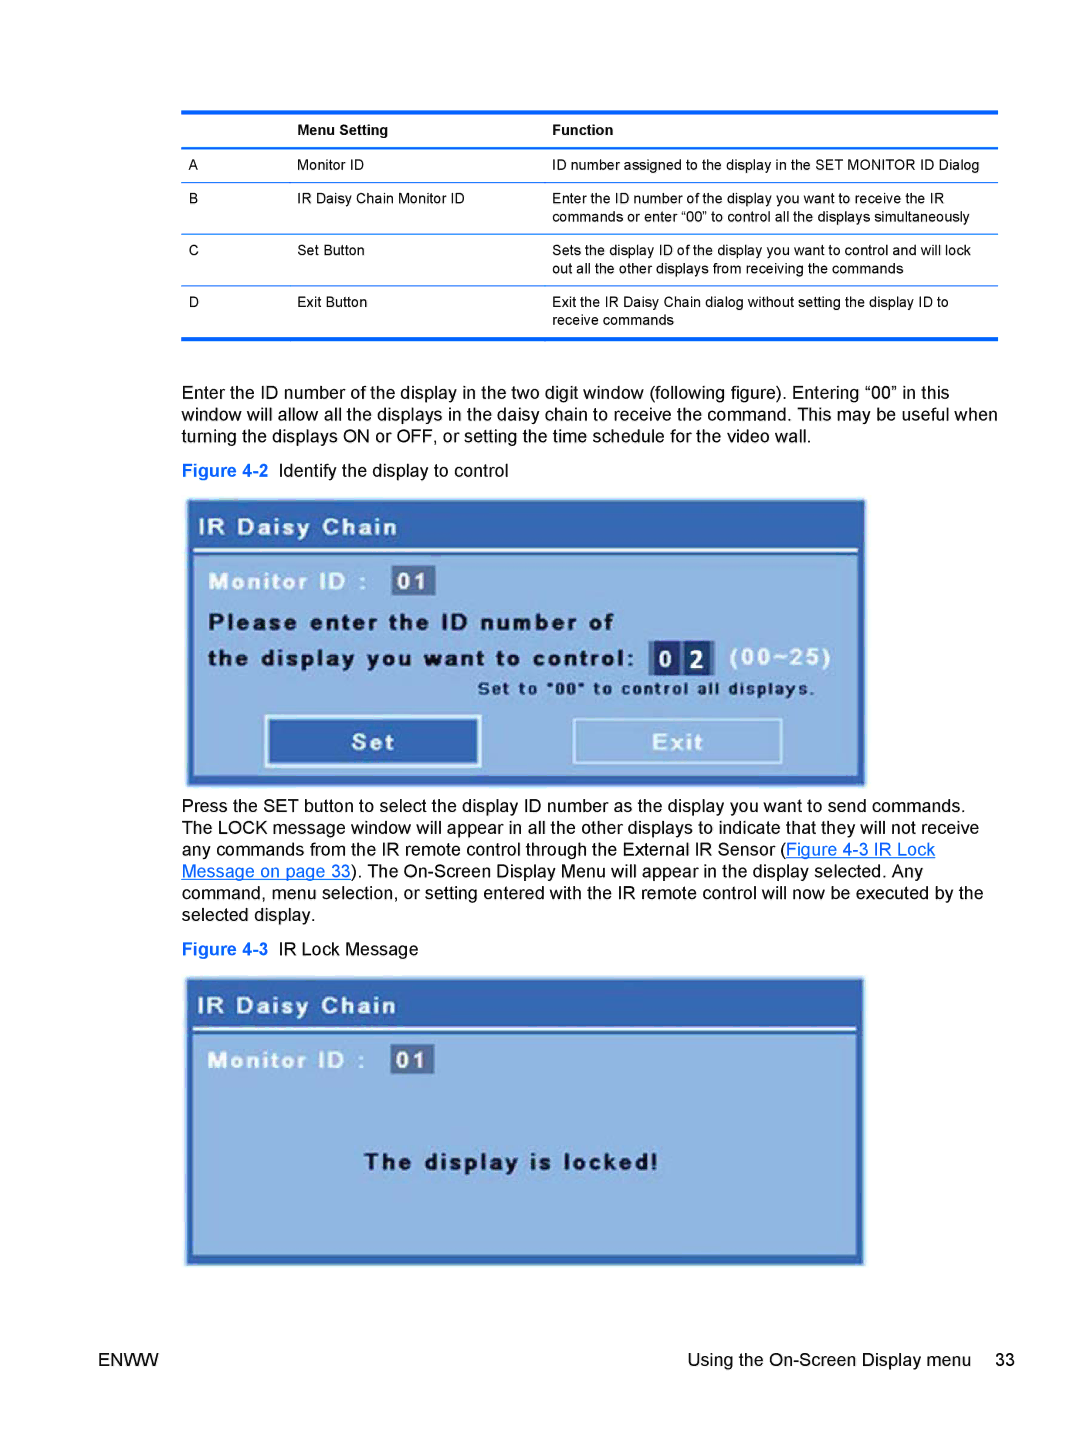
In terms of connectivity, the HP LD4730 offers multiple input options, including HDMI, DisplayPort, and DVI, allowing for easy integration with various devices and content sources. This versatility is essential for creating dynamic presentations and showcasing diverse content formats. Additionally, it supports daisy chaining, enabling users to connect multiple displays easily for larger video walls without the need for additional hardware.
The display also incorporates advanced calibration capabilities that ensure consistent brightness and color across all units in a video wall setup. This feature maintains a uniform appearance, crucial for professional environments where visual consistency is key.
For added convenience, the HP LD4730 includes a user-friendly interface, allowing for straightforward setup and configuration. The display can be easily mounted in portrait or landscape orientation, providing flexibility in design and installation.
In conclusion, the HP LD4730 47-inch Micro-Bezel Video Wall Display is a powerful solution for businesses looking to create impactful visual displays. Its high-resolution capabilities, durable design, and extensive connectivity options make it suitable for a broad array of applications, ensuring high-quality performance and reliability in any environment.

