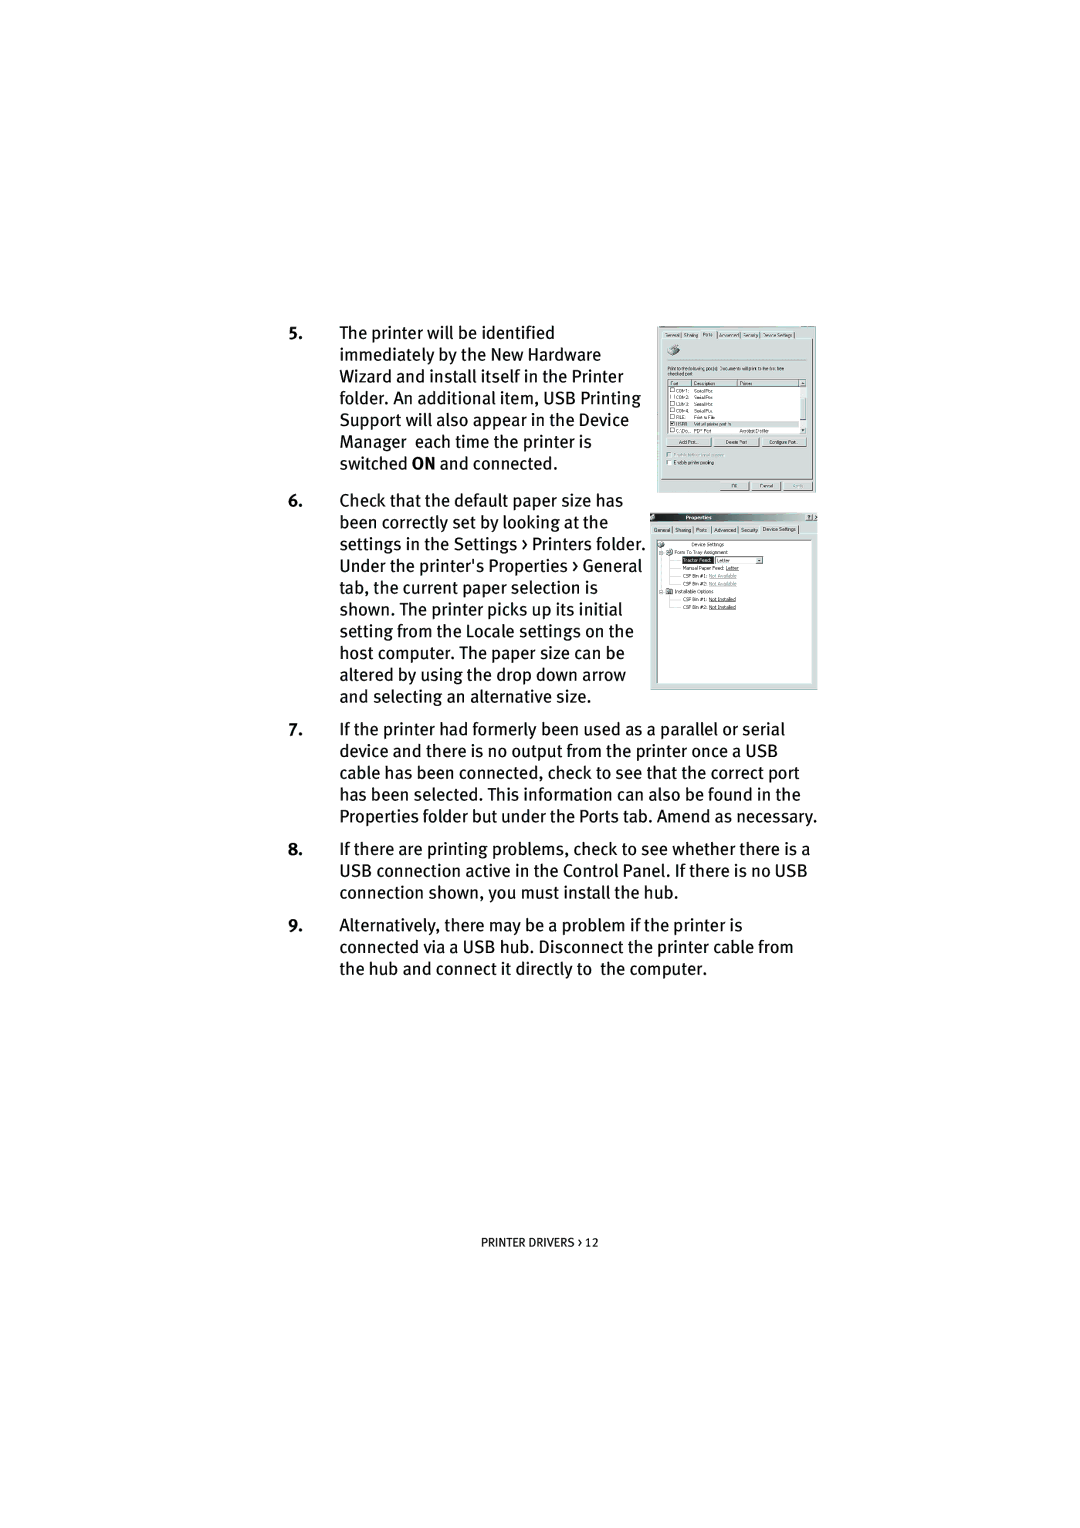
5.The printer will be identified immediately by the New Hardware Wizard and install itself in the Printer folder. An additional item, USB Printing Support will also appear in the Device Manager each time the printer is switched ON and connected.
6.Check that the default paper size has been correctly set by looking at the settings in the Settings > Printers folder. Under the printer's Properties > General tab, the current paper selection is shown. The printer picks up its initial setting from the Locale settings on the host computer. The paper size can be altered by using the drop down arrow and selecting an alternative size.
7.If the printer had formerly been used as a parallel or serial device and there is no output from the printer once a USB cable has been connected, check to see that the correct port has been selected. This information can also be found in the Properties folder but under the Ports tab. Amend as necessary.
8.If there are printing problems, check to see whether there is a USB connection active in the Control Panel. If there is no USB connection shown, you must install the hub.
9.Alternatively, there may be a problem if the printer is connected via a USB hub. Disconnect the printer cable from the hub and connect it directly to the computer.