Configuring a USB to serial converter
NOTE: This procedure was tested on the Windows® XP Professional, Windows Server® 2003, and Windows® Vista Enterprise operating systems using the HP USB to serial converter (part number
To configure a USB port to the COM 1 port on systems that do not have available serial ports:
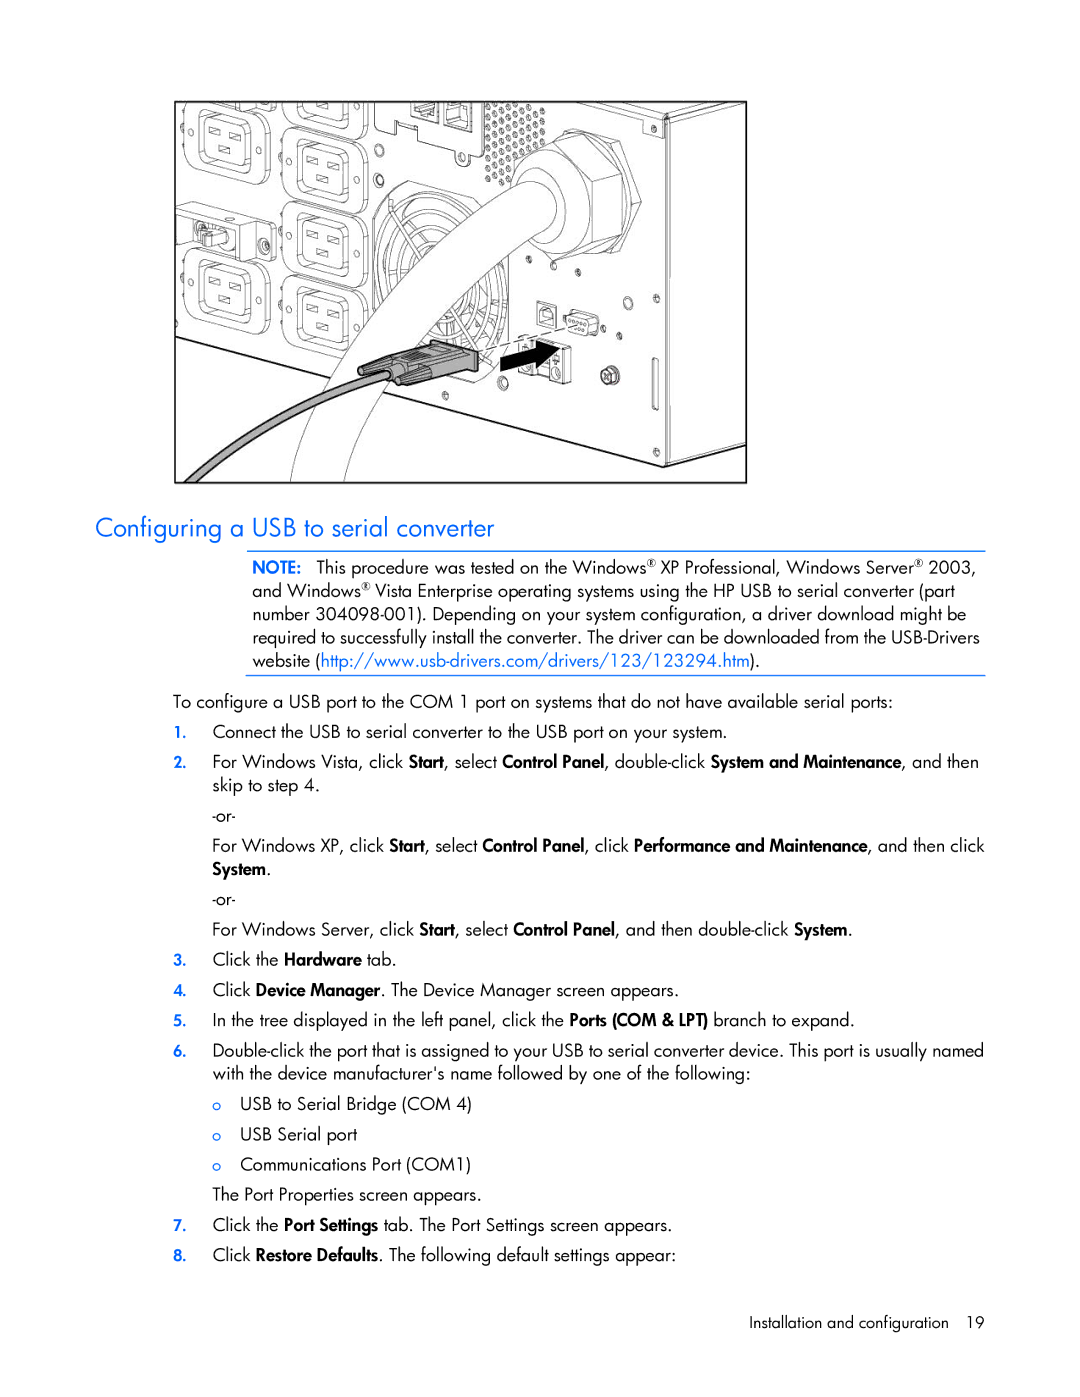
1.Connect the USB to serial converter to the USB port on your system.
2.For Windows Vista, click Start, select Control Panel,
For Windows XP, click Start, select Control Panel, click Performance and Maintenance, and then click System.
For Windows Server, click Start, select Control Panel, and then
3.Click the Hardware tab.
4.Click Device Manager. The Device Manager screen appears.
5.In the tree displayed in the left panel, click the Ports (COM & LPT) branch to expand.
6.
o USB to Serial Bridge (COM 4) o USB Serial port
o Communications Port (COM1) The Port Properties screen appears.
7.Click the Port Settings tab. The Port Settings screen appears.
8.Click Restore Defaults. The following default settings appear: