R717 specifications
The HP R717 is a compact and feature-rich digital camera that offers a blend of versatility and performance suited for both casual and advanced photographers. Announced in the mid-2000s, this camera has remained popular due to its innovative features and user-friendly design.One of the standout features of the HP R717 is its 6-megapixel resolution, which delivers sharp and vibrant images suitable for printing as well as sharing online. The camera is equipped with a 3x optical zoom lens, allowing users to capture subjects from a distance while maintaining clarity and detail. The lens offers a focal length equivalent to 35mm, making it ideal for a variety of photography styles, whether capturing landscapes or portraits.
The HP R717 also boasts a 2.5-inch LCD screen, providing a clear and bright display that simplifies composing shots and reviewing captured images. The screen is designed for easy viewing in various lighting conditions, ensuring that users can make adjustments on the fly. Additionally, the camera features an intuitive user interface, making it accessible even for those who may be new to digital photography.
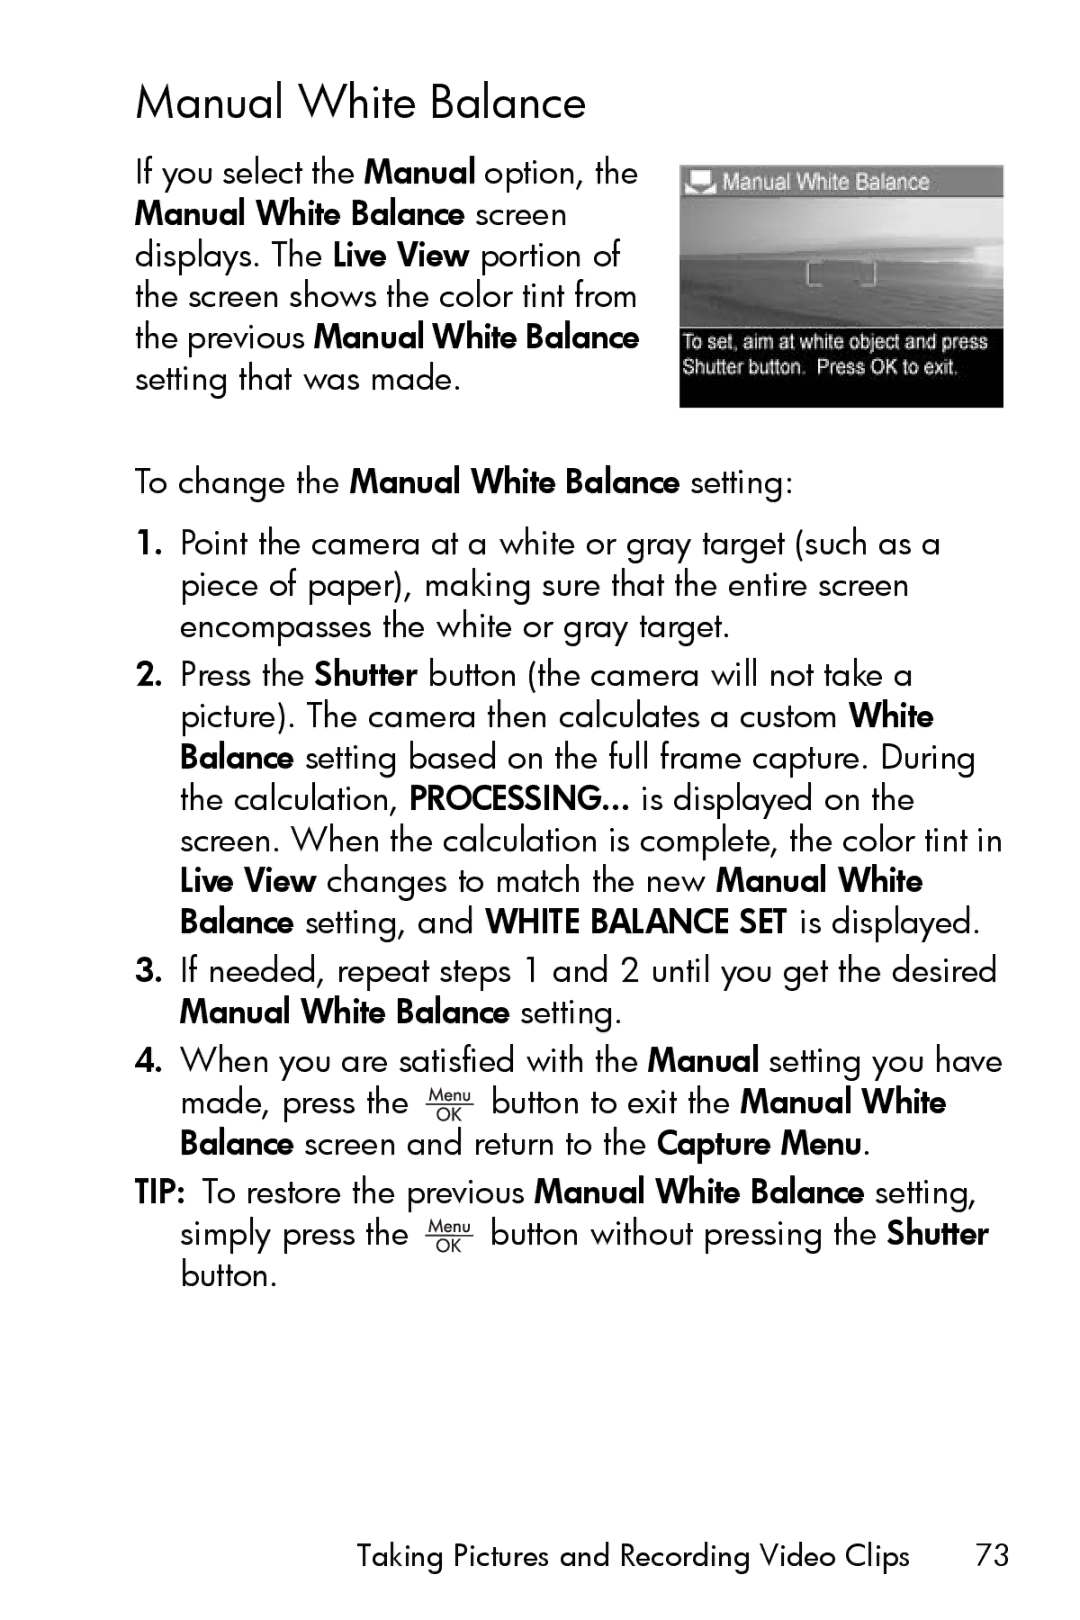
In terms of technology, the HP R717 incorporates automatic settings, allowing the camera to adjust exposure, white balance, and focus to optimize image quality in different environments. For those wanting more control, the camera includes manual modes for exposure compensation and ISO settings, empowering users to experiment with their photography.
The HP R717 supports various shooting modes, including portrait, landscape, and night mode, along with a built-in flash for low-light situations. Users can also enjoy the convenience of storing their images on SD memory cards, which allow for ample storage space while being easy to transfer to computers or other devices.
Durability is another key characteristic of the HP R717, as it features a robust design that can withstand everyday wear and tear, making it suitable for travel and outdoor use. Its ergonomic grip enhances comfort during extended shooting sessions, ensuring that users can capture the perfect shot without sacrificing convenience.
Overall, the HP R717 combines essential camera features with advanced technology, delivering a reliable and enjoyable photographic experience that caters to a wide range of users. Whether capturing cherished moments or exploring creative photography, the R717 stands out as a capable and stylish companion for any photography enthusiast.

