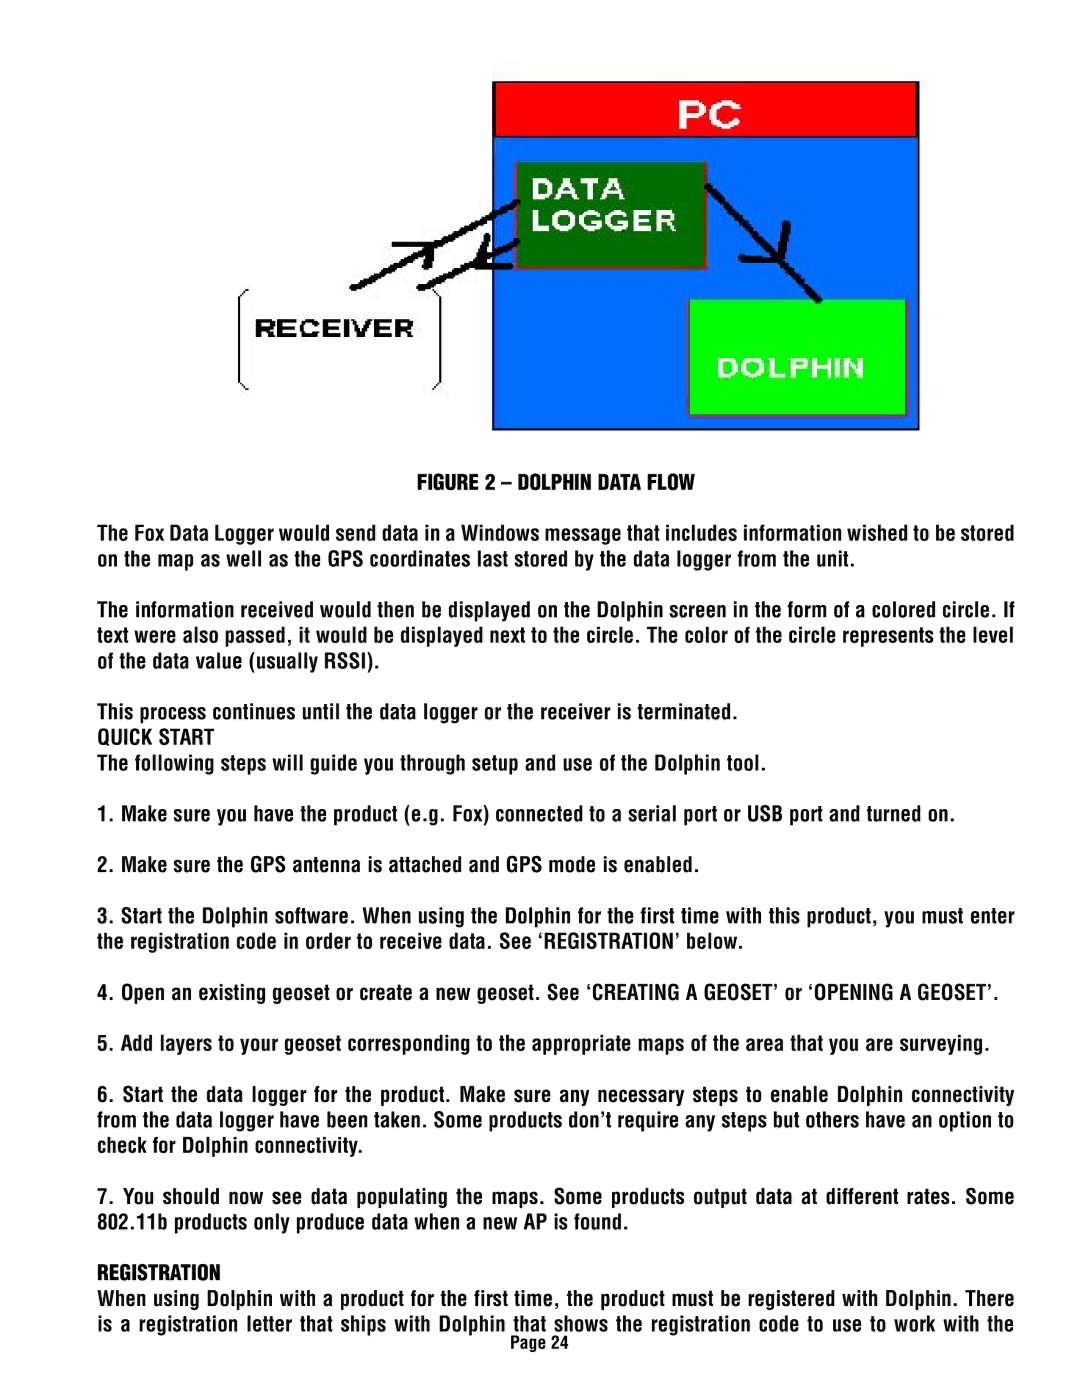
FIGURE 2 – DOLPHIN DATA FLOW
The Fox Data Logger would send data in a Windows message that includes information wished to be stored on the map as well as the GPS coordinates last stored by the data logger from the unit.
The information received would then be displayed on the Dolphin screen in the form of a colored circle. If text were also passed, it would be displayed next to the circle. The color of the circle represents the level of the data value (usually RSSI).
This process continues until the data logger or the receiver is terminated.
QUICK START
The following steps will guide you through setup and use of the Dolphin tool.
1.Make sure you have the product (e.g. Fox) connected to a serial port or USB port and turned on.
2.Make sure the GPS antenna is attached and GPS mode is enabled.
3.Start the Dolphin software. When using the Dolphin for the first time with this product, you must enter the registration code in order to receive data. See ‘REGISTRATION’ below.
4.Open an existing geoset or create a new geoset. See ‘CREATING A GEOSET’ or ‘OPENING A GEOSET’.
5.Add layers to your geoset corresponding to the appropriate maps of the area that you are surveying.
6.Start the data logger for the product. Make sure any necessary steps to enable Dolphin connectivity from the data logger have been taken. Some products don’t require any steps but others have an option to check for Dolphin connectivity.
7.You should now see data populating the maps. Some products output data at different rates. Some 802.11b products only produce data when a new AP is found.
REGISTRATION
When using Dolphin with a product for the first time, the product must be registered with Dolphin. There is a registration letter that ships with Dolphin that shows the registration code to use to work with the
Page 24