7Test the keyboard. If it still doesn’t work:
•Check the batteries for correct installation.
•Remove interference sources that may interfere with transmission such as 49 MHz cordless phones, 49 MHz toy remote controls, or metal shelves or furniture.
•Move the HP Digital Entertainment Center to another location and retest.
8Clean the trackball. Refer to the instructions in the Getting Started Guide.
Troubleshooting Component Video
This section contains important information about correcting problems that you may encounter with your HP Digital Entertainment Center Component Video Setup.
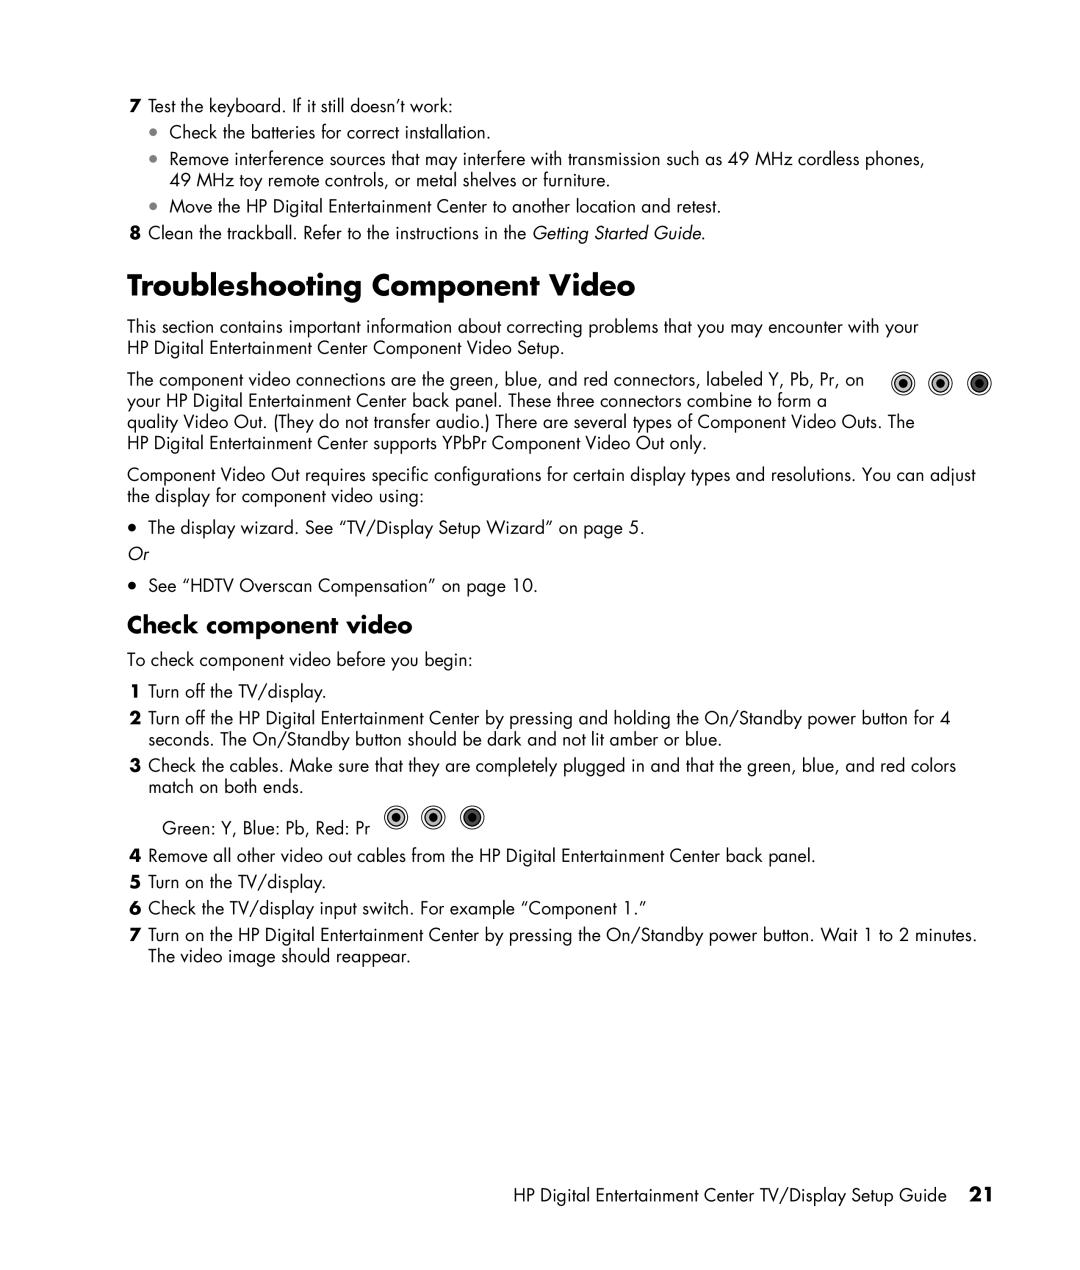
The component video connections are the green, blue, and red connectors, labeled Y, Pb, Pr, on your HP Digital Entertainment Center back panel. These three connectors combine to form a
quality Video Out. (They do not transfer audio.) There are several types of Component Video Outs. The HP Digital Entertainment Center supports YPbPr Component Video Out only.
Component Video Out requires specific configurations for certain display types and resolutions. You can adjust the display for component video using:
•The display wizard. See “TV/Display Setup Wizard” on page 5.
Or
•See “HDTV Overscan Compensation” on page 10.
Check component video
To check component video before you begin:
1Turn off the TV/display.
2Turn off the HP Digital Entertainment Center by pressing and holding the On/Standby power button for 4 seconds. The On/Standby button should be dark and not lit amber or blue.
3Check the cables. Make sure that they are completely plugged in and that the green, blue, and red colors match on both ends.
Green: Y, Blue: Pb, Red: Pr
4Remove all other video out cables from the HP Digital Entertainment Center back panel.
5Turn on the TV/display.
6Check the TV/display input switch. For example “Component 1.”
7Turn on the HP Digital Entertainment Center by pressing the On/Standby power button. Wait 1 to 2 minutes. The video image should reappear.
HP Digital Entertainment Center TV/Display Setup Guide 21