Adjust the video image
To adjust the video settings:
1Optimize the video image so it fits your TV screen. Use the TV/Display Setup Wizard. See “TV/Display Setup Wizard” on page 5. Follow the onscreen instructions.
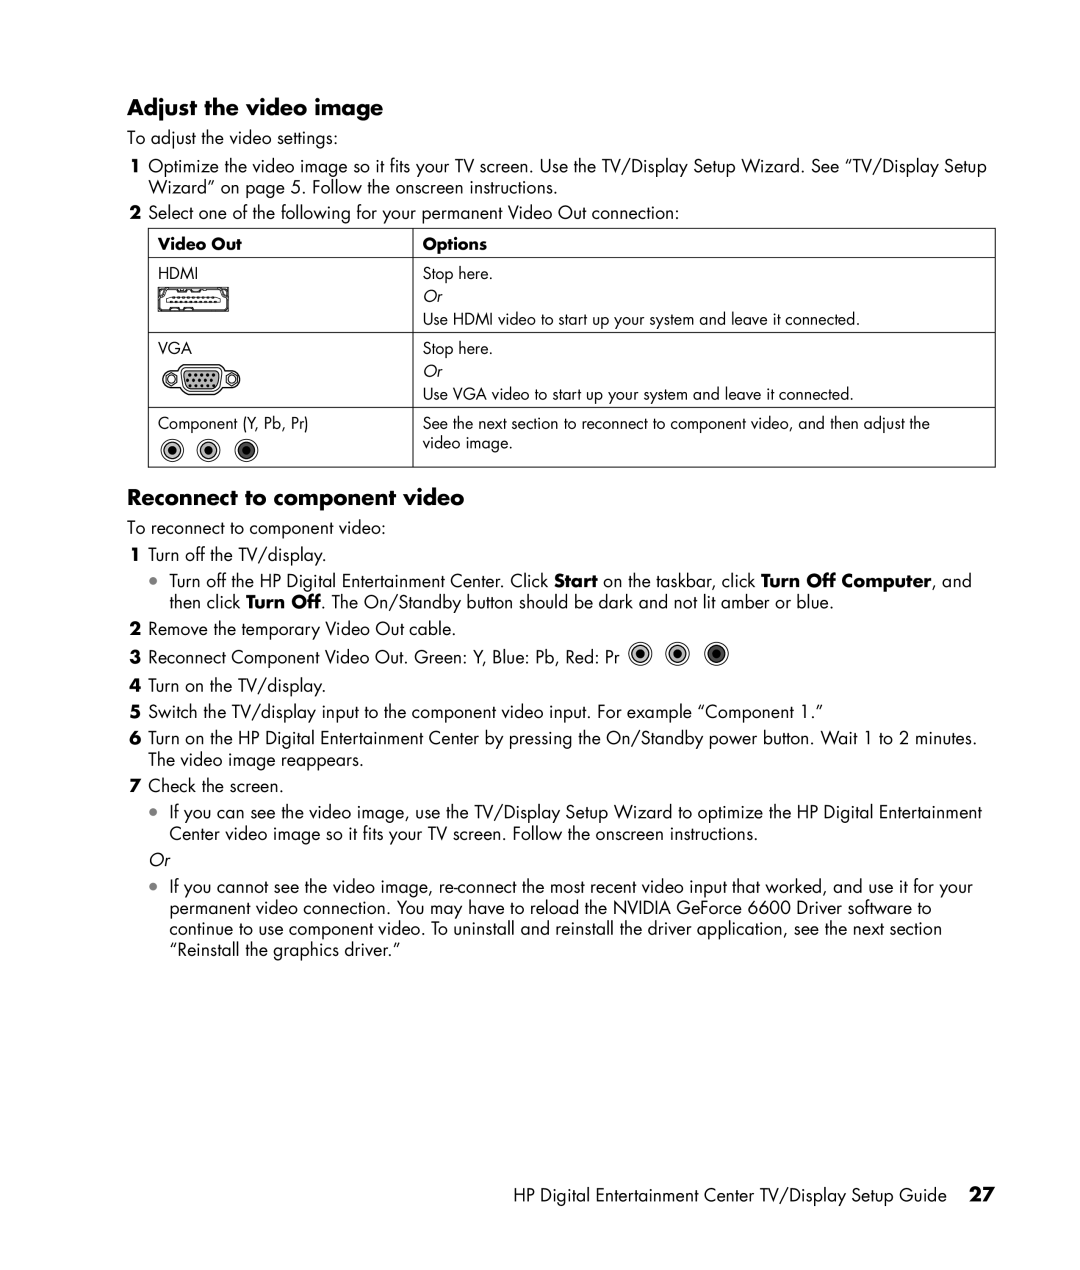
2Select one of the following for your permanent Video Out connection:
Video Out
HDMI
VGA
Component (Y, Pb, Pr)
Options
Stop here. Or
Use HDMI video to start up your system and leave it connected.
Stop here. Or
Use VGA video to start up your system and leave it connected.
See the next section to reconnect to component video, and then adjust the video image.
Reconnect to component video
To reconnect to component video:
1Turn off the TV/display.
•Turn off the HP Digital Entertainment Center. Click Start on the taskbar, click Turn Off Computer, and then click Turn Off. The On/Standby button should be dark and not lit amber or blue.
2Remove the temporary Video Out cable.
3Reconnect Component Video Out. Green: Y, Blue: Pb, Red: Pr ![]()
![]()
![]()
4Turn on the TV/display.
5Switch the TV/display input to the component video input. For example “Component 1.”
6Turn on the HP Digital Entertainment Center by pressing the On/Standby power button. Wait 1 to 2 minutes. The video image reappears.
7Check the screen.
•If you can see the video image, use the TV/Display Setup Wizard to optimize the HP Digital Entertainment Center video image so it fits your TV screen. Follow the onscreen instructions.
Or
•If you cannot see the video image,
HP Digital Entertainment Center TV/Display Setup Guide 27
