1
Transducer Switch
Thank You
Thank you for choosing Humminbird®, America's #1 name in fishfinders. Humminbird® has built its reputation by designing and manufacturing
Your Humminbird® accessory is designed for
Contact our Customer Resource Center at
Installation Overview
Following are instructions for the installation of this accessory. Before you start installation, we encourage you to read these instructions carefully in order to get the full benefit from your Humminbird® accessory. If you find that any items are missing from your installation kit, call our Customer Resource Center at
The Transducer Switch comes with all the necessary hardware to allow you to connect your control head to two transducers. The transducers may be the same type of transducer with different mounting locations, or you can maximize your unit’s performance by using two different transducers. The switch is intended for installation on the console, and will work well on almost any boat.
Supplies: In addition to the hardware supplied with your Transducer Switch, you will need a hand drill with various size bits, a Phillips screwdriver, an adjustable wrench, and a 3 amp fuse.
Installation
Perform the procedures in the following sections to install the Transducer Switch on your boat. Before installing the Transducer Switch, gather all the parts you will need, and make sure that the planned location of the Transducer Switch will allow you to connect the two transducers to your control head.
1. Locating the Transducer Switch Mounting Position
There are two ways to find the mounting location, as follows:
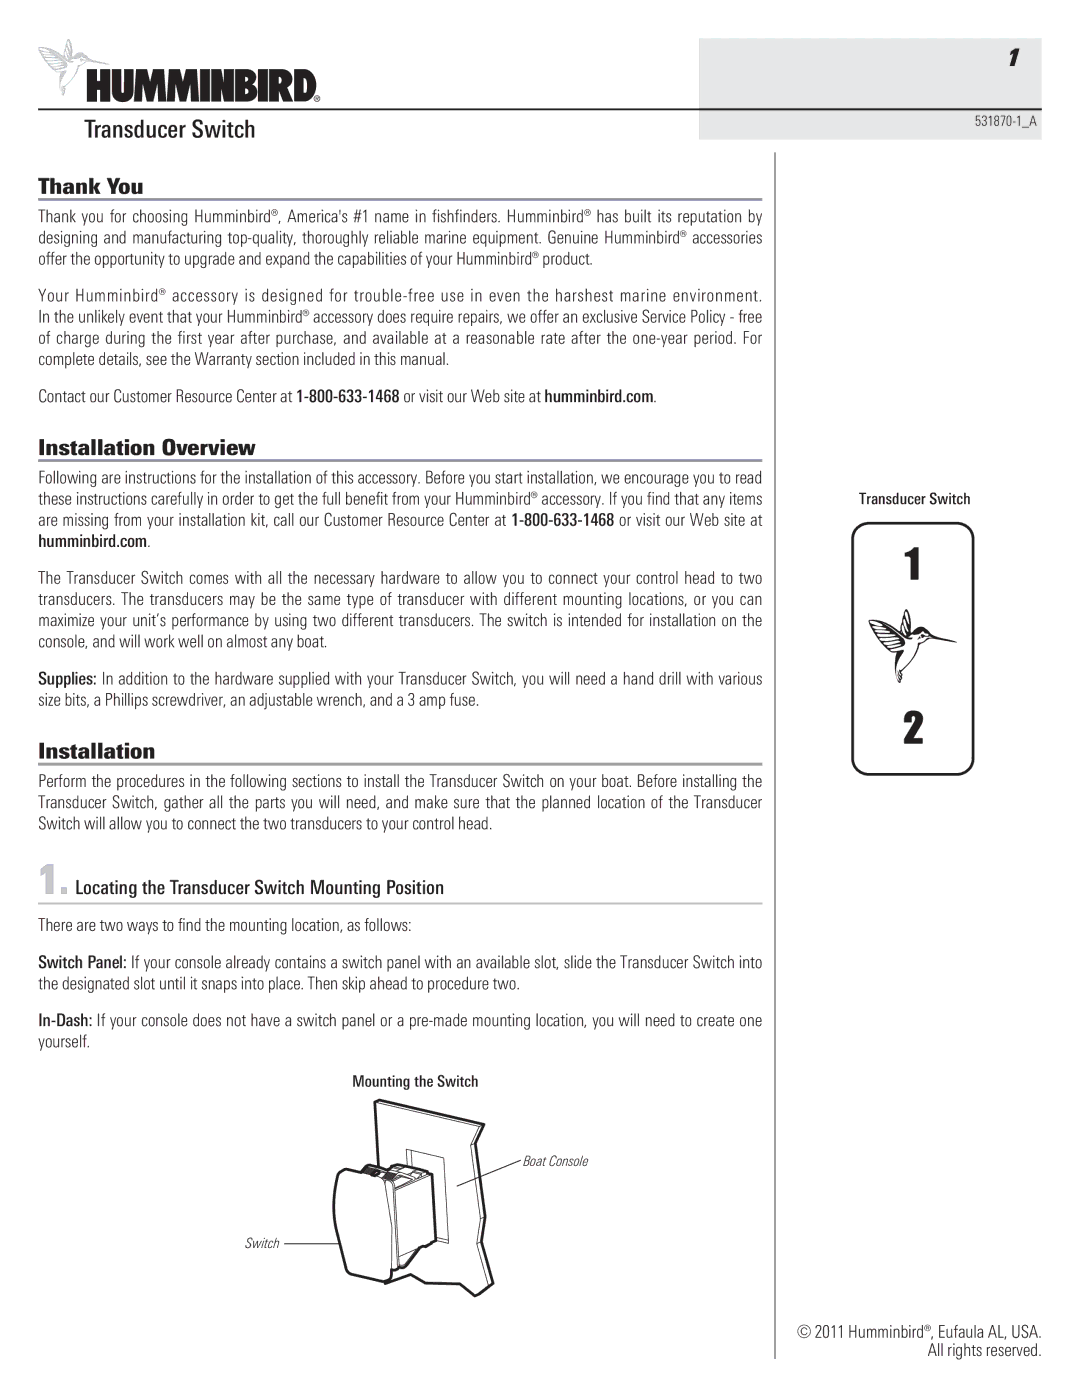
Switch Panel: If your console already contains a switch panel with an available slot, slide the Transducer Switch into the designated slot until it snaps into place. Then skip ahead to procedure two.
Transducer Switch
Mounting the Switch
![]() Boat Console
Boat Console
Switch
© 2011 Humminbird®, Eufaula AL, USA. All rights reserved.
