3. INSTALLATION
3.1 Preparations
1.If the lawn in the proposed working area is taller than 10 cm, mow it using a normal lawn mower. Then collect the clippings.
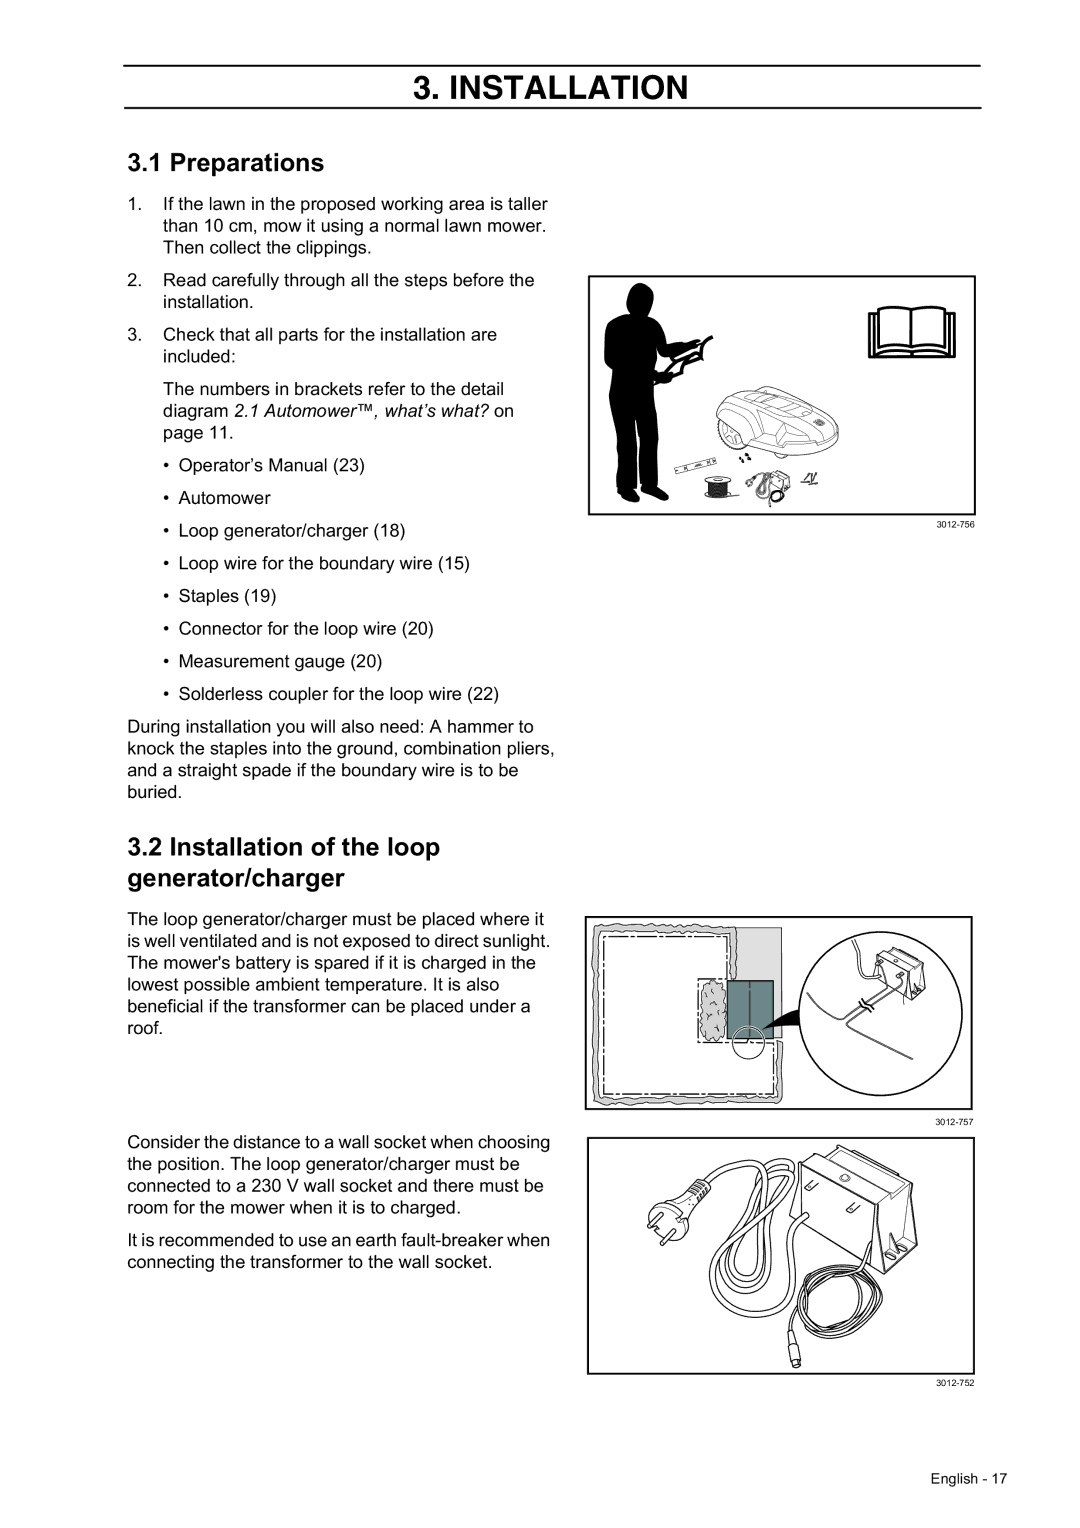
2.Read carefully through all the steps before the installation.
3.Check that all parts for the installation are included:
The numbers in brackets refer to the detail diagram 2.1 Automower™, what’s what? on page 11.
• Operator’s Manual (23)
• Automower
•Loop generator/charger (18)
•Loop wire for the boundary wire (15)
•Staples (19)
•Connector for the loop wire (20)
•Measurement gauge (20)
•Solderless coupler for the loop wire (22)
During installation you will also need: A hammer to knock the staples into the ground, combination pliers, and a straight spade if the boundary wire is to be buried.
3.2Installation of the loop generator/charger
The loop generator/charger must be placed where it is well ventilated and is not exposed to direct sunlight. The mower's battery is spared if it is charged in the lowest possible ambient temperature. It is also beneficial if the transformer can be placed under a roof.
Consider the distance to a wall socket when choosing the position. The loop generator/charger must be connected to a 230 V wall socket and there must be room for the mower when it is to charged.
It is recommended to use an earth
English - 17
