3. INSTALLATION
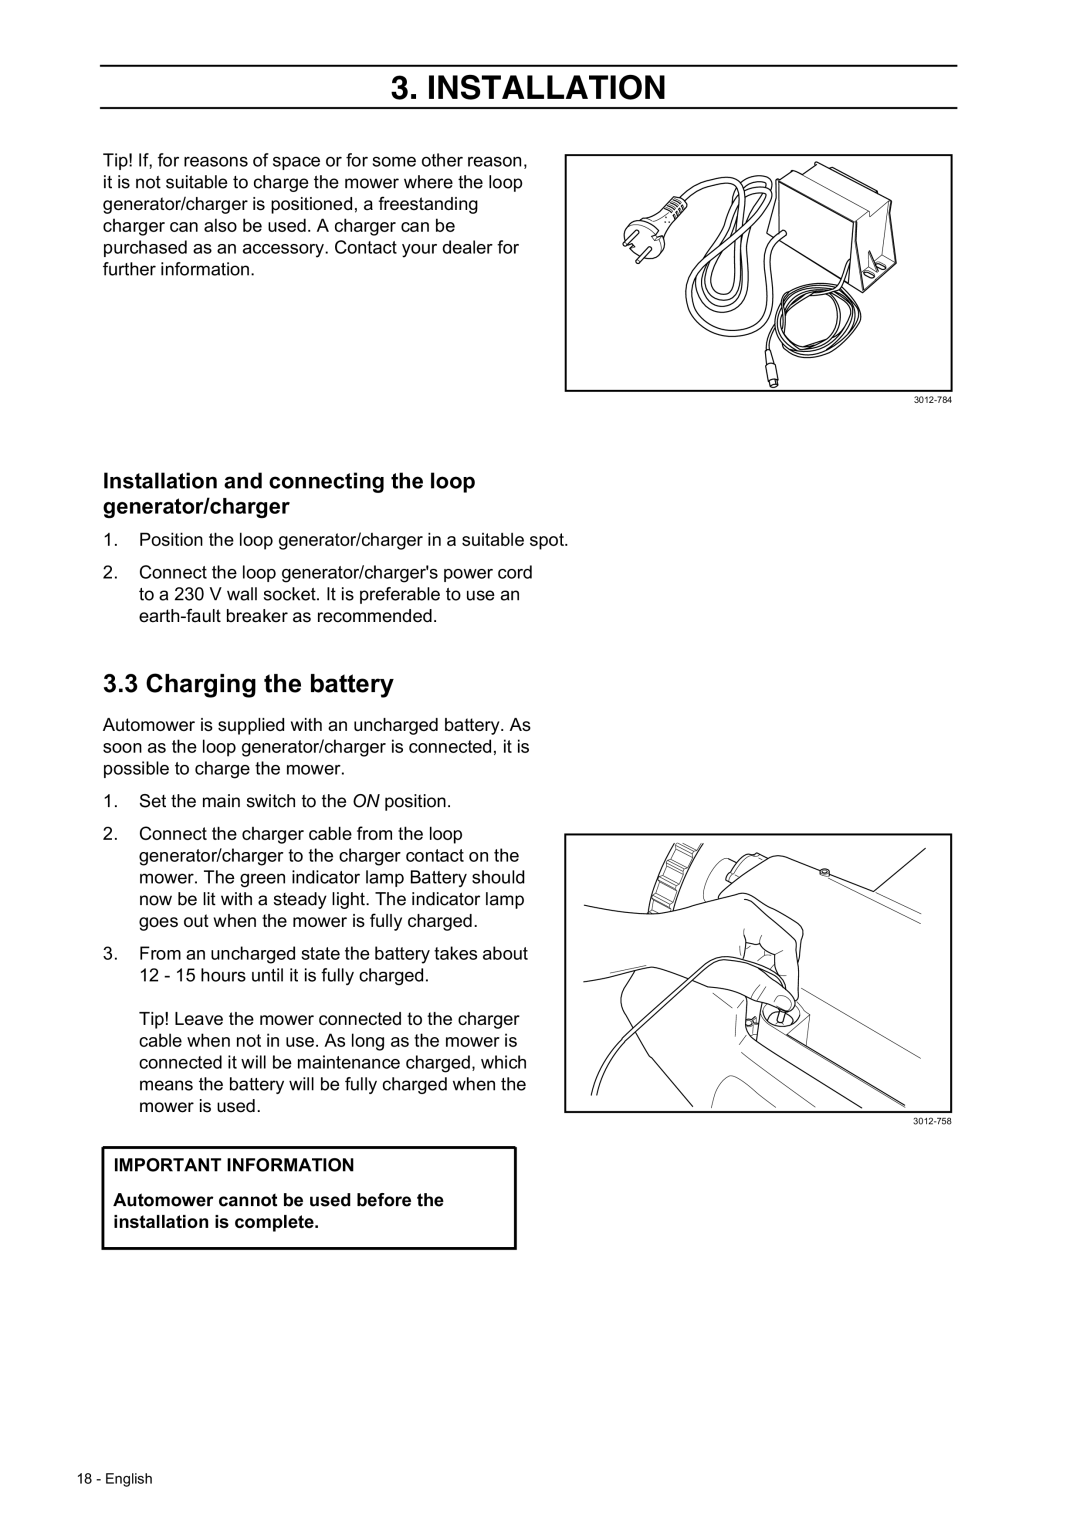
Tip! If, for reasons of space or for some other reason, it is not suitable to charge the mower where the loop generator/charger is positioned, a freestanding charger can also be used. A charger can be purchased as an accessory. Contact your dealer for further information.
Installation and connecting the loop generator/charger
1.Position the loop generator/charger in a suitable spot.
2.Connect the loop generator/charger's power cord to a 230 V wall socket. It is preferable to use an
3.3 Charging the battery
Automower is supplied with an uncharged battery. As soon as the loop generator/charger is connected, it is possible to charge the mower.
1.Set the main switch to the ON position.
2.Connect the charger cable from the loop generator/charger to the charger contact on the mower. The green indicator lamp Battery should now be lit with a steady light. The indicator lamp goes out when the mower is fully charged.
3.From an uncharged state the battery takes about 12 - 15 hours until it is fully charged.
Tip! Leave the mower connected to the charger cable when not in use. As long as the mower is connected it will be maintenance charged, which means the battery will be fully charged when the mower is used.
IMPORTANT INFORMATION
Automower cannot be used before the installation is complete.
18 - English