How to set up your snow thrower

Tool box

A toolbox is provided on your snow thrower. The toolbox is located on top of the belt cover. Store the extra shear bolts, nuts and multi-wrench provided in parts bag in the toolbox.

NOTE: The multi-wrench may be used for assembly of the chute rotator head to snow thrower and making adjustments to the skid plates.

Zusammensetzen der Schneefräse

Werkzeugkasten

Ihrer Schneefräse ist ein Werkzeugkasten beigefügt. Der Werkzeugkasten befindet sich auf der Riemenabdeckung. Heben Sie alle beigefügten Ersatzscherbolzen, Muttern und den Kombischraubenschlüssel in den dafür vorgesehenen Taschen im Werkzeugkasten auf.

HINWEIS: Der Kombischraubenschlüssel dient der Montage der Drehvorrichtung für die Auswurfrinne an der Schnee- fräse, und der Einstellung der Gleitkufen.

Comment installer votre souffleuse

Boîte à outils

Une boîte à outil est fournie sur votre souffleuse. La boîte à outil est située en haut du protecteur de courroie. Rangez les vis de cisaillement, écrous, les multiples clés fournies dans des sacs à pièce de la boîte à outil.

REMARQUE: Les multiples clés peuvent être utilisées pour l’assemblage de la tête rotative de la goulotte d’évacuation vers la souffleuse et pour faire des ajustements sur la plaque de protection du carter inférieur.

Como preparar su máquina quita- nieves

Portaherramienta

Con su máquina quitanieves se le proporciona un portaherra- mientas.Elportaherramientasestásituadosobrelacubiertadela correa. Guarde los pernos de cizalla de recambio, tuercas y llave múltiple de tuercas en la bolsa de partes del portaherramientas.

NOTA: La llave de apriete múltiple se puede usar para montar la cabeza rotante del conducto a la máquina quitanieves y para hacer regulaciones de las placas de deslizamiento.

Hoe uw sneeuwruimer te monteren

Gereedschapskist

Uw sneeuwruimer is voorzien van een gereedschapskist. De gereedschapskist is bevestigd aan de bovenkant van de ri- emhuls. Berg de reserve schuifbouten, moeren en moersleutels op in de daarvoor bestemde zakjes in de gereedschapskist.

N.B.: De moersleutel kan worden gebruikt voor de montage van de rotorkop van de afvoertrechter aan de sneeuwruimer en voor de aanpassing van de remplaten.

Come preparare lo spazzaneve

Cassetta degli attrezzi

Insieme con lo spazzaneve viene fornita una cassetta degli attrezzi, che si trova sopra la copertura della cinghia. Nei vari scompartimenti della cassetta sono racchiusi perni di sicurezza supplementari, dadi e una chiave multipla.

NOTA: La chiave multipla può essere utilizzata per montare sullo spazzaneve la testa del dispositivo di rotazione del canale di scarico ed effettuare le regolazione sulle piastre di slittamento.

D


C


A


B


E


D

F

G


Unfold upper handle

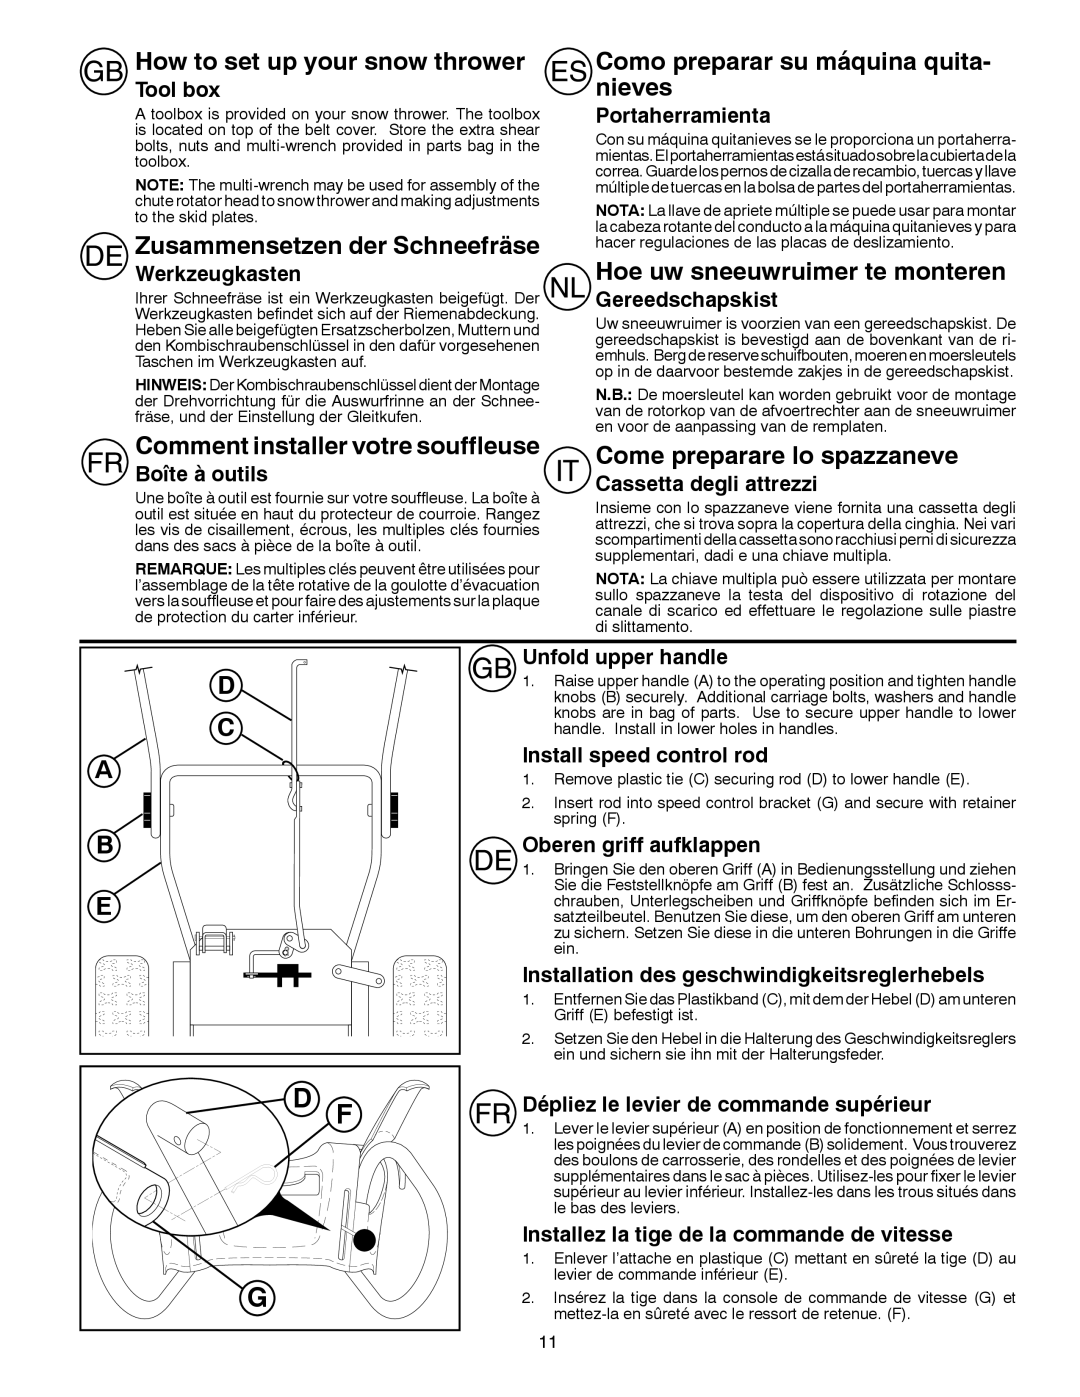
1.Raise upper handle (A) to the operating position and tighten handle knobs (B) securely. Additional carriage bolts, washers and handle knobs are in bag of parts. Use to secure upper handle to lower handle. Install in lower holes in handles.

Install speed control rod

1.Remove plastic tie (C) securing rod (D) to lower handle (E).

2.Insert rod into speed control bracket (G) and secure with retainer spring (F).

Oberen griff aufklappen

1.Bringen Sie den oberen Griff (A) in Bedienungsstellung und ziehen Sie die Feststellknöpfe am Griff (B) fest an. Zusätzliche Schlosss- chrauben, Unterlegscheiben und Griffknöpfe befinden sich im Er- satzteilbeutel. Benutzen Sie diese, um den oberen Griff am unteren zu sichern. Setzen Sie diese in die unteren Bohrungen in die Griffe ein.

Installation des geschwindigkeitsreglerhebels

1.Entfernen Sie das Plastikband (C), mit dem der Hebel (D) am unteren Griff (E) befestigt ist.

2.Setzen Sie den Hebel in die Halterung des Geschwindigkeitsreglers ein und sichern sie ihn mit der Halterungsfeder.

Dépliez le levier de commande supérieur

1.Lever le levier supérieur (A) en position de fonctionnement et serrez les poignées du levier de commande (B) solidement. Vous trouverez des boulons de carrosserie, des rondelles et des poignées de levier supplémentaires dans le sac à pièces. Utilisez-les pour fixer le levier supérieur au levier inférieur. Installez-les dans les trous situés dans le bas des leviers.

Installez la tige de la commande de vitesse

1.Enlever l’attache en plastique (C) mettant en sûreté la tige (D) au levier de commande inférieur (E).

2.Insérez la tige dans la console de commande de vitesse (G) et mettez-la en sûreté avec le ressort de retenue. (F).

11

Page 11
Image 11
Husqvarna ST 268EP How to set up your snow thrower, Zusammensetzen der Schneefräse, Comment installer votre souffleuse

ST 268EP specifications

The Husqvarna ST 268EP is a versatile and powerful snow blower designed for homeowners and professionals alike, offering exceptional performance in tackling heavy snowfall and maintaining clear pathways. This machine combines cutting-edge technology with robust construction to deliver reliability and efficiency during winter tasks.

One of the standout features of the ST 268EP is its powerful engine. Equipped with a reliable 269cc Husqvarna engine, it provides ample power to clear large amounts of snow quickly and effortlessly. The engine is not only designed for optimal performance but also incorporates advanced air injection technology, which ensures a steady airflow for flawless engine operation, even in the coldest conditions.

The ST 268EP offers a 26-inch clearing width and a 23-inch intake height, making it capable of handling both light and heavy snowfalls. The auger system features a robust design that efficiently handles varied snow types, including wet or heavy snow. Additionally, the machine's high-performance impeller allows for impressive throwing distance, helping to clear snow piles effectively from your driveway or walkway.

One of the innovative technologies integrated into the Husqvarna ST 268EP is the two-stage snow throwing system. This system works by first collecting snow through the auger and then discharging it through the chute, which is adjustable to direct snow in the desired direction. The chute can rotate 200 degrees, offering superior control over where the snow is thrown, which is particularly useful in confined spaces.

User convenience is a key consideration in the design of the ST 268EP. The snow blower features electric start capability, making it easy to start with the push of a button, eliminating the hassle of pull cords, especially in frigid temperatures. Ergonomically designed handles provide comfort during operation, while the hand warmers keep the operator's hands warm during extended use.

With its durable construction, including heavy-duty steel and a reinforced housing, the Husqvarna ST 268EP is built to withstand rigorous winter conditions. The adjustable skid shoes allow users to customize the clearance height, preventing damage to surfaces while ensuring efficient snow removal.

In summary, the Husqvarna ST 268EP is a powerful, efficient, and user-friendly snow blower equipped with advanced features and reliable technology. Its durable build, combined with innovative systems, makes it an ideal choice for anyone looking to manage winter snowfall effectively. Whether for residential or commercial use, the ST 268EP proves to be a valuable asset during the winter season.