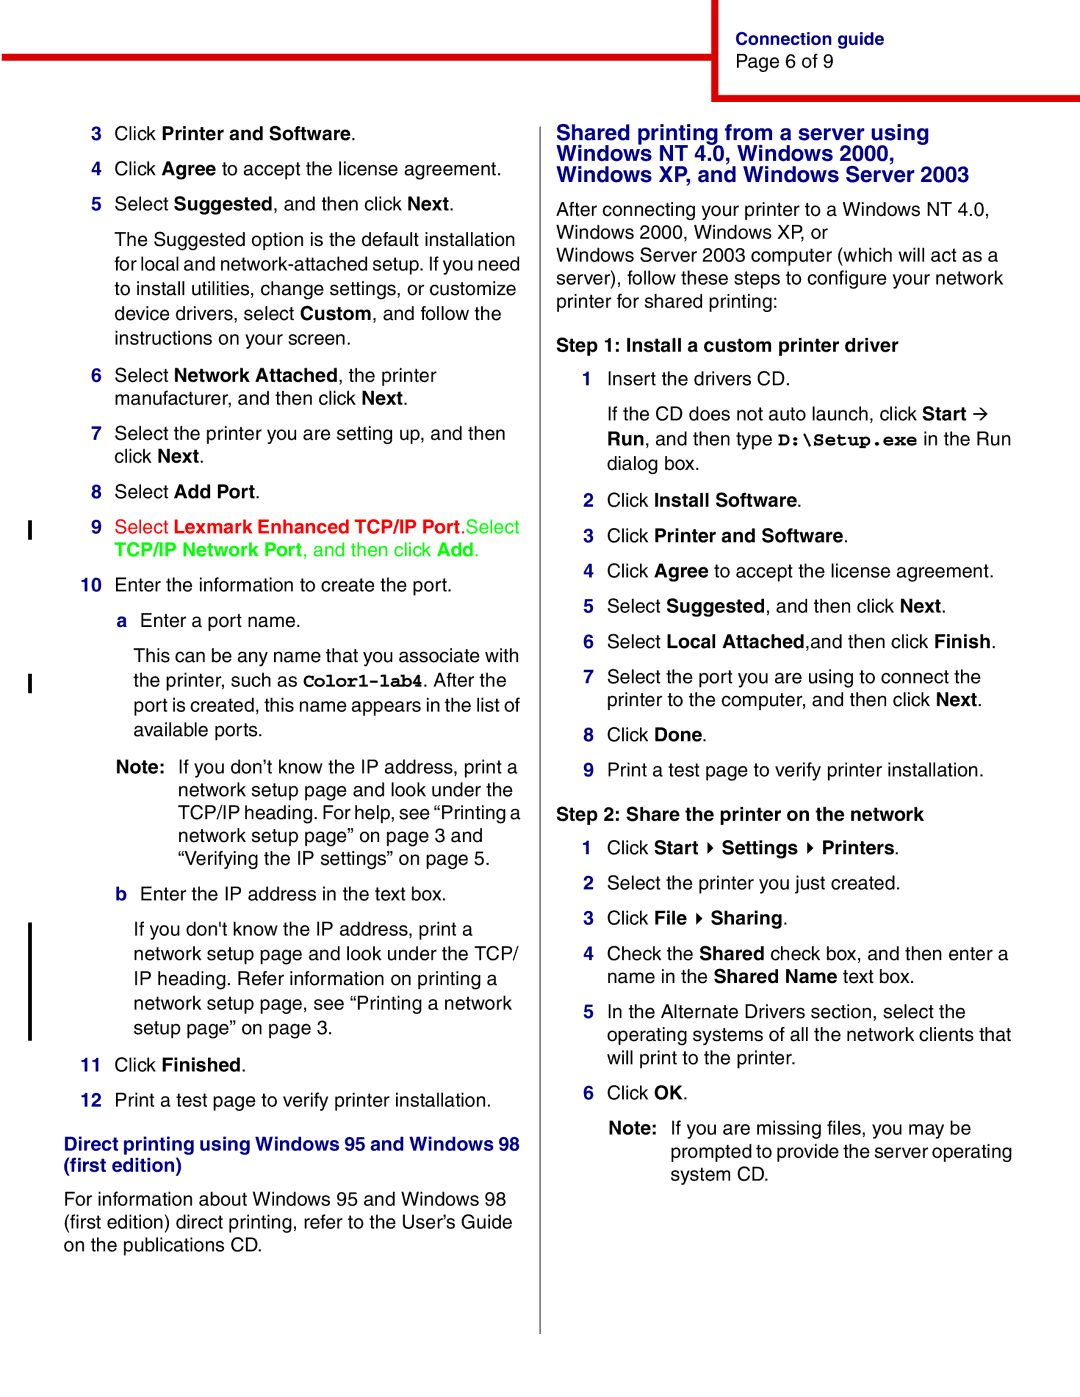
3Click Printer and Software.

4Click Agree to accept the license agreement.

5Select Suggested, and then click Next.

The Suggested option is the default installation for local and network-attached setup. If you need to install utilities, change settings, or customize device drivers, select Custom, and follow the instructions on your screen.

6Select Network Attached, the printer manufacturer, and then click Next.

7Select the printer you are setting up, and then click Next.

8Select Add Port.

9Select Lexmark Enhanced TCP/IP Port.Select TCP/IP Network Port, and then click Add.

10Enter the information to create the port.

aEnter a port name.

This can be any name that you associate with the printer, such as Color1-lab4. After the port is created, this name appears in the list of available ports.

Note: If you don’t know the IP address, print a network setup page and look under the TCP/IP heading. For help, see “Printing a network setup page” on page 3 and “Verifying the IP settings” on page 5.

bEnter the IP address in the text box.

If you don't know the IP address, print a network setup page and look under the TCP/ IP heading. Refer information on printing a network setup page, see “Printing a network setup page” on page 3.

11Click Finished.

12Print a test page to verify printer installation.

Direct printing using Windows 95 and Windows 98 (first edition)

For information about Windows 95 and Windows 98 (first edition) direct printing, refer to the User’s Guide on the publications CD.

Connection guide

Page 6 of 9

Shared printing from a server using Windows NT 4.0, Windows 2000, Windows XP, and Windows Server 2003

After connecting your printer to a Windows NT 4.0, Windows 2000, Windows XP, or

Windows Server 2003 computer (which will act as a server), follow these steps to configure your network printer for shared printing:

Step 1: Install a custom printer driver

1Insert the drivers CD.

If the CD does not auto launch, click Start à Run, and then type D:\Setup.exe in the Run dialog box.

2Click Install Software.

3Click Printer and Software.

4Click Agree to accept the license agreement.

5Select Suggested, and then click Next.

6Select Local Attached,and then click Finish.

7Select the port you are using to connect the printer to the computer, and then click Next.

8Click Done.

9Print a test page to verify printer installation.

Step 2: Share the printer on the network

1Click Start Settings Printers.

2Select the printer you just created.

3Click File Sharing.

4Check the Shared check box, and then enter a name in the Shared Name text box.

5In the Alternate Drivers section, select the operating systems of all the network clients that will print to the printer.

6Click OK.

Note: If you are missing files, you may be prompted to provide the server operating system CD.

Page 19
Image 19
IBM 1454, 1464 manual Click Finished, Install a custom printer driver, Click File Sharing

1454, 1464 specifications

The IBM 1454 and 1464 are notable computing systems that have played a significant role in the evolution of technology. Introduced in the 1960s, these systems were part of IBM's early foray into mini-computers, which aimed to provide more accessible computing power compared to their larger mainframe counterparts.

The IBM 1454, which was designed with an emphasis on flexibility and adaptability, featured a modular architecture that allowed for various configurations based on user needs. It supported multiple programming languages, which made it versatile for a range of applications, from scientific calculations to business data processing. One of its main features was the capability to interface with peripheral devices, showcasing an early attempt at creating a more interconnected computing environment.

On the other hand, the IBM 1464 was an advancement over the 1454, boasting enhanced processing capabilities and memory management. It was specifically engineered for real-time applications, which was becoming increasingly important in industries such as telecommunications and manufacturing. The 1464 incorporated improved input/output operations, enabling faster data processing and more efficient use of hardware resources. This made it suitable for complex tasks that required immediate processing and feedback.

Both models utilized IBM’s proprietary technologies, including a unique assembly language and input/output channels that optimized data flow between the CPU and peripherals. They were also equipped with magnetic core memory, which, while basic by today's standards, was a cutting-edge feature at the time, providing both speed and reliability.

In terms of characteristics, the IBM 1454 and 1464 were compact for their time, designed to fit into space-constrained environments such as laboratories and business offices. They also came with comprehensive documentation and support, reflecting IBM's commitment to customer service and user education.

In summary, the IBM 1454 and 1464 were pivotal in defining the landscape of mini-computing during their era. With their modular designs, robust processing capabilities, and support for real-time applications, they laid the groundwork for future advancements in computer technology. Their legacy continues to influence modern computing systems, making them critical milestones in the history of information technology.