HOW TO USE THIS INSTRUCTION MANUAL
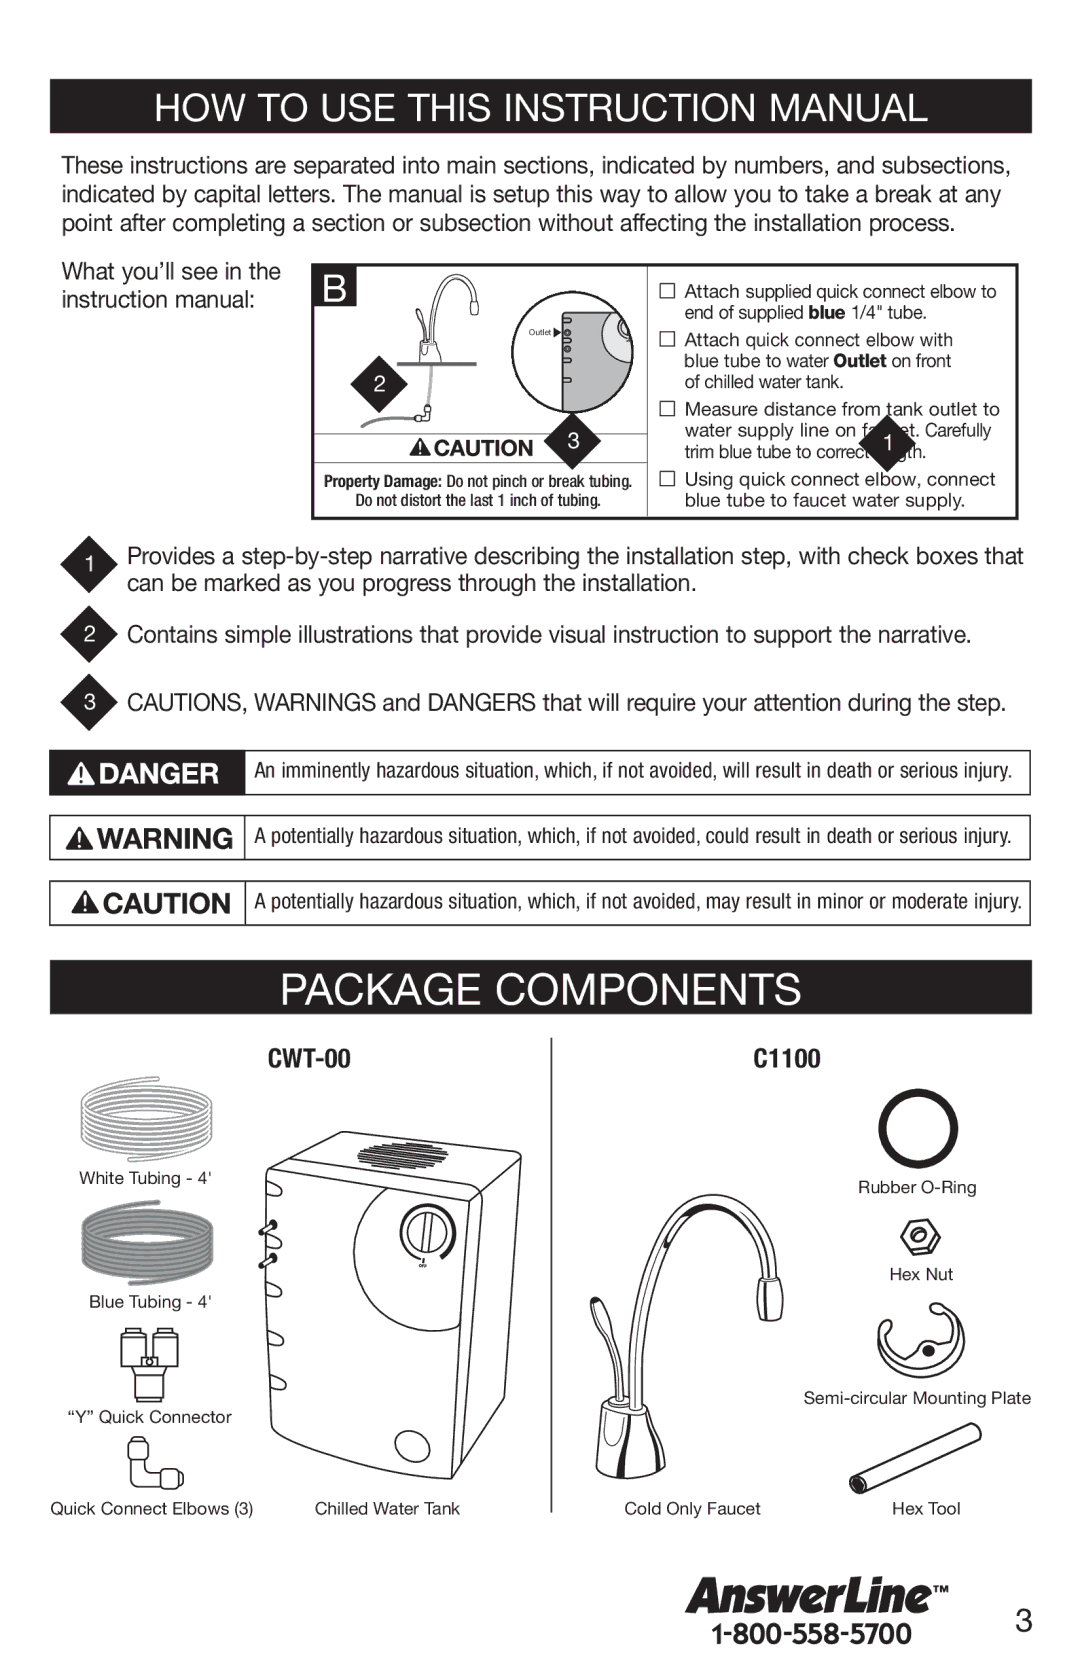
These instructions are separated into main sections, indicated by numbers, and subsections, indicated by capital letters. The manual is setup this way to allow you to take a break at any point after completing a section or subsection without affecting the installation process.
What you’ll see in the instruction manual:
B
Outlet ![]()
![]()
2
3
Property Damage: Do not pinch or break tubing.
Do not distort the last 1 inch of tubing.
Attach supplied quick connect elbow to end of supplied blue 1/4" tube.
![]()
![]()
![]() Attach quick connect elbow with blue tube to water Outlet on front of chilled water tank.
Attach quick connect elbow with blue tube to water Outlet on front of chilled water tank.
Measure distance from tank outlet to
water supply line on | 1 | . Carefully |
trim blue tube to correct | . |
![]()
![]()
![]() Using quick connect elbow, connect blue tube to faucet water supply.
Using quick connect elbow, connect blue tube to faucet water supply.
1Provides a
2Contains simple illustrations that provide visual instruction to support the narrative.
3CAUTIONS, WARNINGS and DANGERS that will require your attention during the step.
An imminently hazardous situation, which, if not avoided, will result in death or serious injury.
A potentially hazardous situation, which, if not avoided, could result in death or serious injury.
A potentially hazardous situation, which, if not avoided, may result in minor or moderate injury.
PACKAGE COMPONENTS
White Tubing - 4'
Blue Tubing - 4'
C1100
Rubber
Hex Nut
“Y” Quick Connector
Quick Connect Elbows (3) | Chilled Water Tank |
Cold Only Faucet | Hex Tool |
3
