HC1100, GN1100 specifications
The InSinkErator GN1100 and HC1100 are standout models in the realm of food waste disposers, designed to enhance kitchen efficiency and sustainability. Both models integrate advanced features and technologies that make them a reliable choice for modern households seeking convenience and performance.The GN1100 is designed for powerful food waste grinding with its robust 3/4 horsepower induction motor. This motor operates quietly while effectively handling a variety of food scraps, including fibrous vegetables and small bones. The grind chamber is constructed with a stainless steel grind component, ensuring durability and resistance to corrosion, thus extending the lifespan of the unit.
One of the key features of the GN1100 is its sound insulation technology, which minimizes noise during operation. Homeowners can enjoy a peaceful kitchen environment while maintaining their waste disposal routines. The disposal unit also features a continuous feed design, allowing for ongoing grinding as food scraps are added, which significantly speeds up the process of disposing of waste.
The HC1100 model takes innovation a step further by incorporating the added benefit of hot water on demand. With a 2.5-gallon hot water tank, the HC1100 delivers instant hot water, reaching temperatures of up to 200°F. This feature is particularly useful for tasks such as food preparation, cleaning dishes, and sanitizing surfaces. Users can enjoy the convenience of having hot water readily available right at their sink, enhancing their overall kitchen experience.
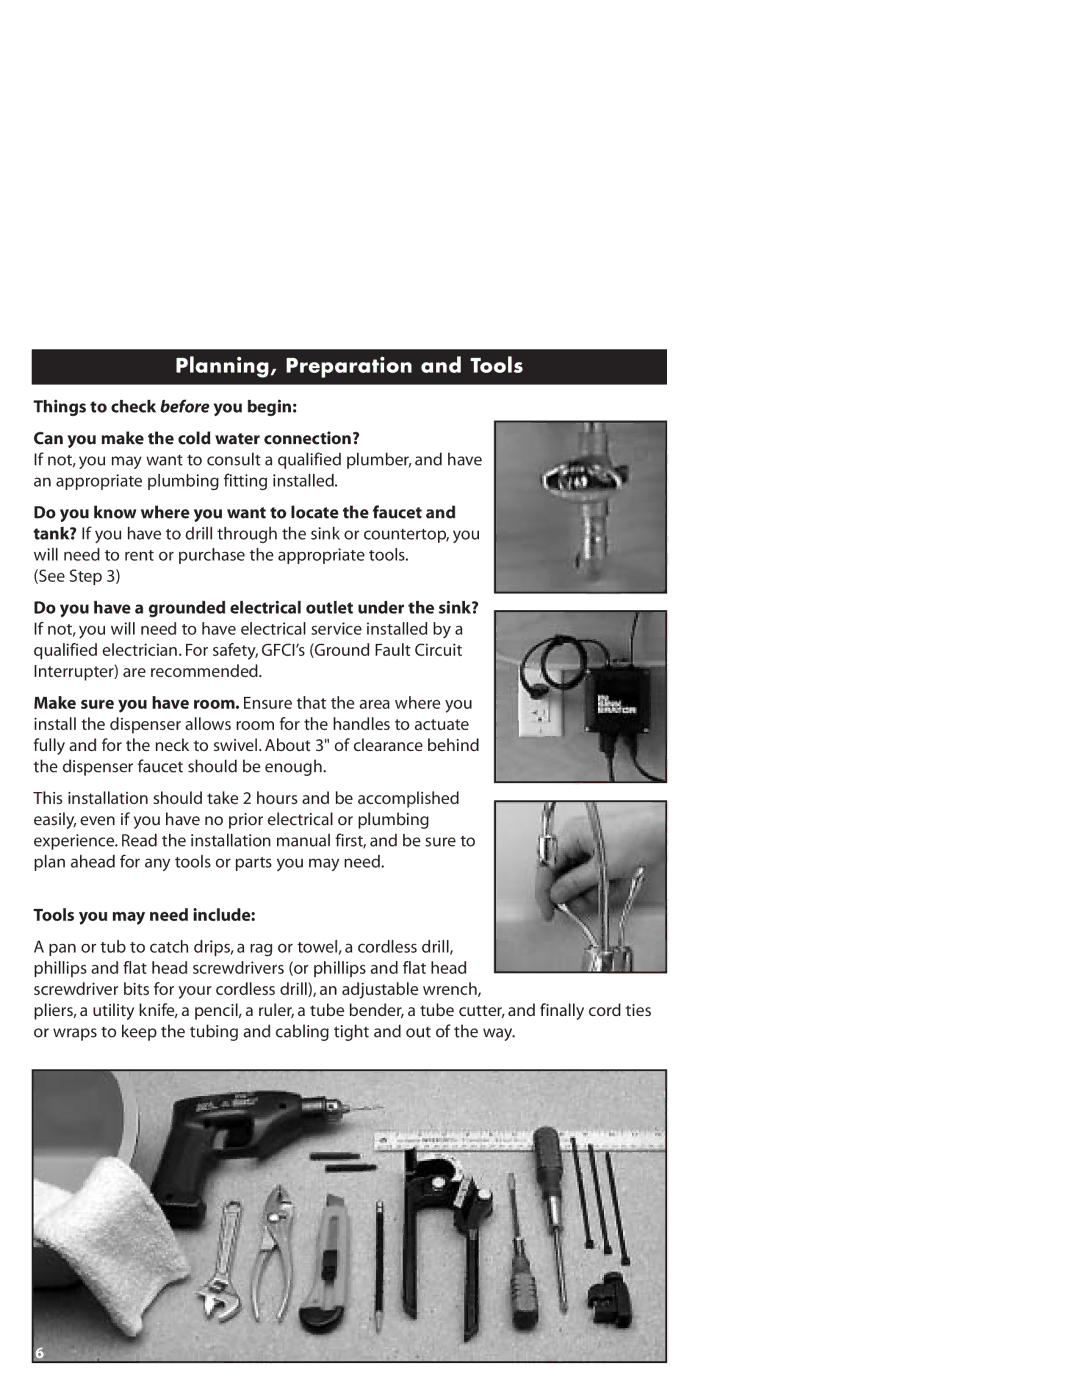
Both models feature a quick and easy installation process, which can often be done without the need for professional plumbing help. The units come with an easy-to-understand instruction manual, making it convenient for DIY enthusiasts to set up.
Safety and performance are crucial aspects of the InSinkErator GN1100 and HC1100. Each unit is equipped with a jam-proof system that prevents clogs and ensures smooth operation. Additionally, the built-in overload protection feature safeguards against motor burnout, enhancing reliability and user confidence.
In summary, the InSinkErator GN1100 and HC1100 offer a combination of power, efficiency, and cutting-edge technology, making them ideal for anyone looking to efficiently manage food waste while also enjoying the luxury of instant hot water in the kitchen. With their focus on durability and user-friendly design, these disposers are a smart investment for environmentally conscious households aiming to simplify their daily chores and minimize waste.