PROCEDURE 4 | REAR WHEELS |
|
|
R
E
A
R
W
H
E
E
L
S
ADJUSTING THE QUICK-RELEASE AXLE (FIGURE 3)
NOTE: Quick Release Axles are available on
1.Remove rear wheel and
2.Depress detent pin in the
3.Release detent pin ensuring that the locking pins are fully released.
4.Increase or decrease end play by adjusting the locknut on the end of the
5.Reinstall rear wheel onto the wheelchair. Refer to
REMOVING/INSTALLING THE REAR WHEELS in this section of the manual.
Wheelchair | Locknut | |
Frame | ||
|
Locking
PinsDetent
Pin
Axle Spacer |
|
|
(Conventional |
| Rear |
Arms Only) |
| Wheel |
| Quick- Release | Hub |
|
| |
| Axle |
|
FIGURE 3 - ADJUSTING THE QUICK-RELEASE
AXLE
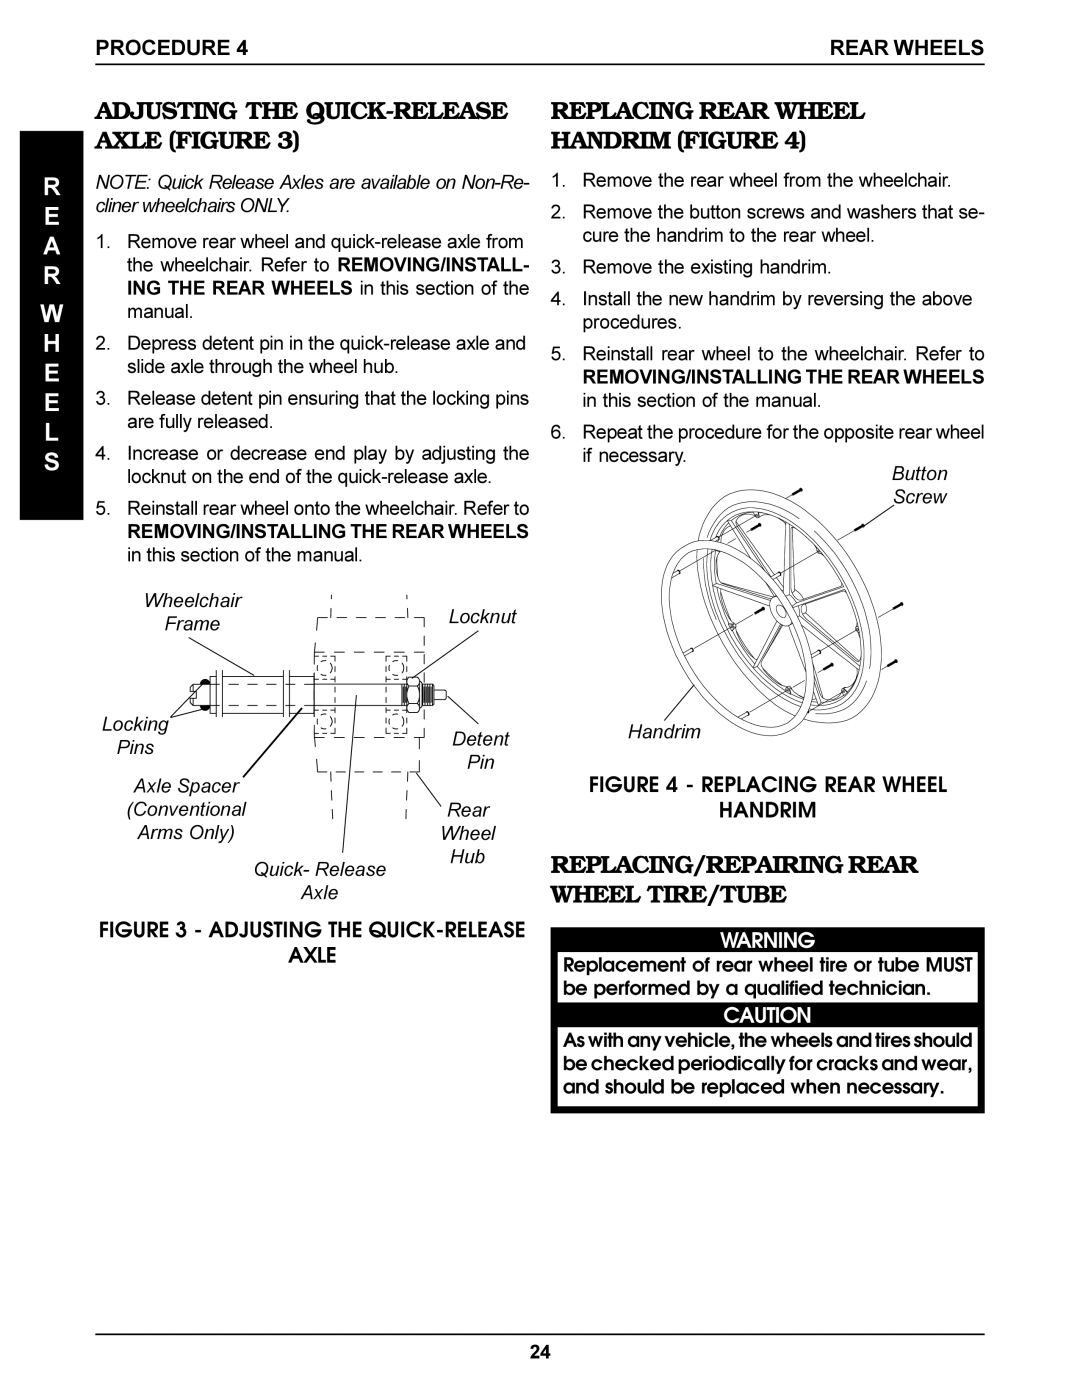
REPLACING REAR WHEEL
HANDRIM (FIGURE 4)
1.Remove the rear wheel from the wheelchair.
2.Remove the button screws and washers that se- cure the handrim to the rear wheel.
3.Remove the existing handrim.
4.Install the new handrim by reversing the above procedures.
5.Reinstall rear wheel to the wheelchair. Refer to
REMOVING/INSTALLING THE REAR WHEELS in this section of the manual.
6.Repeat the procedure for the opposite rear wheel if necessary.
Button
Screw
Handrim
FIGURE 4 - REPLACING REAR WHEEL
HANDRIM
REPLACING/REPAIRING REAR WHEEL TIRE/TUBE
WARNING
Replacement of rear wheel tire or tube MUST be performed by a qualified technician.
CAUTION
As with any vehicle, the wheels and tires should be checked periodically for cracks and wear, and should be replaced when necessary.
24