English
STADIUM: Adds clarity and spreads the sound, like in an outdoor stadium.
SEA (Sound Effect Amplifier) modes:
ROCK: Boosts low and high frequency. Good for acoustic music.
POP: Good for vocal music.
CLASSIC: Good for classical music.
Manual modes:
MANUAL 1/2/3:
Your individual mode stored in memory. See “Creating Your Own Sound Mode — Manual Mode” on page 12.
OFF: The sound mode is cancelled. The SOUND MODE indicator goes off.
**Surround elements are added to the SEA elements to create a
When one of these modes is selected, the SOUND MODE indicator lights up as ![]()
![]()
![]()
While one of the SEA modes including manual modes (SEA
elements without surround elements) is selected, the SOUND MODE indicator lights up as — ![]()
![]()
Creating Your Own Sound Mode
— Manual Mode
You can change SEA patterns to suit your preference. These changed settings can be stored in the MANUAL 1, MANUAL 2 and MANUAL 3 modes.
•There is a time limit in performing the following steps. If the setting is cancelled before you finish, start from step 1 again.
On the unit ONLY:
1 Select one of the preset sound modes.
•If you want to add the surround elements in your SEA pattern, select one of the surround modes (D.CLUB, HALL, or STADIUM) before starting the procedure below. (See “Selecting the Sound Modes” on page 11.)
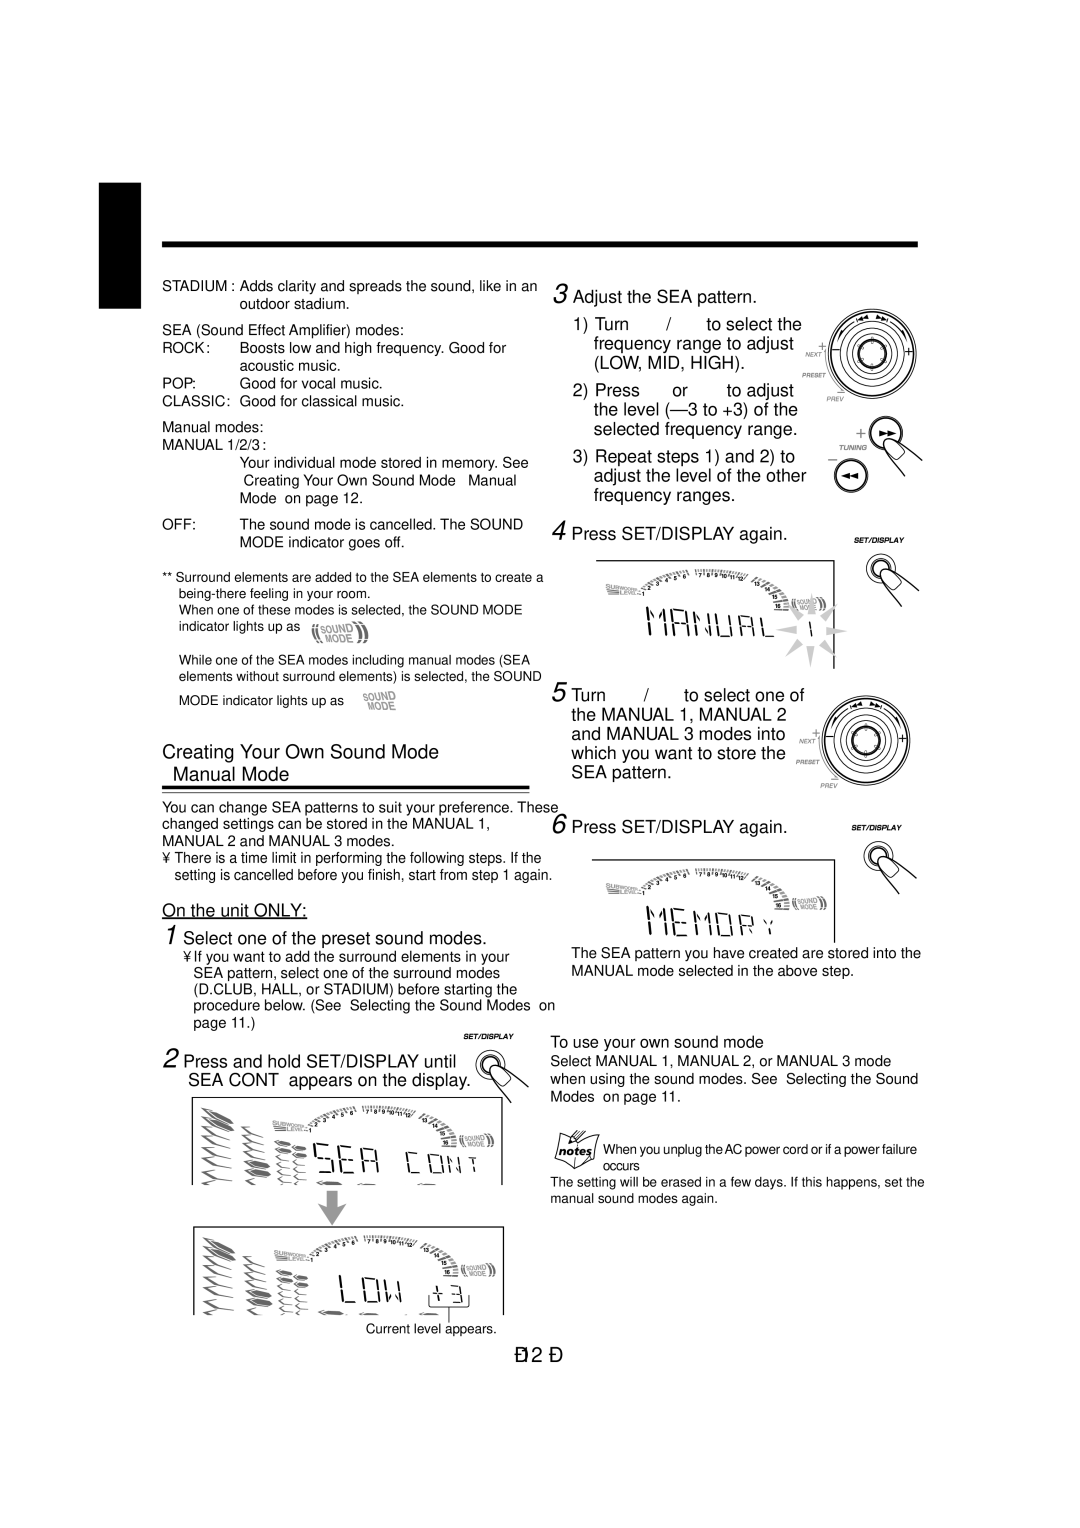
2 Press and hold SET/DISPLAY until “SEA CONT” appears on the display.
Current level appears.
3 Adjust the SEA pattern.
1) Turn 4/¢ to select the frequency range to adjust (LOW, MID, HIGH).
2) Press 1 or ¡ to adjust the level
3) Repeat steps 1) and 2) to adjust the level of the other frequency ranges.
4 Press SET/DISPLAY again.
5 Turn 4/¢ to select one of the MANUAL 1, MANUAL 2 and MANUAL 3 modes into which you want to store the SEA pattern.
6 Press SET/DISPLAY again.
The SEA pattern you have created are stored into the MANUAL mode selected in the above step.
To use your own sound mode
Select MANUAL 1, MANUAL 2, or MANUAL 3 mode when using the sound modes. See “Selecting the Sound Modes” on page 11.
When you unplug theAC power cord or if a power failure occurs
The setting will be erased in a few days. If this happens, set the manual sound modes again.
– 12 –