54
 EN
EN


 PLAYBACK

 (cont.)


Display Mode during Playback
To change the display mode during playback, press the DISPLAY button.
Press the DISPLAY button repeatedly to cycle through the following modes:
•Full size screen (with
•Full size screen (without
•6 indexed picture screen
•This feature is not available during Video Playback.
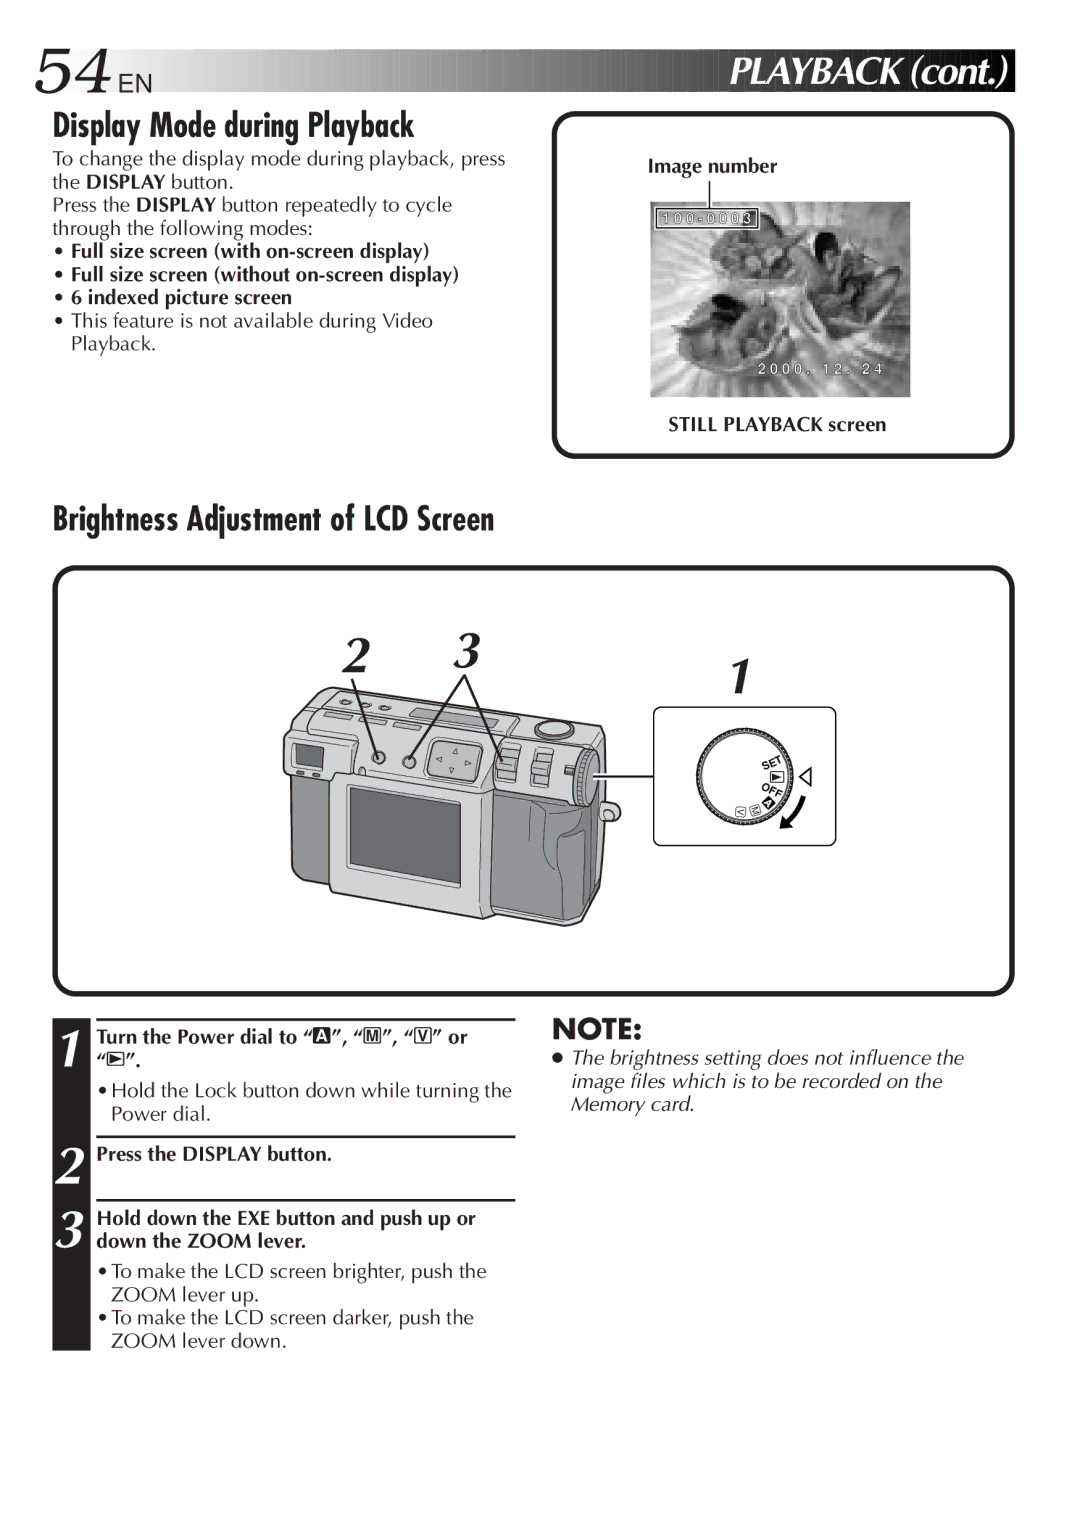
Image number
![]() 1 0 0 - 0 0 0 3
1 0 0 - 0 0 0 3 ![]()
2 0 0 0 . 1 2 . 2 4
STILL PLAYBACK screen
Brightness Adjustment of LCD Screen
2 | 3 | 1 |
|
|
V
SET
4 OFF
M
1 Turn the Power dial to “A”, “M”, “V” or “B”.
•Hold the Lock button down while turning the Power dial.
2 Press the DISPLAY button.
3 Hold down the EXE button and push up or down the ZOOM lever.
•To make the LCD screen brighter, push the ZOOM lever up.
•To make the LCD screen darker, push the ZOOM lever down.
NOTE:
●The brightness setting does not influence the image files which is to be recorded on the Memory card.