Using the Menu
This chapter contains information about how to change monitor settings for your LCD Monitor. It is designed with an menu to help you easily adjust to its optimum performance.
Note: In the PC mode, do the “AUTO ADJUST” setting first, before adjusting any settings. For details, see “AUTO ADJUST” on page 17.
Menu Operation
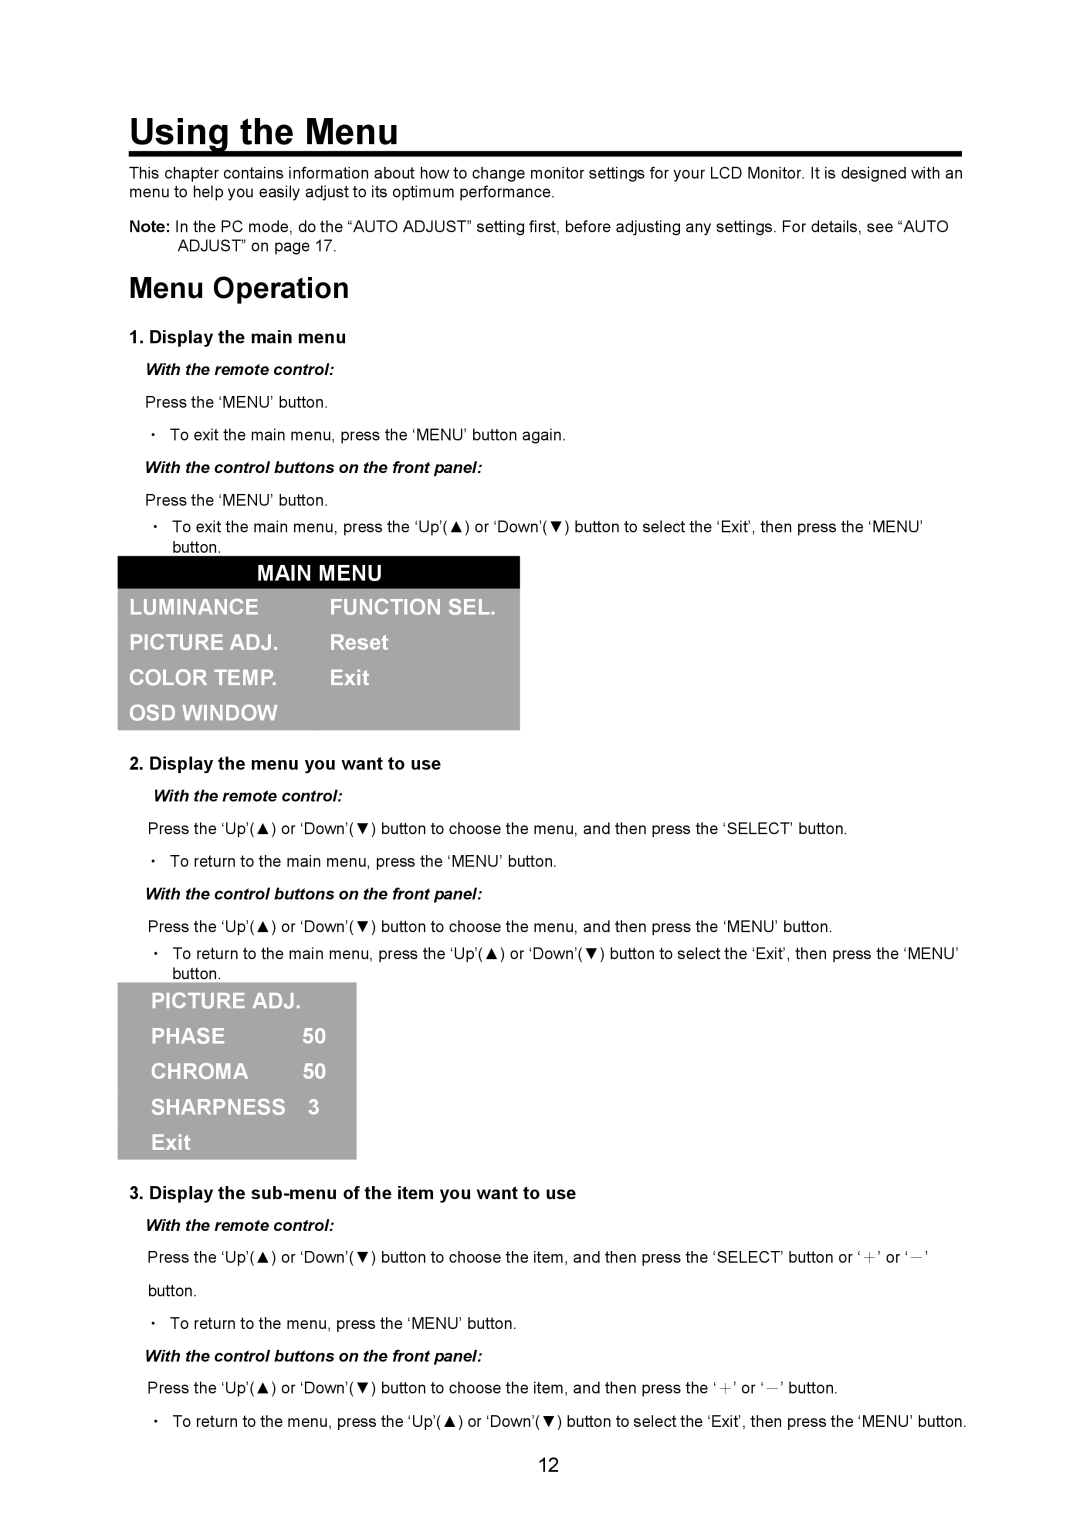
1. Display the main menu
With the remote control:
Press the ‘MENU’ button.
・To exit the main menu, press the ‘MENU’ button again.
With the control buttons on the front panel:
Press the ‘MENU’ button.
・To exit the main menu, press the ‘Up’(▲) or ‘Down’(▼) button to select the ‘Exit’, then press the ‘MENU’ button.
MAIN MENU
LUMINANCE | FUNCTION SEL. |
PICTURE ADJ. | Reset |
COLOR TEMP. | Exit |
OSD WINDOW |
|
2.Display the menu you want to use
With the remote control:
Press the ‘Up’(▲) or ‘Down’(▼) button to choose the menu, and then press the ‘SELECT’ button.
・To return to the main menu, press the ‘MENU’ button.
With the control buttons on the front panel:
Press the ‘Up’(▲) or ‘Down’(▼) button to choose the menu, and then press the ‘MENU’ button.
・To return to the main menu, press the ‘Up’(▲) or ‘Down’(▼) button to select the ‘Exit’, then press the ‘MENU’ button.
PICTURE ADJ.
PHASE 50
CHROMA 50
SHARPNESS 3
Exit
3. Display the sub-menu of the item you want to use
With the remote control:
Press the ‘Up’(▲) or ‘Down’(▼) button to choose the item, and then press the ‘SELECT’ button or ‘+’ or ‘-’
button.
・To return to the menu, press the ‘MENU’ button.
With the control buttons on the front panel:
Press the ‘Up’(▲) or ‘Down’(▼) button to choose the item, and then press the ‘+’ or ‘-’ button.
・To return to the menu, press the ‘Up’(▲) or ‘Down’(▼) button to select the ‘Exit’, then press the ‘MENU’ button.
12
