22![]()
![]()
![]() EN
EN![]()
![]()
![]()
![]()
![]()
![]()
![]()
![]()
![]()
![]()
![]()
![]()
![]()
![]()
![]()
![]()
![]()
![]()
![]()
![]()
![]()
![]()
![]()
![]()
![]()
![]()
![]()
![]()
VIDEO


 RECORDING


 Basic
Basic
 Features
 (cont.)


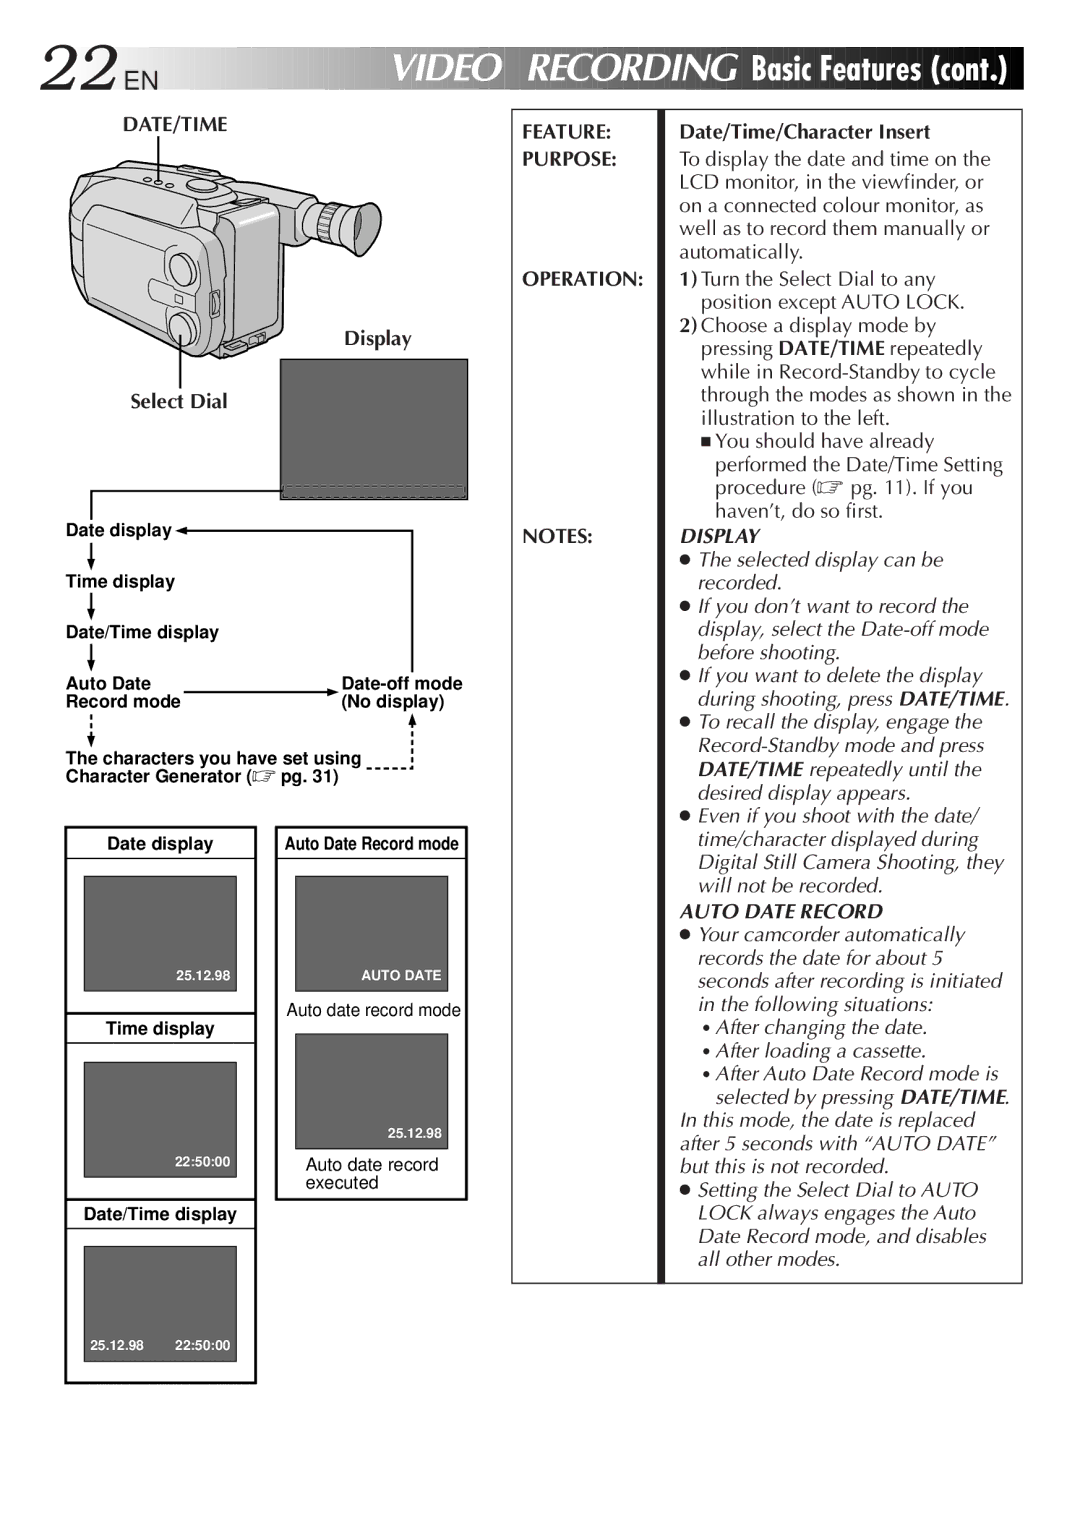
DATE/TIME
Display
Select Dial
Date display![]()
Time display
Date/Time display
Auto Date |
| |
Record mode |
| (No display) |
The characters you have set using
Character Generator (☞ pg. 31)
Date display |
| Auto Date Record mode |
25.12.98AUTO DATE
Auto date record mode
FEATURE:
PURPOSE:
OPERATION:
NOTES:
Date/Time/Character Insert
To display the date and time on the LCD monitor, in the viewfinder, or on a connected colour monitor, as well as to record them manually or automatically.
1)Turn the Select Dial to any position except AUTO LOCK.
2)Choose a display mode by pressing DATE/TIME repeatedly while in
■You should have already
performed the Date/Time Setting procedure (☞ pg. 11). If you haven’t, do so first.
DISPLAY
●The selected display can be recorded.
●If you don’t want to record the display, select the
●If you want to delete the display during shooting, press DATE/TIME.
●To recall the display, engage the
●Even if you shoot with the date/ time/character displayed during Digital Still Camera Shooting, they will not be recorded.
AUTO DATE RECORD
● Your camcorder automatically |
records the date for about 5 |
seconds after recording is initiated |
in the following situations: |
Time display
22:50:00
Date/Time display
25.12.98
Auto date record executed
• After changing the date. |
• After loading a cassette. |
• After Auto Date Record mode is |
selected by pressing DATE/TIME. |
In this mode, the date is replaced after 5 seconds with “AUTO DATE” but this is not recorded.
●Setting the Select Dial to AUTO LOCK always engages the Auto Date Record mode, and disables all other modes.
25.12.9822:50:00