ADJUSTMENTS | EN 39 |
Adjusting Image Quality – Adjustments before Printing –
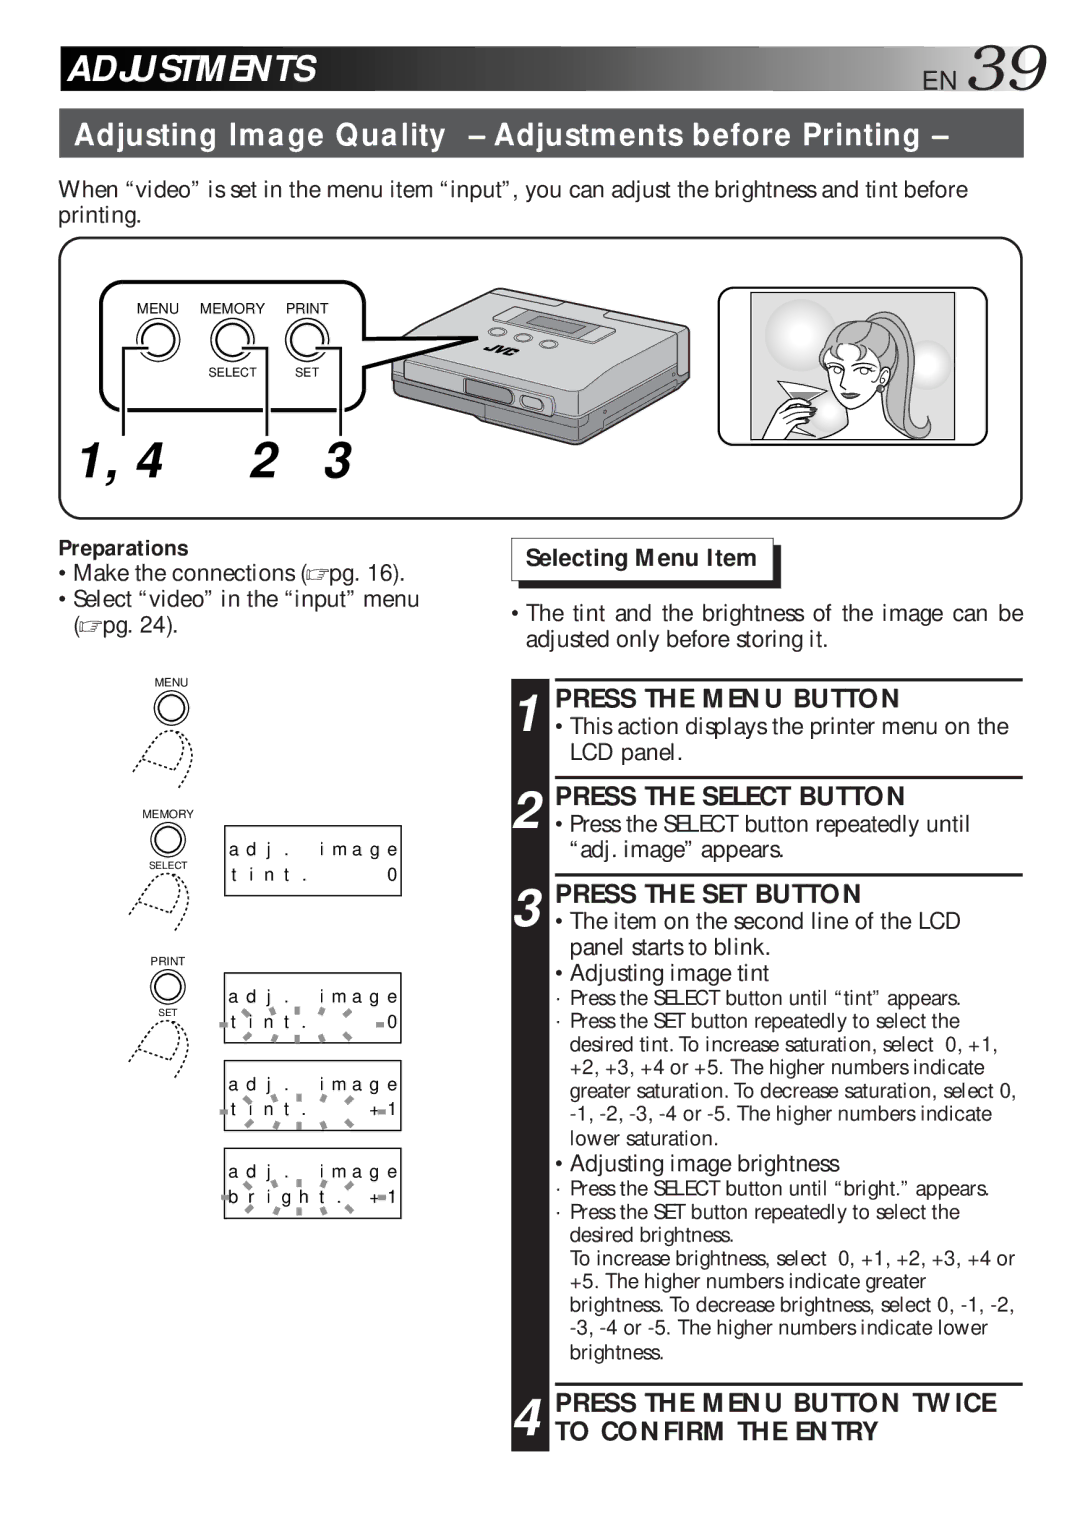
When “video” is set in the menu item “input”, you can adjust the brightness and tint before printing.
MENU MEMORY PRINT
SELECT | SET |
1, 4 | 2 | 3 |
Preparations
•Make the connections ( pg. 16). •Select “video” in the “input” menu
( pg. 24).
Selecting Menu Item
•The tint and the brightness of the image can be adjusted only before storing it.
MENU
MEMORY
SELECT
Y PRINT
T SET
a d | j . | i m a g e |
t i | n t . | 0 |
|
|
|
a d | j . | i m a g e |
t i | n t . | 0 |
|
|
|
|
|
|
a d | j . | i m a g e |
t i | n t . | + 1 |
|
|
|
|
|
|
a d | j . | i m a g e |
b r | i g h | t . + 1 |
|
|
|
1 PRESS THE MENU BUTTON
•This action displays the printer menu on the LCD panel.
2 PRESS THE SELECT BUTTON •Press the SELECT button repeatedly until
“adj. image” appears.
3 PRESS THE SET BUTTON
•The item on the second line of the LCD panel starts to blink.
•Adjusting image tint
·Press the SELECT button until “tint” appears.
·Press the SET button repeatedly to select the desired tint. To increase saturation, select 0, +1, +2, +3, +4 or +5. The higher numbers indicate greater saturation. To decrease saturation, select 0,
•Adjusting image brightness
·Press the SELECT button until “bright.” appears.
·Press the SET button repeatedly to select the desired brightness.
To increase brightness, select 0, +1, +2, +3, +4 or +5. The higher numbers indicate greater brightness. To decrease brightness, select 0,