1 2 3
4 5 6 ![]() NUMBER
NUMBER
7 8 9
![]() 0
0
TIMER
CH
1![]() 3
3 ![]() Á
Á
¦ 7 8
4¢
MENU
![]() TIME SCAN
TIME SCAN
OK
![]()
![]()
![]()
![]()
![]()
![]()
![]()
![]()
![]()
![]()
![]()
![]()
![]()
![]()
![]()
![]()
![]()
![]()
![]()
![]()
![]()
![]()
![]()
![]()
![]()
![]()
![]()
![]()
![]()
![]()
![]()
![]()
![]()
![]()
![]()
![]()
![]() E
E![]() N
N![]()
![]() 43
43![]()
CHECK/CORRECT INPUT
DATA
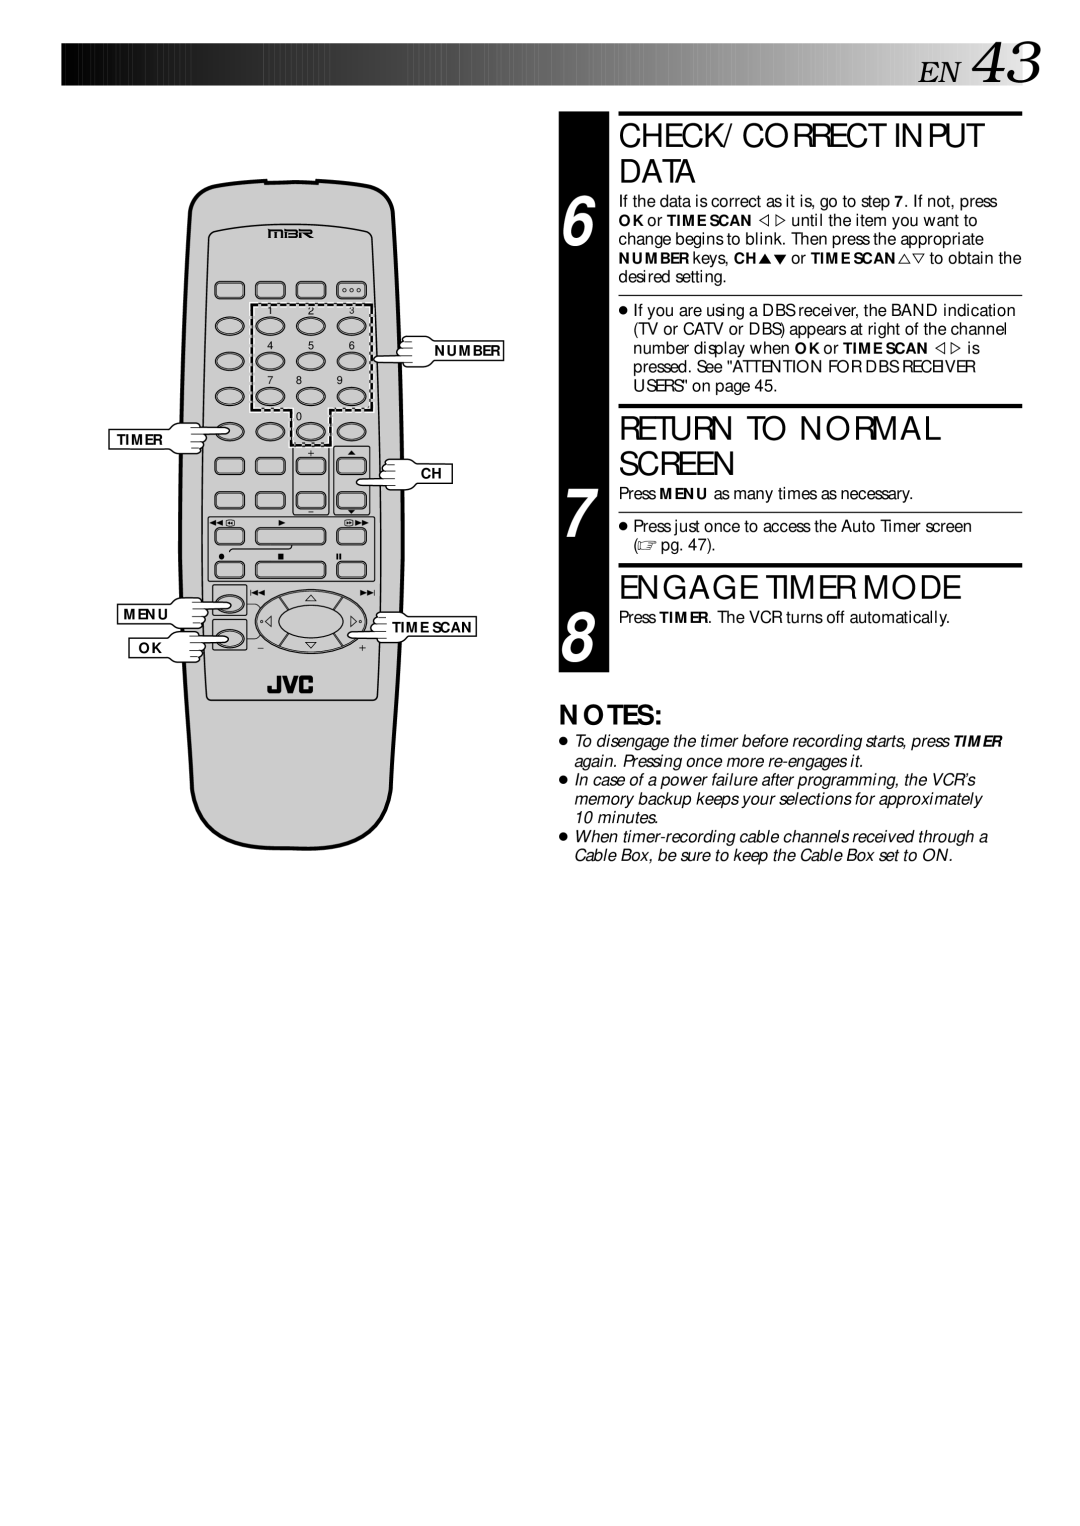
6 If the data is correct as it is, go to step 7. If not, press OK or TIME SCAN Þ %until the item you want to change begins to blink. Then press the appropriate NUMBER keys, CH5° or TIME SCAN%Þto obtain the desired setting.
●If you are using a DBS receiver, the BAND indication (TV or CATV or DBS) appears at right of the channel
number display when OK or TIME SCAN Þ% is pressed. See "ATTENTION FOR DBS RECEIVER USERS" on page 45.
RETURN TO NORMAL
SCREEN
7 Press MENU as many times as necessary.
●Press just once to access the Auto Timer screen (☞ pg. 47).
ENGAGE TIMER MODE
8 Press TIMER. The VCR turns off automatically.
NOTES:
●To disengage the timer before recording starts, press TIMER again. Pressing once more
●In case of a power failure after programming, the VCR’s memory backup keeps your selections for approximately 10 minutes.
●When
