4![]()
![]()
![]() EN
EN![]()
![]()
![]()
![]()
![]()
![]()
![]()
![]()
![]()
![]()
![]()
![]()
![]()
![]()
![]()
![]()
![]()
![]()
![]()
![]()
![]()
![]()
![]()
![]()
![]()
![]()
![]()
![]()
![]()
![]()
INS![]()
![]() TALLING
TALLING![]()
![]()
![]() YO
YO![]() UR
UR![]()
![]() NEW
NEW![]()
![]() RECORDER (
RECORDER (![]() cont.)
cont.)![]()
![]()
Select Televi- sion System
Major countries | Colour TV broadcast | Switch |
| system | position |
|
|
|
China, Mongolia, | PAL D/K |
|
Rumania |
| |
|
| |
Bulgaria, Czech Rep., |
| K |
|
| |
Slovakia, Hungary, | SECAM D/K |
|
Poland, Russia |
|
|
|
|
|
Austria, Denmark, |
|
|
Finland,Holland, Italy, |
|
|
Norway, Spain, | PAL B/G | G |
Switzerland, Sweden, |
| |
Germany |
|
|
|
|
|
Egypt | SECAM B/G |
|
|
|
|
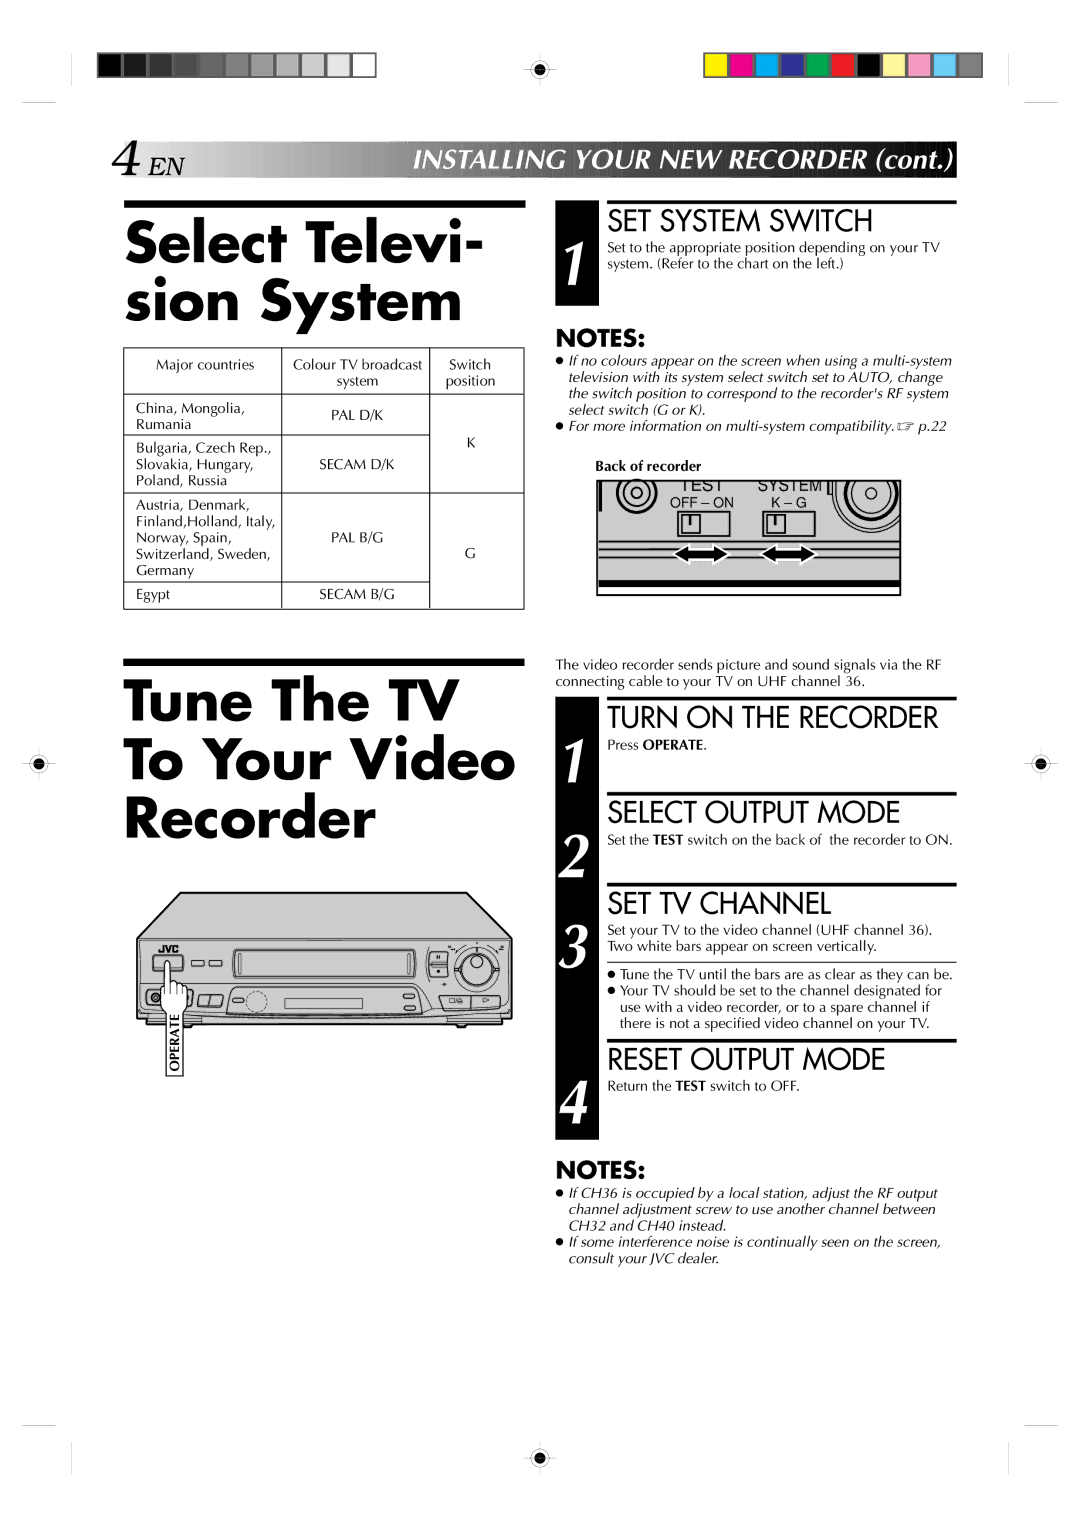
SET SYSTEM SWITCH
1 Set to the appropriate position depending on your TV system. (Refer to the chart on the left.)
NOTES:
●If no colours appear on the screen when using a
●For more information on
Back of recorder
TEST | SYSTEM |
OFF – ON | K – G |
Tune The TV
To Your Video
Recorder
6
q
OPERATE
The video recorder sends picture and sound signals via the RF connecting cable to your TV on UHF channel 36.
1 |
| TURN ON THE RECORDER |
| Press OPERATE. | |
2 |
| SELECT OUTPUT MODE |
| Set the TEST switch on the back of the recorder to ON. | |
3 |
| SET TV CHANNEL |
| Set your TV to the video channel (UHF channel 36). | |
| Two white bars appear on screen vertically. | |
| ● Tune the TV until the bars are as clear as they can be. | |
|
| |
|
| ● Your TV should be set to the channel designated for |
|
| use with a video recorder, or to a spare channel if |
|
| there is not a specified video channel on your TV. |
|
|
|
4 |
| RESET OUTPUT MODE |
| Return the TEST switch to OFF. | |
|
|
|
NOTES:
●If CH36 is occupied by a local station, adjust the RF output channel adjustment screw to use another channel between CH32 and CH40 instead.
●If some interference noise is continually seen on the screen, consult your JVC dealer.