( OPERATE Button — same as button on recorder. ☞ pg. 5
) DISPLAY Button switches display between time, date, counter readings. ☞ pg. 17
qMODE Button accesses/closes
wADD TIME Button adds time to end of record- ing (5 minutes each time button is pressed.) ☞ pg. 29
eDAILY Button enables timer recording of daily serials. ☞ pg. 29
rWEEKLY Button enables timer recording of weekly serials. ☞ pg. 29
tAUX Button sets recorder's input mode. ☞ pg. 35
yTIMER Button — same as button on recorder. ☞ pg. 29
uTV PROG. +/– Button selects preset. ☞ pg. 8 i DATE +/– Button inputs date of programme for
timer recording. ☞ pg. 31
o TV/VCR Switch enables remote control of VCR or connected TV. ☞ pg. 42
p TV/VIDEO Button switches control between TV and VCR. ☞ pg. 42
Q Fast Forward [FF] Button — same as button on recorder. ☞ pg. 11
W PAUSE Button — same as button on recorder.
☞pg. 12
ESTOP Button — same as button on recorder. ☞ pg. 11
RPROG CHECK Button accesses Program screens (next program's information screen appears each time button is pressed). ☞ pg. 32 IN/OUT Button — same as button on recorder. ☞ pg. 36
TOK Button enters selections made in
START Button — same as button on recorder. ☞ pg. 37
YR.A. EDIT Button — same as button on recorder. ☞ pg. 36
UTV VOL %Þ Button controls volume of con- nected TV. ☞ pg. 42
IILLUMI GUIDE Button engages
![]()
![]()
![]()
![]()
![]()
![]()
![]()
![]()
![]()
![]()
![]()
![]()
![]()
![]()
![]()
![]()
![]()
![]()
![]()
![]()
![]()
![]()
![]()
![]()
![]()
![]()
![]()
![]()
![]() 59
59![]()
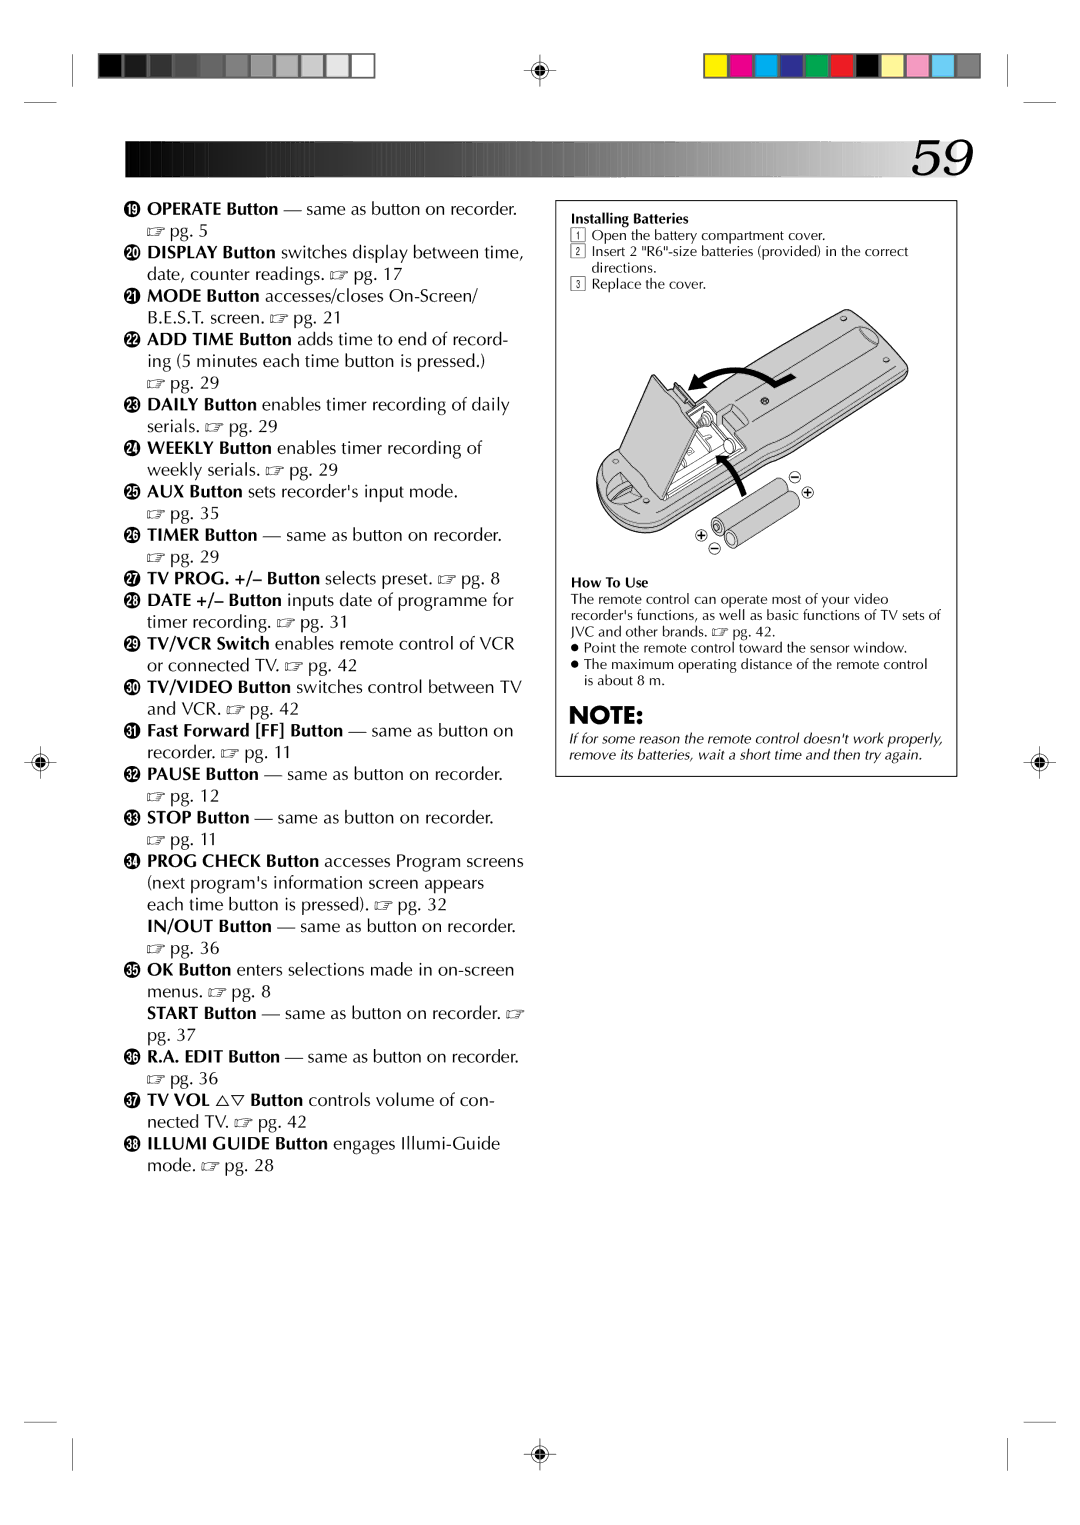
Installing Batteries
1Open the battery compartment cover.
2Insert 2
3Replace the cover.
How To Use
The remote control can operate most of your video recorder's functions, as well as basic functions of TV sets of JVC and other brands. ☞ pg. 42.
●Point the remote control toward the sensor window.
●The maximum operating distance of the remote control is about 8 m.
NOTE:
If for some reason the remote control doesn't work properly, remove its batteries, wait a short time and then try again.