3
4
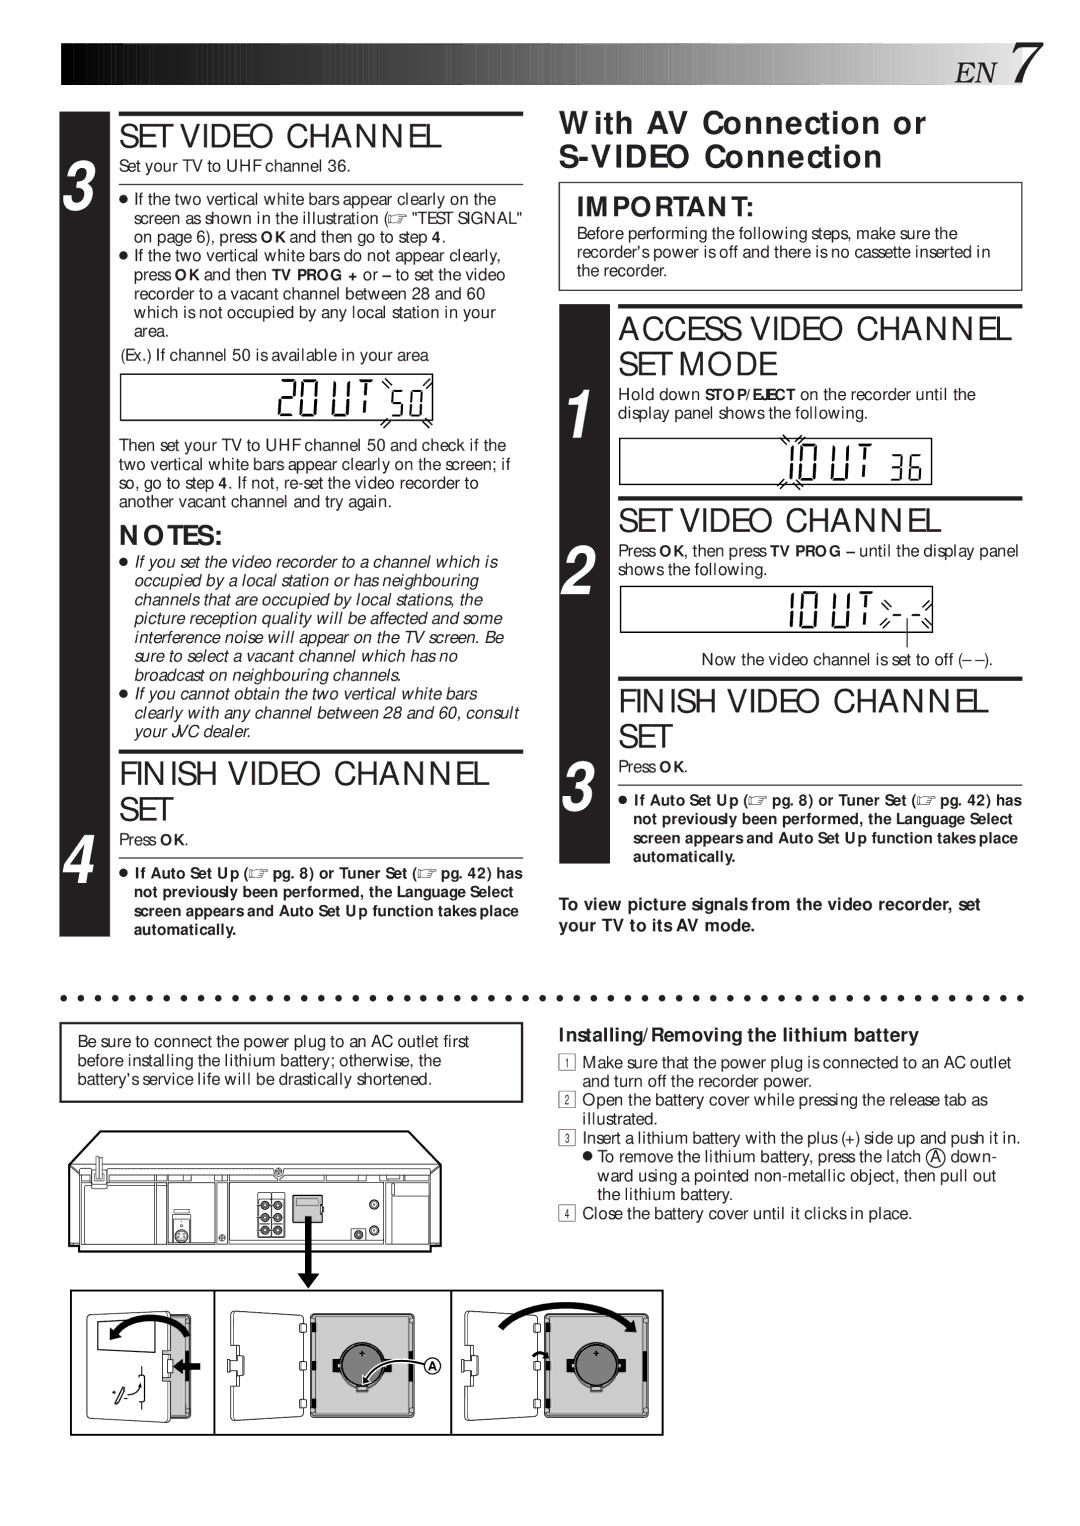
SET VIDEO CHANNEL
Set your TV to UHF channel 36.
●If the two vertical white bars appear clearly on the screen as shown in the illustration (☞ "TEST SIGNAL" on page 6), press OK and then go to step 4.
●If the two vertical white bars do not appear clearly, press OK and then TV PROG + or – to set the video recorder to a vacant channel between 28 and 60 which is not occupied by any local station in your area.
(Ex.) If channel 50 is available in your area
Then set your TV to UHF channel 50 and check if the two vertical white bars appear clearly on the screen; if so, go to step 4. If not,
NOTES:
●If you set the video recorder to a channel which is occupied by a local station or has neighbouring channels that are occupied by local stations, the picture reception quality will be affected and some interference noise will appear on the TV screen. Be sure to select a vacant channel which has no broadcast on neighbouring channels.
●If you cannot obtain the two vertical white bars clearly with any channel between 28 and 60, consult your JVC dealer.
FINISH VIDEO CHANNEL SET
Press OK.
●If Auto Set Up (☞ pg. 8) or Tuner Set (☞ pg. 42) has not previously been performed, the Language Select screen appears and Auto Set Up function takes place automatically.
![]()
![]()
![]()
![]() EN
EN![]()
![]() 7
7
With AV Connection or
S-VIDEO Connection
IMPORTANT:
Before performing the following steps, make sure the recorder's power is off and there is no cassette inserted in the recorder.
ACCESS VIDEO CHANNEL SET MODE
|
| Hold down STOP/EJECT on the recorder until the | |||
1 display panel shows the following. | |||||
|
|
|
|
|
|
|
|
|
|
|
|
|
| SET VIDEO CHANNEL | |||
|
| Press OK, then press TV PROG – until the display panel | |||
2 | shows the following. |
| |||
|
|
| |||
|
|
|
|
|
|
|
|
|
|
| |
|
|
| Now the video channel is set to off (– | ||
|
|
|
|
|
|
|
|
| FINISH VIDEO CHANNEL | ||
3 |
| SET | |||
| Press OK. | ||||
|
|
|
|
| |
| ● If Auto Set Up (☞ pg. 8) or Tuner Set (☞ pg. 42) has | ||||
|
| not previously been performed, the Language Select | |||
|
|
| screen appears and Auto Set Up function takes place | ||
|
|
| automatically. | ||
To view picture signals from the video recorder, set your TV to its AV mode.
Be sure to connect the power plug to an AC outlet first before installing the lithium battery; otherwise, the battery's service life will be drastically shortened.
Installing/Removing the lithium battery
1Make sure that the power plug is connected to an AC outlet
and turn off the recorder power.
2Open the battery cover while pressing the release tab as
illustrated.
3Insert a lithium battery with the plus (+) side up and push it in.
●To remove the lithium battery, press the latch A down- ward using a pointed
the lithium battery.
4Close the battery cover until it clicks in place.
A |