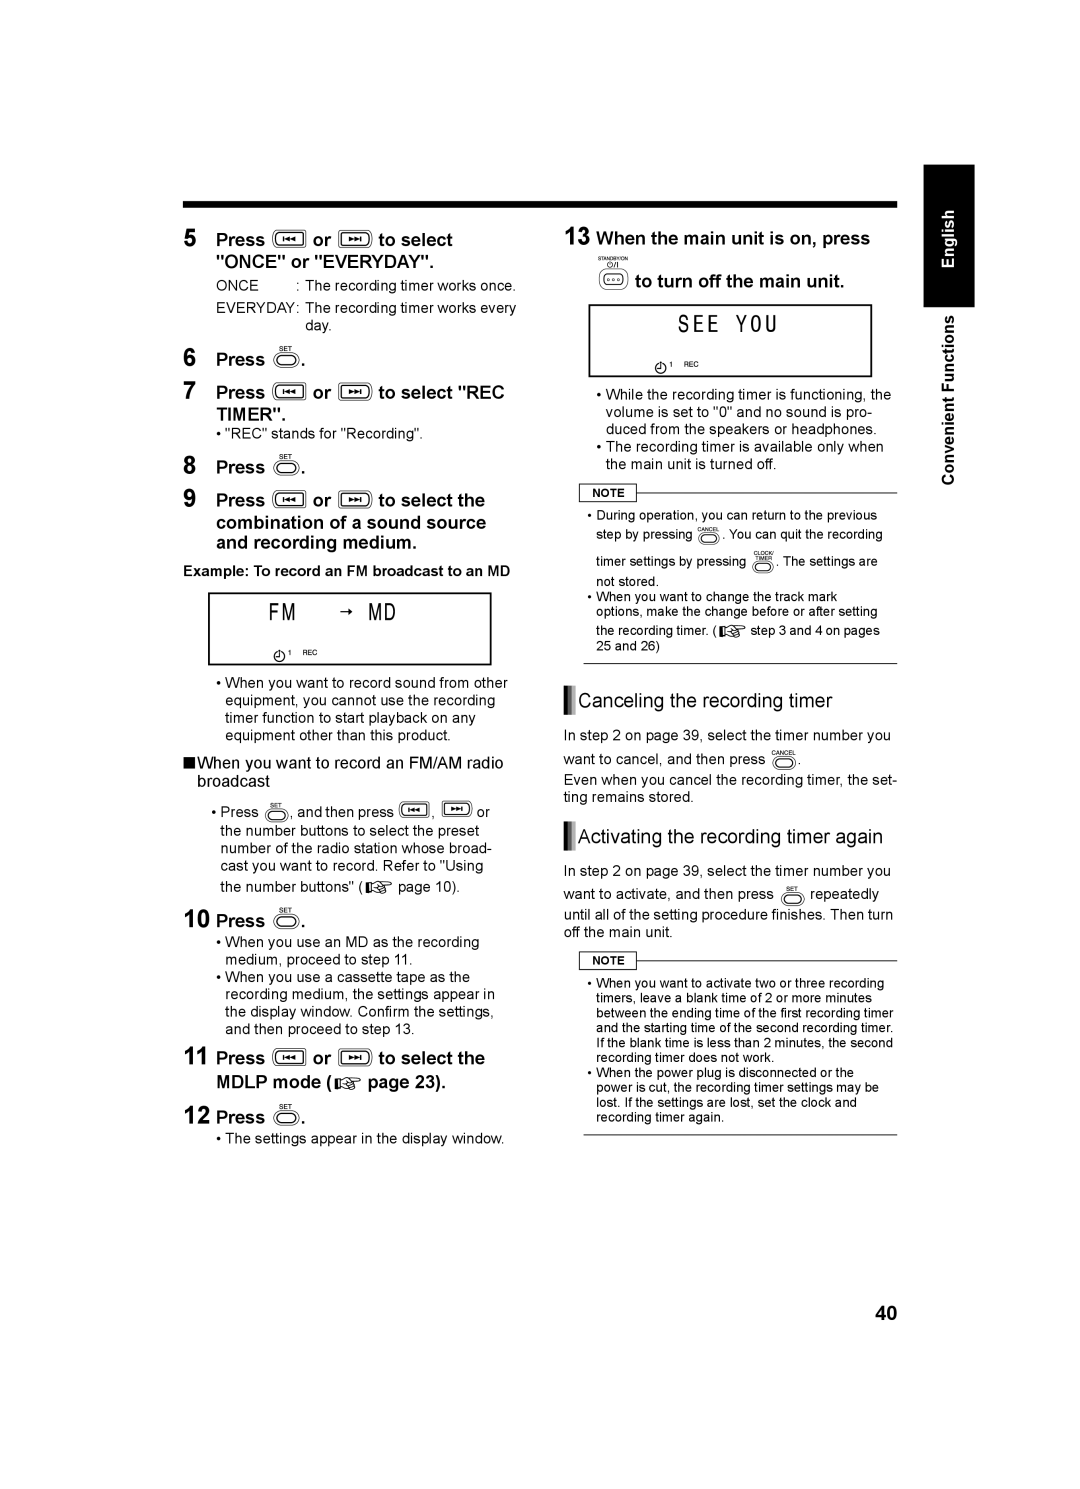
5 Press or to select "ONCE" or "EVERYDAY".

ONCE

: The recording timer works once.

EVERYDAY: The recording timer works every day.

6

Press

.


7

Press

or

to select "REC


TIMER".


• "REC" stands for "Recording".

8

Press

.


9

Press

or

to select the

combination of a sound source and recording medium.

Example: To record an FM broadcast to an MD

When you want to record sound from other equipment, you cannot use the recording timer function to start playback on any equipment other than this product.

When you want to record an FM/AM radio broadcast

Press , and then press , or the number buttons to select the preset number of the radio station whose broad- cast you want to record. Refer to "Using

the number buttons" ( page 10).

10 Press .

When you use an MD as the recording medium, proceed to step 11.

When you use a cassette tape as the recording medium, the settings appear in the display window. Confirm the settings, and then proceed to step 13.

11 Press or to select the MDLP mode ( page 23).

12 Press .

• The settings appear in the display window.

13 When the main unit is on, press

English


to turn off the main unit.


Functions


• While the recording timer is functioning, the


Convenient


volume is set to "0" and no sound is pro-


duced from the speakers or headphones.

• The recording timer is available only when the main unit is turned off.

NOTE

• During operation, you can return to the previous

step by pressing . You can quit the recording

timer settings by pressing . The settings are not stored.

When you want to change the track mark options, make the change before or after setting

the recording timer. ( step 3 and 4 on pages 25 and 26)

Canceling the recording timer

In step 2 on page 39, select the timer number you

want to cancel, and then press .

Even when you cancel the recording timer, the set- ting remains stored.

Activating the recording timer again

In step 2 on page 39, select the timer number you

want to activate, and then press repeatedly

until all of the setting procedure finishes. Then turn off the main unit.

NOTE

When you want to activate two or three recording timers, leave a blank time of 2 or more minutes between the ending time of the first recording timer and the starting time of the second recording timer. If the blank time is less than 2 minutes, the second recording timer does not work.

When the power plug is disconnected or the power is cut, the recording timer settings may be lost. If the settings are lost, set the clock and recording timer again.

40

Page 43
Image 43
JVC CA-UXQ1W, LVT1218-002A, CA-UXQ1S, SP-UXQ1W, SP-UXQ1S Canceling the recording timer, Activating the recording timer again

UX-Q1W, CA-UXQ1W, UX-Q1S, SP-UXQ1S, SP-UXQ1W specifications

The JVC LVT1218-002A, CA-UXQ1S, SP-UXQ1W, SP-UXQ1S, and UX-Q1S represent a versatile and modern audio system designed to deliver impressive sound quality and user-friendly features. This combination of components offers an ideal solution for music lovers seeking both performance and convenience in their home audio systems.

One of the standout features of the CA-UXQ1S is its compact size, making it suitable for various living spaces without sacrificing audio performance. It combines a multi-functional CD player, FM/AM tuner, and Bluetooth connectivity, allowing users to enjoy their favorite tracks from multiple sources. The integration of Bluetooth technology enables seamless streaming from smartphones, tablets, and other compatible devices, providing flexibility for users wishing to curate their playlists effortlessly.

The SP-UXQ1W and SP-UXQ1S speakers enhance the audio experience with their dynamic sound reproduction. These speakers are designed to deliver rich bass and clear mid ranges and highs, making them perfect for a range of musical genres, from classical to rock. The speakers are engineered with high-quality materials that ensure durability and optimum sound performance, reflecting JVC's commitment to audio excellence.

The UX-Q1S functions as the central hub of the system, sporting a user-friendly interface that simplifies navigation through various media options. Its sleek design complements modern decor while boasting a powerful output that fills rooms with impactful sound. Users can easily switch between listening to CDs, tuning into radio stations, or connecting via Bluetooth without hassle.

In addition to audio playback, the system supports USB playback, enabling direct access to music stored on flash drives. This feature further broadens the options available to users, accommodating diverse music libraries.

Overall, the JVC LVT1218-002A, CA-UXQ1S, SP-UXQ1W, SP-UXQ1S, and UX-Q1S combine cutting-edge technologies and important characteristics, providing an audio experience that is both user-friendly and highly enjoyable. Ideal for home listening, this system successfully marries style with functionality, placing it firmly in the spotlight for those who appreciate quality sound in a compact, all-in-one design. Whether hosting gatherings or enjoying a quiet evening, the JVC audio system is engineered to meet a variety of audio needs with ease and sophistication.