Main
CONTENTS
GR-DLS1
DIGITAL VIDEO CAMERA
INSTRUCTIONS
Dear Customer,
SAFETY PRECAUTIONS
Using This Instruction Manual
IMPORTANT
It is recommended that you . . .
Warning on lithium cell battery
SOME DOS AND DONTS ON THE SAFE USE OF EQUIPMENT
Before recording an important scene . . .
About Batteries
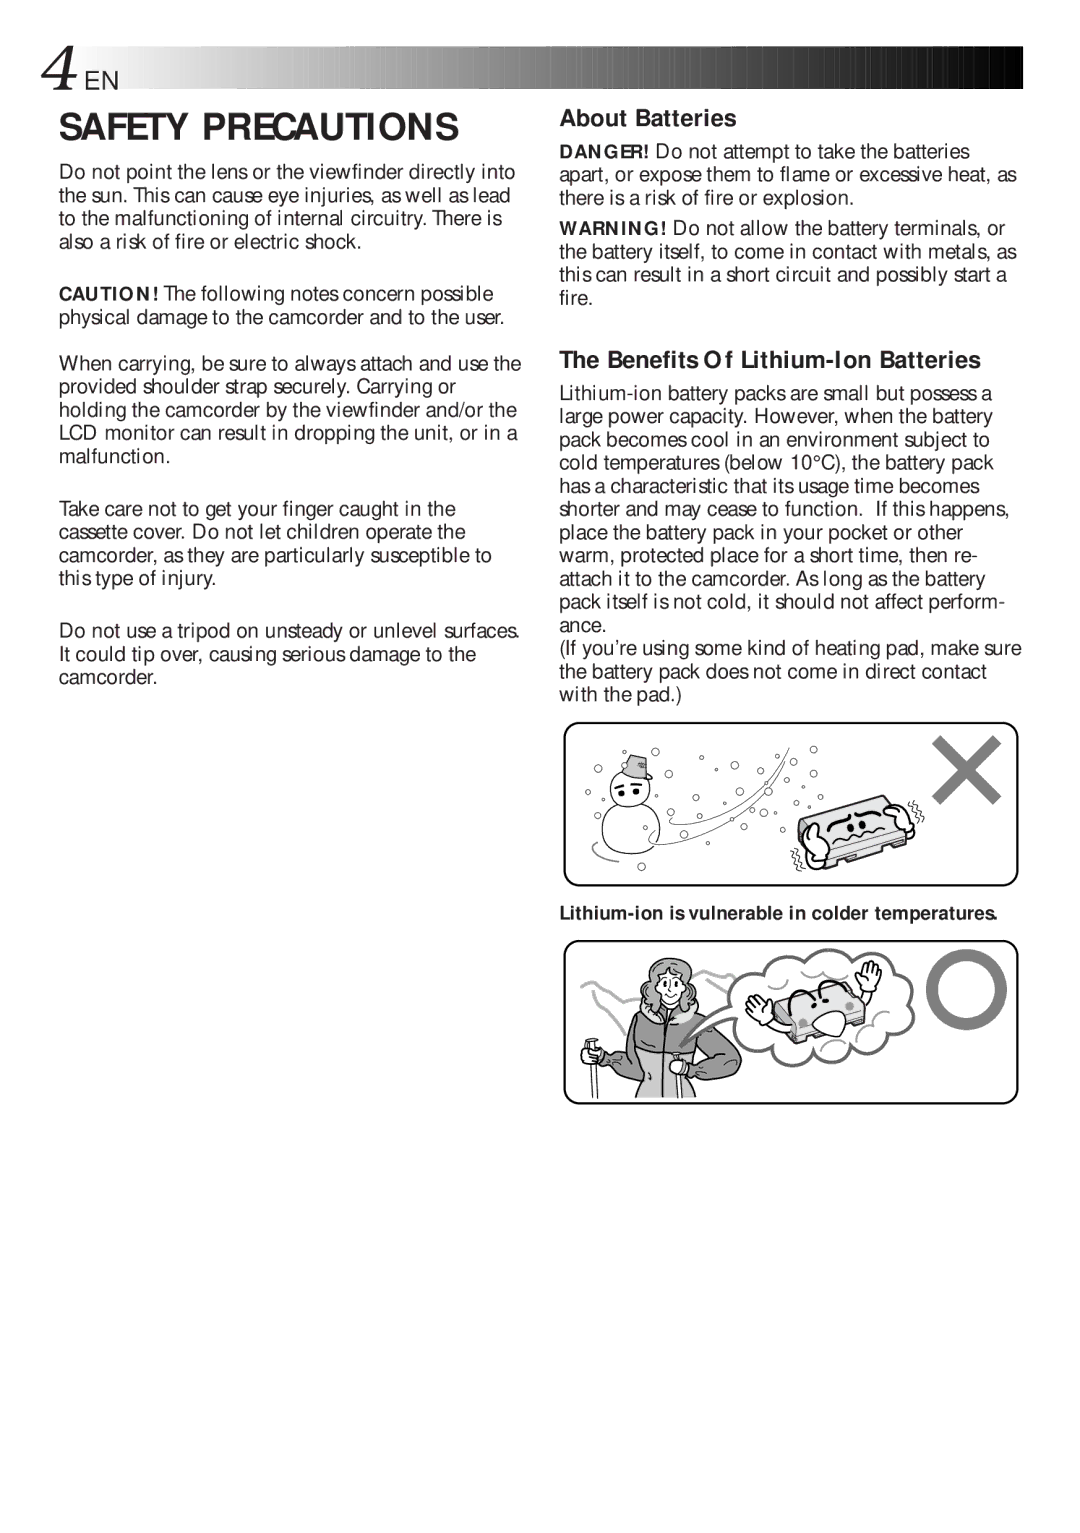
The Benefits Of Lithium-Ion Batteries
SAFETY PRECAUTIONS
ABOUT DV
The data recorded on a tape is digital, but the output of the this camcorder is analogue.
3
The digital audio signal is recorded here.
4
PROVIDED ACCESSORIES
Page
Charging The Battery Pack
ATTACH
DETACH
SUPPLY POWER TO CHARGER
ATTACH BATTERY/BATTERIES
Installing The Battery Pack
INSERT CHARGED BATTERY
ATTACH TO CAMCORDER
(Cont.)
SUPPLY POWER TO ADAPTER
SUPPLY POWER TO CAMCORDER
Indoor Use
Using The Power Pack
Date/Time Settings
ACCESS DATE/TIME MENU
INPUT DATE AND TIME
Regarding Built-in Rechargeable Battery
(Cont.) Loading/Unloading A Cassette
** To protect valuable recordings . . .
OPEN CASSETTE COVER
INSERT/REMOVE TAPE
Recording Mode Setting
SET RECORDING MODE
Grip Strap Attachment Tripod Mounting
(Cont.)
ADJUST LENGTH
Dioptre Adjustment
TURN ON CAMCORDER
ADJUST DIOPTRE
Shoulder Strap Attachment
ATTACH SHOULDER STRAP
(Cont.)
Remote Control Unit
Installing The Battery
Power Dial Position Function
Operation Mode
Before starting recording, make sure you set the date and time (
pg. 11). Even if they dont appear during recording, you can display them during playback (
pg. 55).
Basic Recording
EN 19
STOP RECORDING
OR
START SEARCH
ENGAGE STILL MODE
Recording From The Middle Of A Tape
Basic Recording (Cont.)
Time Code
The Time Code cannot be reset.
During fast-forwarding and rewinding, time code indication does not move smoothly.
When blank portion is recorded on a tape
Proper recording
LCD Monitor/Viewfinder Indications
PRESS ON/OFF BUTTON
pg. 79.
Brightness Control
ADJUST BRIGHTNESS
Interface Shooting
TILT LCD MONITOR UPWARD
(blinking)
(blinking)
(blinking)
Zoom
Advanced Features
Displaying The Date And Time During Recording
ACCESS DATE/TIME MENU
CLOSE RECORDING MENU
END 5-SECOND MODE RECORDING
Scene (5-second recording)
Self-Timer
ENGAGE SELF-TIMER MODE
STOP SELF-TIMER RECORDING
END SELF-TIMER RECORDING
Pro Snapshot
TAKE PRO SNAPSHOT (Except for colour bar)
If you press during Record-Standby . . .
If you press during Recording . . .
To Perform Pro Snapshot Recording During Progressive Video Recording (
EN 29
Motor Drive mode:
To Remove The Shutter Sound . . .
Colour bar(BAR)***:
Progressive Mode:
Description of Progressive Scan CCD
1. Regular shooting of moving images
2. Progressive mode shooting of moving images (Progressive Video Recording Z pg. 44)
3. Pro Snapshot recording (Z pg. 28)
Menus
Gain Up
Recording Mode, Wide Mode, Zoom Magnifica- tion, Stabilization and
CLOSE RECORDING MENU
REC MODE (Recording mode)
WIDE MODE
ZOOM (Zoom magnification)
DIS (Digital Image Stabilizer)
GAIN UP
ACCESS SYSTEM MENU
System Menu
Scene, Beep/Tally, Wind Cut, Sound Mode and ID numbers.
CLOSE SYSTEM MENU
EN 35
ON OFF 32kHz 06
During use of SCENE effect, focus (
5SSCENE BEEP / TALLY WIND CUT SOUND MODE ID NUMBER RETURN
32kHz 48kHz
FADE/WIPE Effects
When the Digital Image Stabilizer is activated, the Fade/Wipe Effects are not available.
If certain P.AE/Effects (
ACCESS FADER/WIPE MENU
SELECT EFFECT
W
Example WIPE SCROLL
Fades and Wipes
Example
WIPE
P
Picture Wipe/Dissolve
Example
WIPE SCROLL
P
W
K
B
H
B W
W
K
B W
B
P
?
R
DISABLE P.AE/EFFECT
P.AE/Effects can be changed during recording or during Record-Standby.
P.AE/Effects
If certain Fades or Wipes (
ACCESS P.AE/EFFECT SELECT MENU
SELECT EFFECT
B
W
/
SHUTTER (Variable Shutter (Speed)
SLOW SHUTTER
Progressive Video Recording
To Perform Pro Snapshot Recording during Progressive Video Recording . . .
pg. 43) cannot be used.
When the Progressive Dial is set to VIDEO, Wipe/Dissolve (
pg. 17). PS disappears.
Manual Focus Adjustment
END ADJUSTMENT OF FOCUS
To Change To Auto Focus . . .
Manual focus is recommended in the following situations:
When shooting a flat wall, a blue sky or an object with little or no contrast.
Exposure Control
To Return To Automatic Exposure Control . . .
Manual exposure adjustment is recommended in the following situations:
When shooting using reverse lighting or when the background is too bright.
When shooting on a reflective natural background such as at the beach or when skiing.
0 L
To Return To Automatic Iris Control . . .
Iris lock is recommended in the following situa- tions:
When shooting on a reflective natural background such as at the beach or when skiing.
When shooting objects under a spotlight.
White Balance Adjustment
ACCESS WHITE BALANCE ADJUST- MENT
CLOSE WHITE BALANCE ADJUST- MENT
To Return To Automatic White Balance . . .
White balance cannot be used when P.AE/Effects Sepia or Monotone are activated.
Manual White Balance Operation
SET MANUAL WHITE BALANCE
ENTER SETTING
EXIT MANUAL WHITE BALANCE ADJUSTMENT
W T
Basic Playback
VIEWING RECORDING
END PLAYBACK
EN 51
To Perform High-Speed Search . . .
Playback Sound
Still Playback
Slow-Motion Playback
Advanced Features
ACCESS P.AE/EFFECT SELECT MENU
SELECT P.AE/EFFECT
Repeat from step 2 when you want to change the selected effect.
When a Playback Effect is activated, Pro Snapshot modes (
Playback Effects
Advanced Features (Cont.)
Playback Menu
Synchro Comp
Time Code
Playback Sound (32 kHz, 48 kHz), Synchro Comp, Display
Playback Sound
TIME CODE (Displaying The Time Code During Playback)
DISPLAY (Displaying the Date During Playback)
Basic Connections
VCR/TV Connection
VCR
Please refer to your VCR and/or TV instruction manual(s) when connecting.
Adapter/Charger
CONNECT CAMCORDER TO TV OR VCR
CONNECT VCR OUTPUT TO TV INPUT
SELECT TVS VIDEO MODE
Connection to a TV or VCR equipped with an S-VIDEO IN and/or A/V input (RCA type) connectors
Advanced Connections
Connection To A Personal Computer
CONNECT CAMCORDER TO PC
SUPPLY POWER
Also refer to the instruction manuals of the connected units.
Connection To A Video Unit Equipped With A DV Connector
Dubbing
PAUSE RECORDING
Digital Dubbing
If a blank portion is played back during dubbing, an unusual image may be dubbed.
3 1 6 789`
4
5
Brand Setting
(Cont.)
SET REMOTE/VCR CODE
SET REMOTE TO OPERATE VCR
OPERATE THE VCR
Random Assemble Editing
START SOURCE PLAYBACK
Z
EXECUTE FADE/WIPE IN (IF NECESSARY)
SET EDIT-IN POINT
SET EDIT-OUT POINT
USE FADE WIPE ON SCENE TRANSITION (IF NECESSARY)
USE P.AE/EFFECT (IF NECESSARY)
REGISTER ADDITIONAL SCENES
PREPARE SOURCE TAPE
ENGAGE VCR'S RECORD-PAUSE MODE
START EDITING
STOP EDITING
For More Accurate Editing
(Cont.)
Diagnosing VCRs against Camcorder Timing
PREPARE FOR R.A. EDIT
CHOOSE A SCENE
EN 67
CLOSE MENU
ACCESS PLAYBACK MENU
INPUT CORRECTION DATA
Adjustment of VCRs against Camcorder Timing
Audio Dubbing
(Cont.)
FIND EDIT-IN POINT
ENGAGE AUDIO DUB STANDBY
BEGIN DUBBING
Insert Editing
FIND EDIT OUT POINT
FIND EDIT IN POINT
PREPARE FOR INSERT EDITING
PAUSE DURING EDITING
Page
Page
Page
Page
Page
REMOVE POWER SUPPLY
CLEAN EXTERIOR
CLEAN LENS
PULL OUT VIEWFINDER
AFTER USE
PUSH VIEWFINDER BACK IN
CLEAN LCD MONITOR
CLOSE LCD MONITOR
When using a cleaner or chemically treated cloth refer to the cautions of each product.
CONTROLS, INDICATIONS AND CONNECTORS
Page
CONTROLS, INDICATIONS AND CONNECT ORS
y
u
TRE
Qp
LCD Monitor/Viewfinder Indications During Recording
CONTROLS, INDICATIONS AND CONNECT ORS
(Cont.)
1 2 3 4
5 7 6
LCD Monitor/Viewfinder Indications During Playback
Warning Indications
Battery Packs
It is normal for the battery pack to be warm after charging, or after use.
Recharging time is based on room temperature of 20C.
The lower the temperature, the longer recharging takes.
CAUTIONS
Cassettes
Main Unit
LCD monitor
SPECIFICATIONS
CAMCORDER
General
Video
Audio
GLOSSARY OF TERMS
INDEX
A
B
C
D