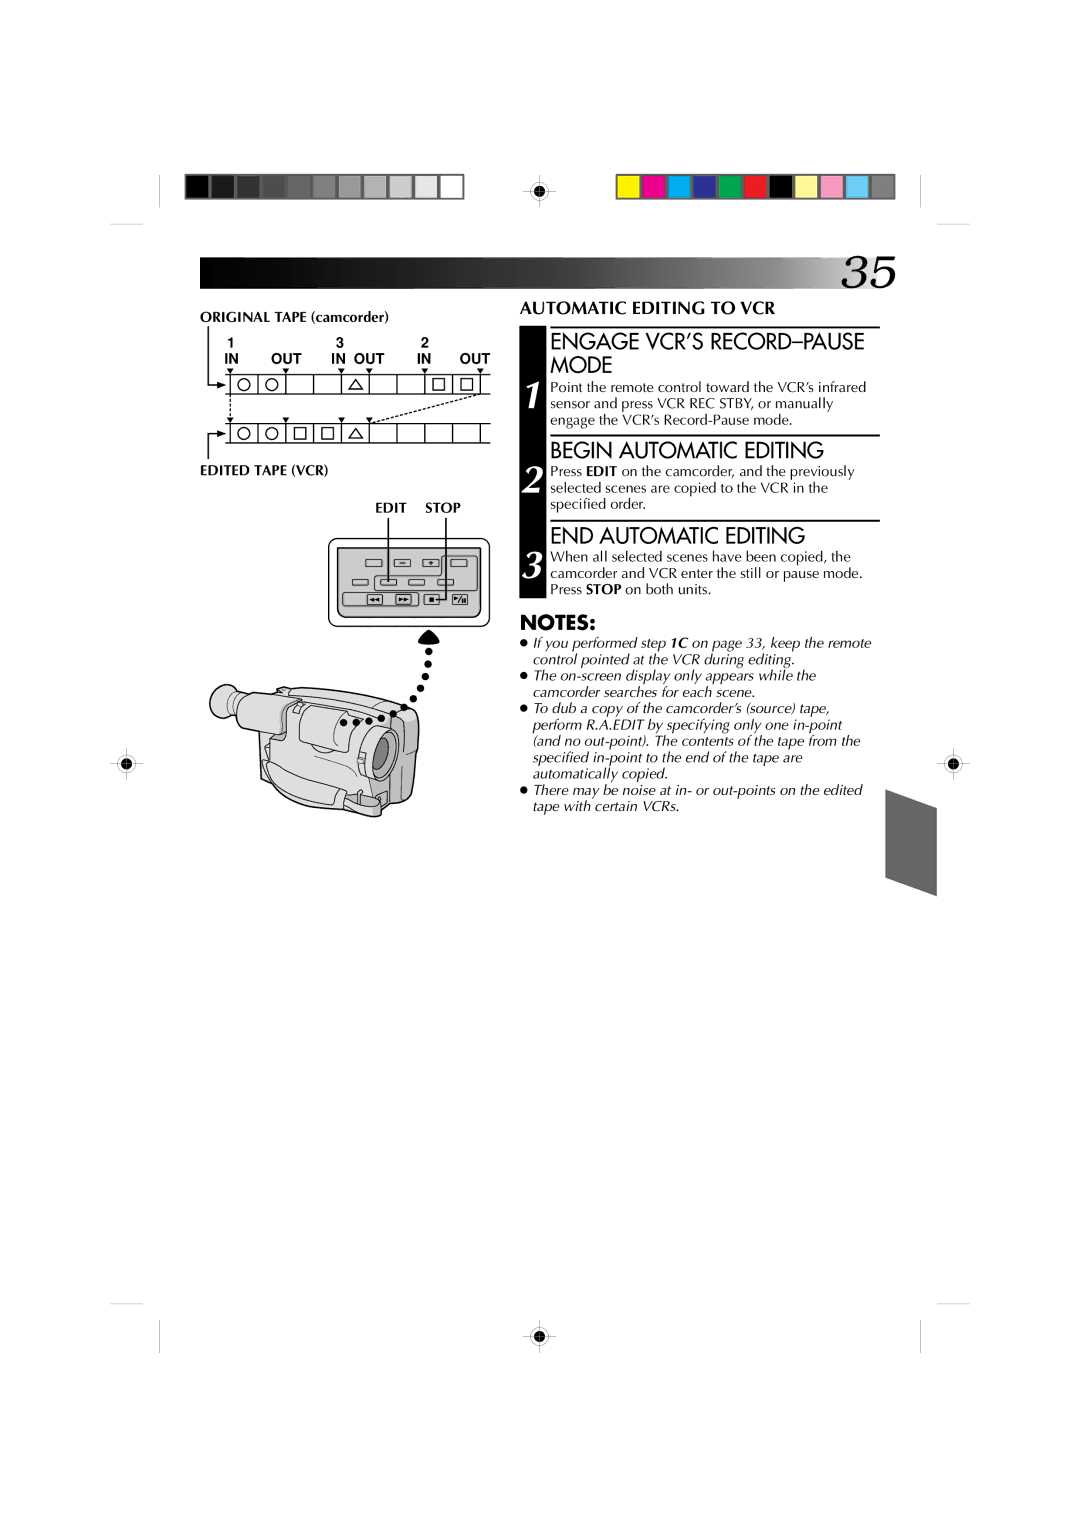
ORIGINAL TAPE (camcorder) |
|
|
|
| |||||||||
| 1 | 3 |
| 2 |
|
| |||||||
|
|
| IN | OUT IN OUT | IN OUT | ||||||||
|
|
|
|
|
|
|
|
|
|
|
|
|
|
|
|
|
|
|
|
|
|
|
|
|
|
|
|
|
|
|
|
|
|
|
|
|
|
|
|
|
|
|
|
|
|
|
|
|
|
|
|
|
|
|
|
|
|
|
|
|
|
|
|
|
|
|
|
|
|
|
|
|
|
|
|
|
|
|
|
|
|
|
|
|
|
|
|
|
|
|
|
|
|
|
|
|
|
EDITED TAPE (VCR)
EDIT STOP
![]() 35
35
AUTOMATIC EDITING TO VCR
ENGAGE VCR’S RECORD–PAUSE MODE
1 Point the remote control toward the VCR’s infrared sensor and press VCR REC STBY, or manually engage the VCR’s
BEGIN AUTOMATIC EDITING
2 Press EDIT on the camcorder, and the previously selected scenes are copied to the VCR in the specified order.
END AUTOMATIC EDITING
3 When all selected scenes have been copied, the camcorder and VCR enter the still or pause mode. Press STOP on both units.
NOTES:
●If you performed step 1C on page 33, keep the remote control pointed at the VCR during editing.
●The
●To dub a copy of the camcorder’s (source) tape, perform R.A.EDIT by specifying only one
●There may be noise at in- or