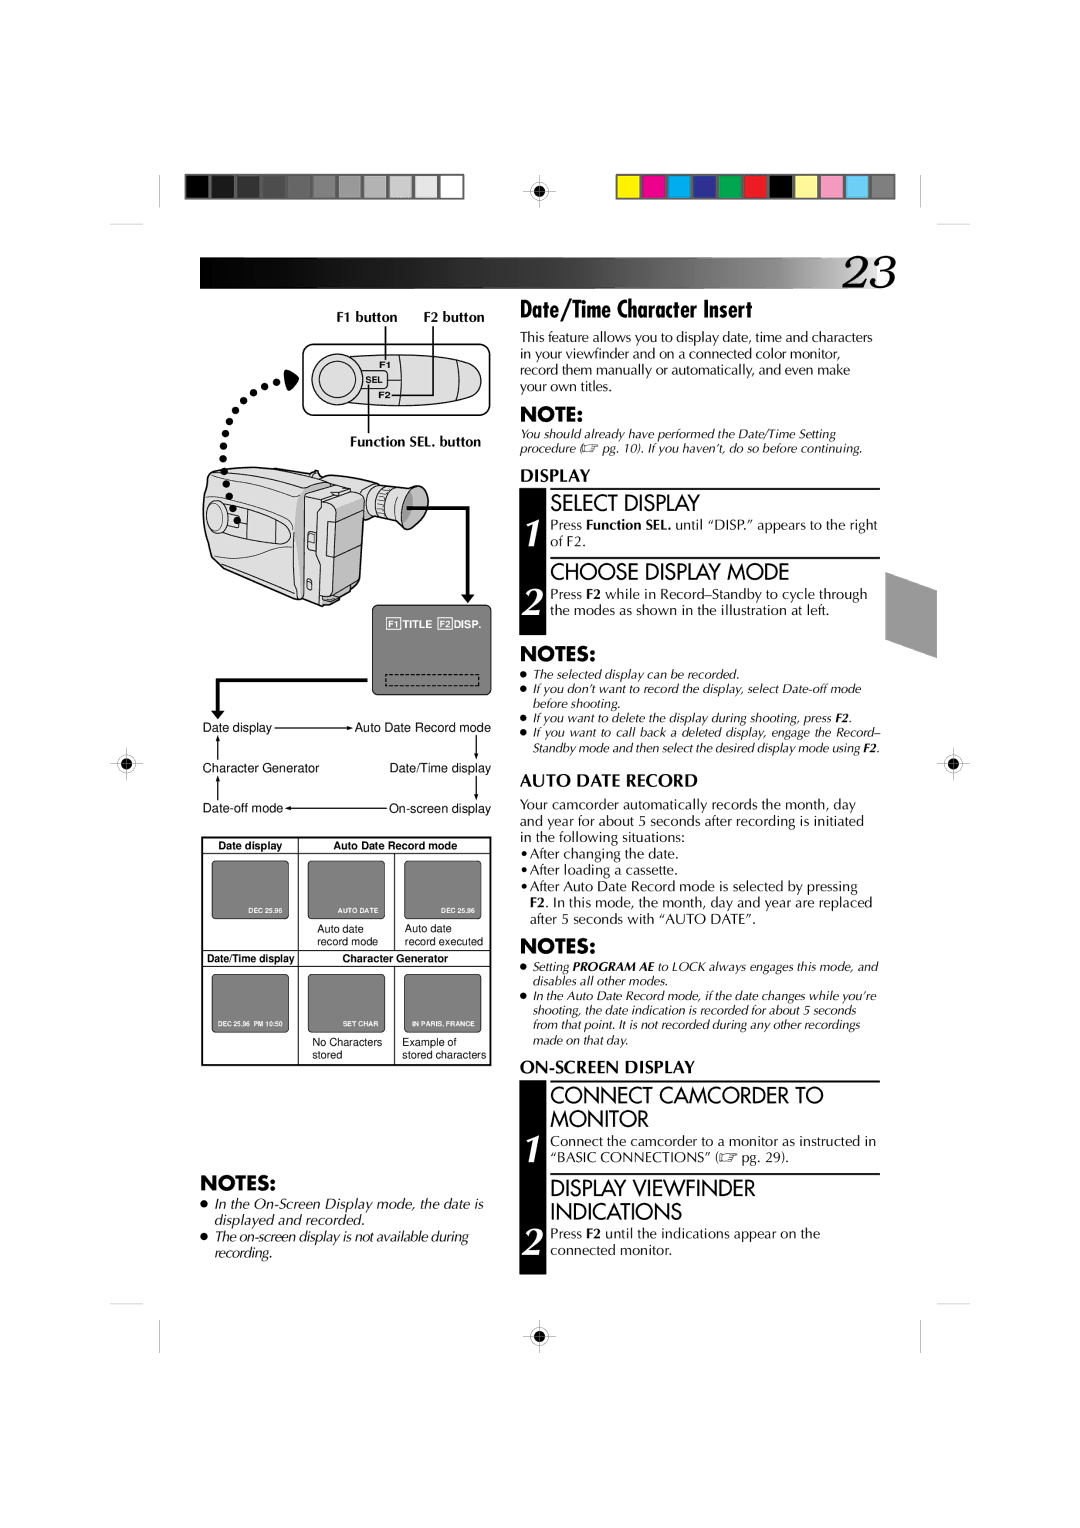
F1 button | F2 button |
F1
SEL
F2
Function SEL. button
F1 TITLE F2 DISP.
Date display ![]() Auto Date Record mode
Auto Date Record mode
Character Generator | Date/Time display |
Date-off mode
On-screen display
Date display | Auto Date Record mode | |
DEC 25.96 | AUTO DATE | DEC 25.96 |
| Auto date | Auto date |
| record mode | record executed |
Date/Time display | Character Generator | |
DEC 25.96 PM 10:50 | SET CHAR | IN PARIS, FRANCE |
| No Characters | Example of |
| stored | stored characters |
|
|
|
NOTES:
●In the
●The
![]() 23
23
Date/Time Character Insert
This feature allows you to display date, time and characters in your viewfinder and on a connected color monitor, record them manually or automatically, and even make your own titles.
NOTE:
You should already have performed the Date/Time Setting procedure (☞ pg. 10). If you haven’t, do so before continuing.
DISPLAY
SELECT DISPLAY
1 Press Function SEL. until “DISP.” appears to the right of F2.
CHOOSE DISPLAY MODE
2 Press F2 while in
NOTES:
●The selected display can be recorded.
●If you don’t want to record the display, select
●If you want to delete the display during shooting, press F2.
●If you want to call back a deleted display, engage the Record– Standby mode and then select the desired display mode using F2.
AUTO DATE RECORD
Your camcorder automatically records the month, day and year for about 5 seconds after recording is initiated in the following situations:
•After changing the date. •After loading a cassette.
•After Auto Date Record mode is selected by pressing F2. In this mode, the month, day and year are replaced after 5 seconds with “AUTO DATE”.
NOTES:
●Setting PROGRAM AE to LOCK always engages this mode, and disables all other modes.
●In the Auto Date Record mode, if the date changes while you’re shooting, the date indication is recorded for about 5 seconds from that point. It is not recorded during any other recordings made on that day.
CONNECT CAMCORDER TO
MONITOR
1 Connect the camcorder to a monitor as instructed in “BASIC CONNECTIONS” (☞ pg. 29).
DISPLAY VIEWFINDER
INDICATIONS
2 Press F2 until the indications appear on the connected monitor.