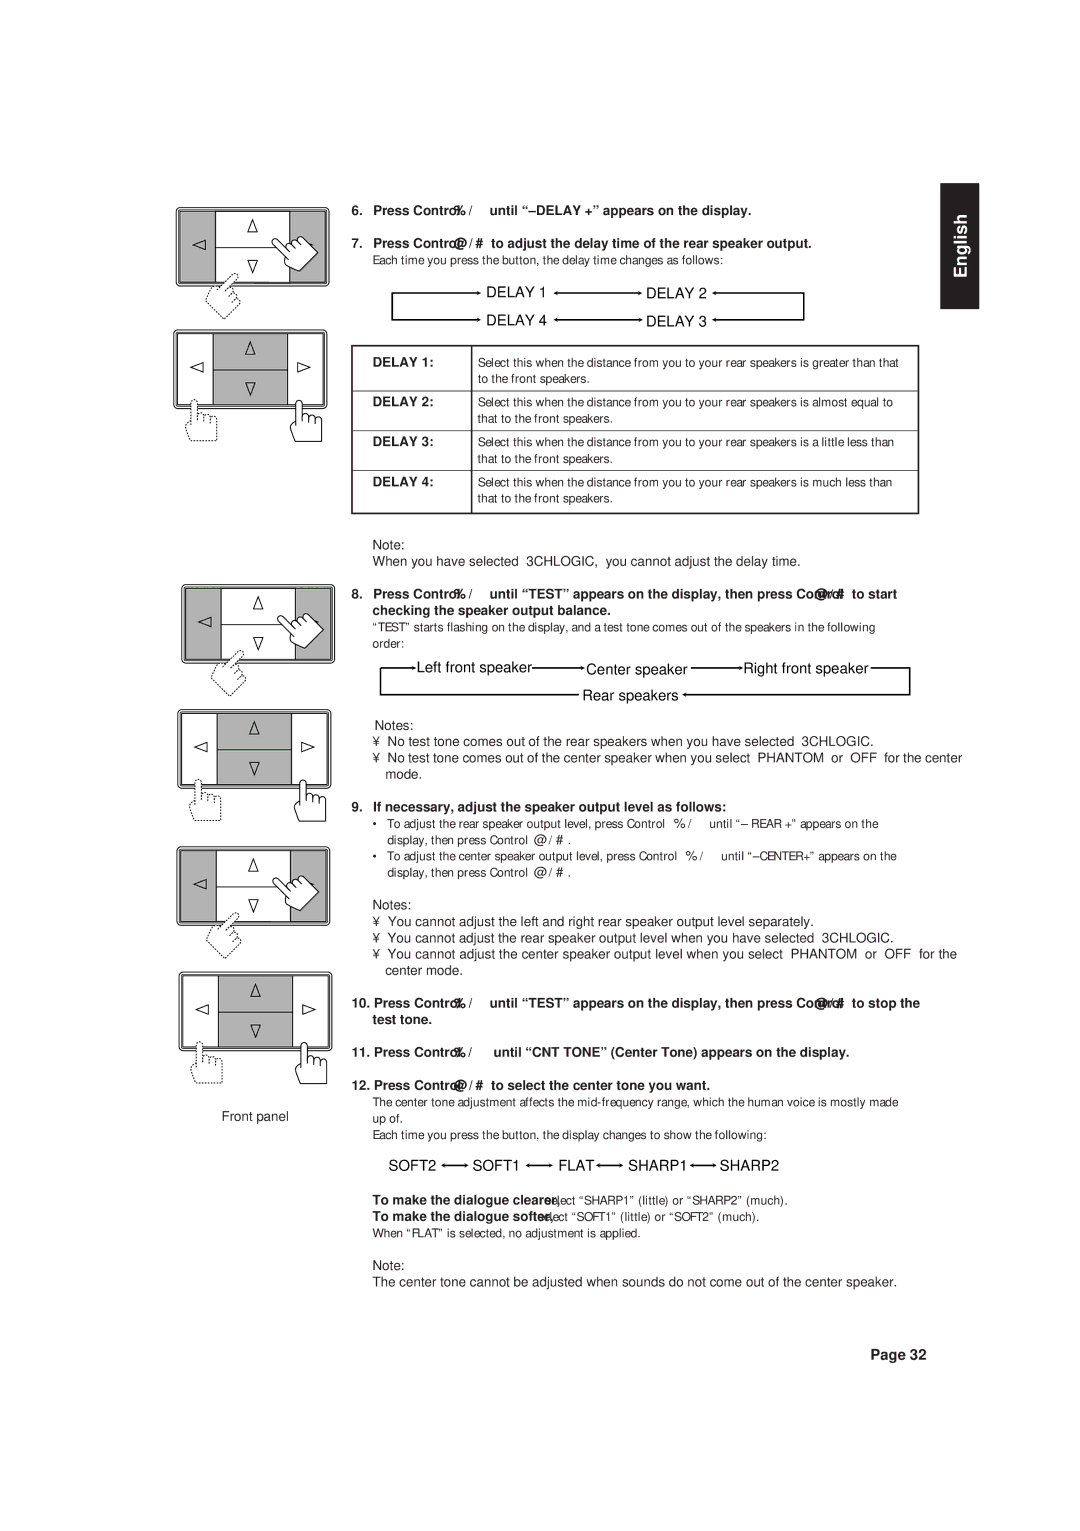
Front panel

6.Press Control % / Þuntil “–DELAY +” appears on the display.

7.Press Control @/ # to adjust the delay time of the rear speaker output. Each time you press the button, the delay time changes as follows:


DELAY 1


DELAY 2


DELAY 4


DELAY 3


DELAY 1:

Select this when the distance from you to your rear speakers is greater than that


to the front speakers.


DELAY 2:

Select this when the distance from you to your rear speakers is almost equal to


that to the front speakers.


DELAY 3:

Select this when the distance from you to your rear speakers is a little less than


that to the front speakers.


DELAY 4:

Select this when the distance from you to your rear speakers is much less than


that to the front speakers.


Note:

When you have selected “3CHLOGIC,” you cannot adjust the delay time.

8. Press Control % / Þuntil “TEST” appears on the display, then press Control @/ # to start checking the speaker output balance.

“TEST” starts flashing on the display, and a test tone comes out of the speakers in the following order:


Left front speaker


Center speaker


Right front speaker


Rear speakers


Notes:

No test tone comes out of the rear speakers when you have selected “3CHLOGIC.”

No test tone comes out of the center speaker when you select “PHANTOM” or “OFF” for the center mode.

9.If necessary, adjust the speaker output level as follows:

To adjust the rear speaker output level, press Control % / Þ until “– REAR +” appears on the display, then press Control @/ #.

To adjust the center speaker output level, press Control % / Þuntil “–CENTER+” appears on the display, then press Control @/ #.

Notes:

You cannot adjust the left and right rear speaker output level separately.

You cannot adjust the rear speaker output level when you have selected “3CHLOGIC.”

You cannot adjust the center speaker output level when you select “PHANTOM” or “OFF” for the center mode.

10. Press Control % / Þuntil “TEST” appears on the display, then press Control @/ # to stop the test tone.

11.Press Control %/ Þ until “CNT TONE” (Center Tone) appears on the display.

12.Press Control @/ # to select the center tone you want.

The center tone adjustment affects the mid-frequency range, which the human voice is mostly made up of.

Each time you press the button, the display changes to show the following:

SOFT2 SOFT1 FLAT SHARP1 SHARP2

To make the dialogue clearer, select “SHARP1” (little) or “SHARP2” (much).

To make the dialogue softer, select “SOFT1” (little) or “SOFT2” (much).

When “FLAT” is selected, no adjustment is applied.

Note:

The center tone cannot be adjusted when sounds do not come out of the center speaker.

English

Page 32

Page 37
Image 37
JVC RX-630RBK manual Delay, SOFT2 SOFT1 Flat SHARP1 SHARP2, If necessary, adjust the speaker output level as follows

RX-630RBK specifications

The JVC RX-630RBK is a versatile and powerful stereo receiver designed to enhance your home audio experience. With a sleek and modern design, it fits seamlessly into any entertainment setup while providing robust sound quality and an array of features.

One of the main highlights of the RX-630RBK is its solid power output, delivering 100 watts per channel across a wide frequency range. This ensures that whether you're listening to music, watching movies, or playing video games, the audio experience is both rich and immersive. The receiver also supports both stereo and multi-channel formats, making it an excellent choice for various audio sources.

The RX-630RBK incorporates advanced technologies to optimize sound performance. It features a built-in FM/AM tuner with 30 preset stations, allowing you to easily access your favorite radio channels. The receiver also has a dedicated phono input, enabling audiophiles to connect their turntables and enjoy vinyl records with clarity and depth. Additionally, it supports digital audio inputs, including optical and coaxial connections, ensuring compatibility with modern devices.

User-friendly controls and a remote make it easy to navigate through various settings and audio sources. The LCD display provides clear information about current settings, making adjustments straightforward. The receiver is equipped with multiple audio inputs, including auxiliary and USB ports, allowing you to connect smartphones, tablets, or other audio sources effortlessly.

Another notable feature of the JVC RX-630RBK is its adjustable equalizer settings. This allows users to fine-tune the audio output to suit their preferences or the acoustics of their room. Bass and treble adjustments ensure that you can enjoy music and other audio content exactly as you like it.

The RX-630RBK also prioritizes safety, featuring built-in protection circuits to prevent overheating and overload, ensuring longevity and reliability.

In summary, the JVC RX-630RBK is a powerful and feature-rich stereo receiver offering exceptional sound quality and versatile connectivity options. Its combination of advanced technology, user-friendly controls, and thoughtful features make it an ideal choice for audio enthusiasts looking to elevate their listening experience at home. With the RX-630RBK, enjoying high-fidelity sound has never been easier or more accessible.