When playing a software encoded with the DTS Digital

Surround, “AUTO” may not work properly and the following symptoms may occur:

Sound does not come out at the beginning of playback.

Noise comes out while using the searching or skipping function.

In this case, press CONTROL UP 5/

CONTROL

DOWN °to select “DTS” while “AUTO”

DOWN UP


is lit on the display.

• Each time you press the button, the input mode changes as follows:

AUTO DTS

(Digital) (Digital)

Note:

When you turn off the power or select another source, “DTS” setting is canceled and the digital input mode is automatically reset to “AUTO.”

To change the input mode back to analog input, select

“ANALOG” by pressing INPUT ANALOG/DIGITAL again.

From the remote control:

1. Press the source selecting

DVD

DVD MUILTI

CD

FM/AM

button (DVD, CD, TV/DBS,

TV/DBS

VCR

TAPE/CDR

PHONO

or TAPE/CDR)* for which


you want to change the


input mode.


Note:

*Among the sources listed above, you can select the digital input only for the sources which you have selected the digital input terminals for. (See “Digital Input (DIGITAL IN) Terminal Setting.”)

2. Press ANALOG/DIGITAL to

ANALOG/DIGITAL


change the input mode.

INPUT


Each time you press the button, the input mode changes as follows:

ANALOG AUTO

(Digital)

When playing a software encoded with the DTS Digital

Surround, “AUTO” may not work properly. In this case, press CONTROL UP 5/DOWN °on the front panel to select “DTS.” (See above.)

Note:

You can only select “ANALOG” and “AUTO” using the remote

control.

Storing the Basic Settings and

Adjustments

You can assign and store different sound settings for each different playing source. By using this function, you do not have to change the settings every time you change the source. The stored settings for the newly selected source are automatically recalled.

The following can be stored for each source:

Bass boost (see page 12)

Tone adjustment (see page 12)

Input attenuator mode (see page 12)

Subwoofer output level (see page 12)

Balance (see page 13)

DSP modes

Surround mode (see page 26)

DAP mode (see page 28)

DVD MULTI playback mode (see page 30)

The above settings are stored automatically in the following cases:

When you turn on the power.

When you change the source.

When you assign the source name.

Notes:

You cannot assign and store different settings for digital input mode and analog input mode.

The DSP modes and DVD MULTI playback mode cannot be used at the same time.

If the source is FM or AM (MW/LW), you can assign a different setting for each band.

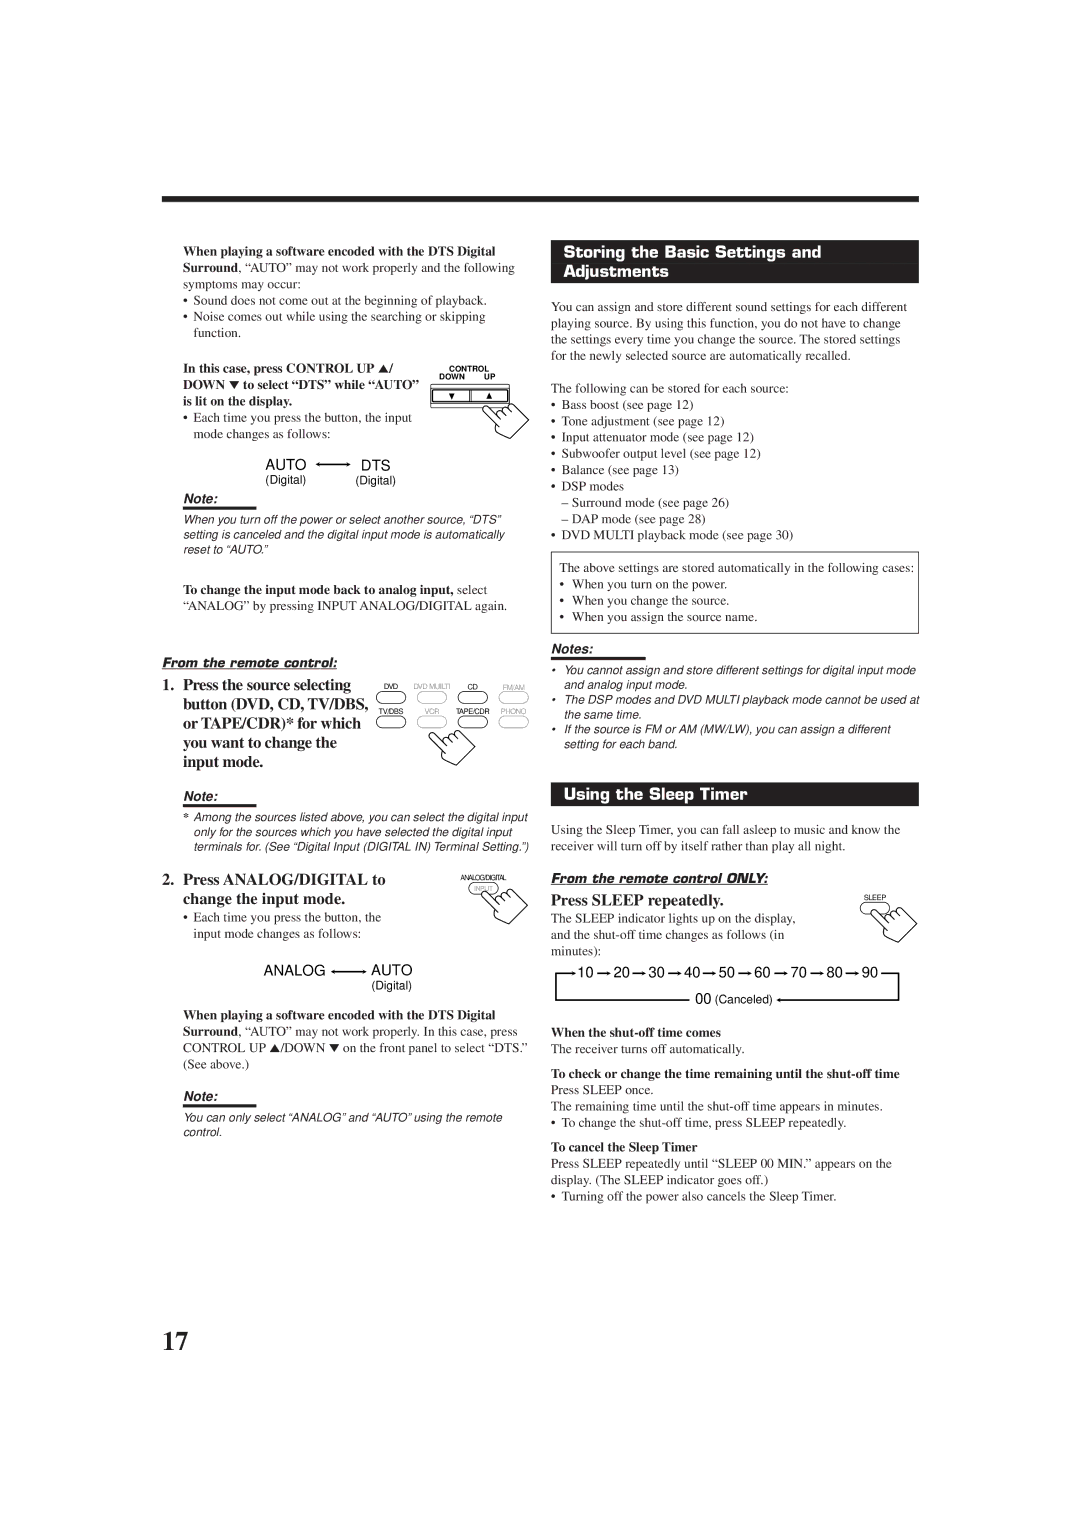
Using the Sleep Timer

Using the Sleep Timer, you can fall asleep to music and know the receiver will turn off by itself rather than play all night.

From the remote control ONLY:

Press SLEEP repeatedly.

SLEEP


The SLEEP indicator lights up on the display, and the shut-off time changes as follows (in minutes):

10 20 30 40 50 60 70 80 90

00(Canceled)

When the shut-off time comes

The receiver turns off automatically.

To check or change the time remaining until the shut-off time

Press SLEEP once.

The remaining time until the shut-off time appears in minutes.

• To change the shut-off time, press SLEEP repeatedly.

To cancel the Sleep Timer

Press SLEEP repeatedly until “SLEEP 00 MIN.” appears on the display. (The SLEEP indicator goes off.)

• Turning off the power also cancels the Sleep Timer.

17

Page 20
Image 20
JVC RX-7010RBK, RX-7012RSL manual Storing the Basic Settings Adjustments, Using the Sleep Timer

RX-7012RSL, RX-7010RBK specifications

JVC has long been a respected name in the audio and video industries, and the RX-7012RSL and RX-7010RBK home theater receivers stand as testaments to the brand’s commitment to high-quality sound and advanced technology. These models are designed to enhance any home theater experience, thanks to their robust feature sets and impressive performance.

The RX-7012RSL offers a powerful 100 watts per channel, making it ideal for even the largest living rooms or media spaces. With a total of five channels, this receiver can seamlessly drive a full surround sound setup, allowing users to immerse themselves in their favorite movies and music. The RX-7010RBK, while slightly lower in power, still delivers exceptional quality at 80 watts per channel, providing ample output for most home theaters.

Both models are equipped with JVC’s proprietary Digital Sound Processing technology, which enhances audio quality by optimizing bass and treble levels, ensuring crystal-clear sound reproduction across all frequencies. This feature is particularly useful for home theater enthusiasts who desire a theater-like experience in the comfort of their living room.

For connectivity, the RX-7012RSL and RX-7010RBK are outfitted with a variety of inputs, including HDMI, optical, and coaxial options. This versatility allows users to connect multiple devices, such as Blu-ray players, gaming consoles, and streaming devices, all while maintaining high-definition audio and video quality. Additionally, both receivers support Dolby Digital and DTS surround sound formats, enabling an immersive listening experience.

In terms of design, these JVC receivers sport a sleek, modern look with an easy-to-read display and intuitive controls. The remote control is user-friendly, giving users quick access to functions like volume control, sound settings, and inputs.

One notable feature of both the RX-7012RSL and RX-7010RBK is their zone control capabilities. This allows users to create separate audio zones in their home, enabling different rooms to enjoy unique audio settings and sources simultaneously.

In summary, the JVC RX-7012RSL and RX-7010RBK home theater receivers combine power, advanced technology, and user-friendly design to deliver exceptional audio performance. With their robust connectivity options and sound processing capabilities, these models are perfect choices for anyone looking to elevate their home entertainment experience.