4 Press REC.
The recording starts.
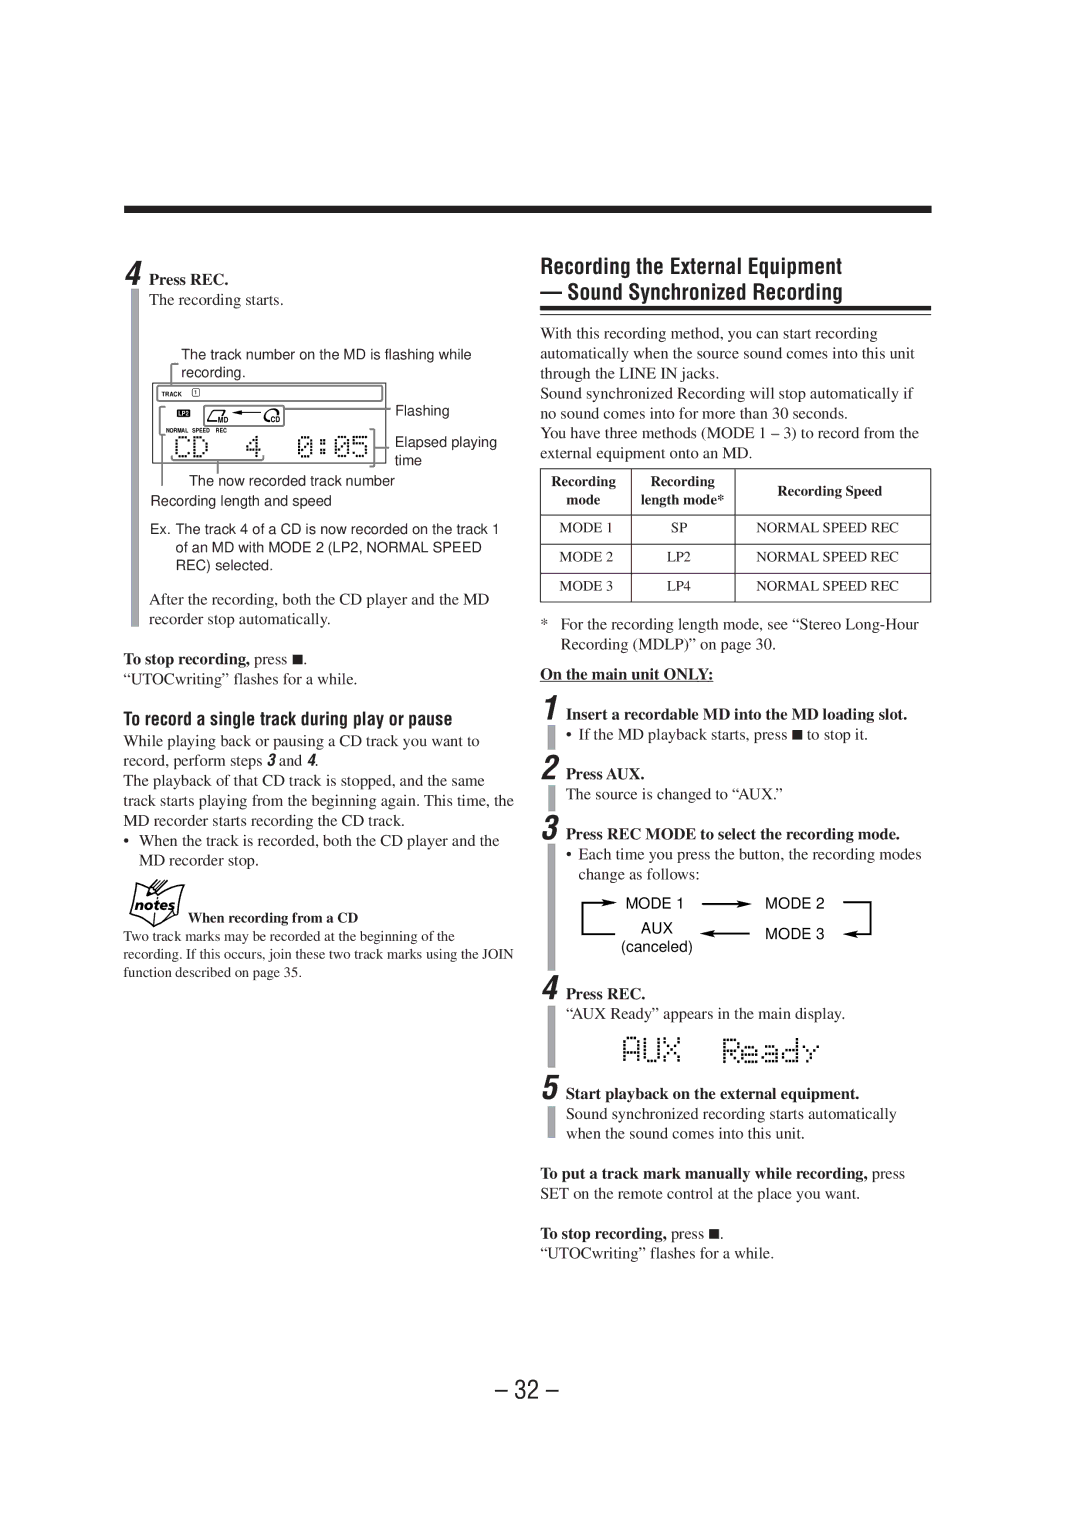
The track number on the MD is flashing while recording.
TRACK | 1 |
|
SP LP2 | LP4 | Flashing |
MDCD
NORMAL SPEED REC
Elapsed playing |
time |
The now recorded track number |
Recording length and speed |
Ex. The track 4 of a CD is now recorded on the track 1 of an MD with MODE 2 (LP2, NORMAL SPEED REC) selected.
After the recording, both the CD player and the MD recorder stop automatically.
To stop recording, press 7.
“UTOCwriting” flashes for a while.
To record a single track during play or pause
While playing back or pausing a CD track you want to record, perform steps 3 and 4.
The playback of that CD track is stopped, and the same track starts playing from the beginning again. This time, the MD recorder starts recording the CD track.
•When the track is recorded, both the CD player and the MD recorder stop.
When recording from a CD
Two track marks may be recorded at the beginning of the recording. If this occurs, join these two track marks using the JOIN function described on page 35.
Recording the External Equipment
— Sound Synchronized Recording
With this recording method, you can start recording automatically when the source sound comes into this unit through the LINE IN jacks.
Sound synchronized Recording will stop automatically if no sound comes into for more than 30 seconds.
You have three methods (MODE 1 – 3) to record from the external equipment onto an MD.
Recording | Recording | Recording Speed | |
mode | length mode* | ||
| |||
|
|
| |
MODE 1 | SP | NORMAL SPEED REC | |
|
|
| |
MODE 2 | LP2 | NORMAL SPEED REC | |
|
|
| |
MODE 3 | LP4 | NORMAL SPEED REC | |
|
|
|
*For the recording length mode, see “Stereo
On the main unit ONLY:
1 Insert a recordable MD into the MD loading slot.
• If the MD playback starts, press 7to stop it.
2 Press AUX.
The source is changed to “AUX.”
3 Press REC MODE to select the recording mode.
•Each time you press the button, the recording modes change as follows:
![]() MODE 1
MODE 1 ![]() MODE 2
MODE 2
AUX |
| MODE 3 |
(canceled) |
| |
|
|
4 Press REC.
“AUX Ready” appears in the main display.
5 Start playback on the external equipment.
Sound synchronized recording starts automatically when the sound comes into this unit.
To put a track mark manually while recording, press
SET on the remote control at the place you want.
To stop recording, press 7.
“UTOCwriting” flashes for a while.
– 32 –