English
Basic Operations
|
|
| STANDBY/ON | Operation indicators | Panel |
| 1 | 2 | 3 |
|
|
| 4 |
| PLAY MODE |
|
|
| 5 | 6 |
|
| |
|
|
| REPEAT |
|
|
| 7 | 8 | 9 |
|
|
| 10 |
| FM MODE |
|
|
|
| +10 |
|
| |
BASS | BASS |
| TREBLE | TREBLE |
|
|
|
|
| ||
|
|
|
| SOURCE PRESET | VOL |
|
| SET |
| % indicator |
|
| MD/AUX |
| CANCEL |
| |
DISPLAY |
|
|
| DIMMER | VOL +/– |
FM/AM | DISPLAY | DIMMER SLEEP |
| ||
| COLOR | /TIMER | CLOSE | VOLUME +/– |
|
COLOR |
| CLOCK | OPEN/ |
|
|
|
| VOLUME |
|
|
COMPACT COMPONENT SYSTEM
Illumination
Turning the Power On and Off
Turning the System On
Press the % button.
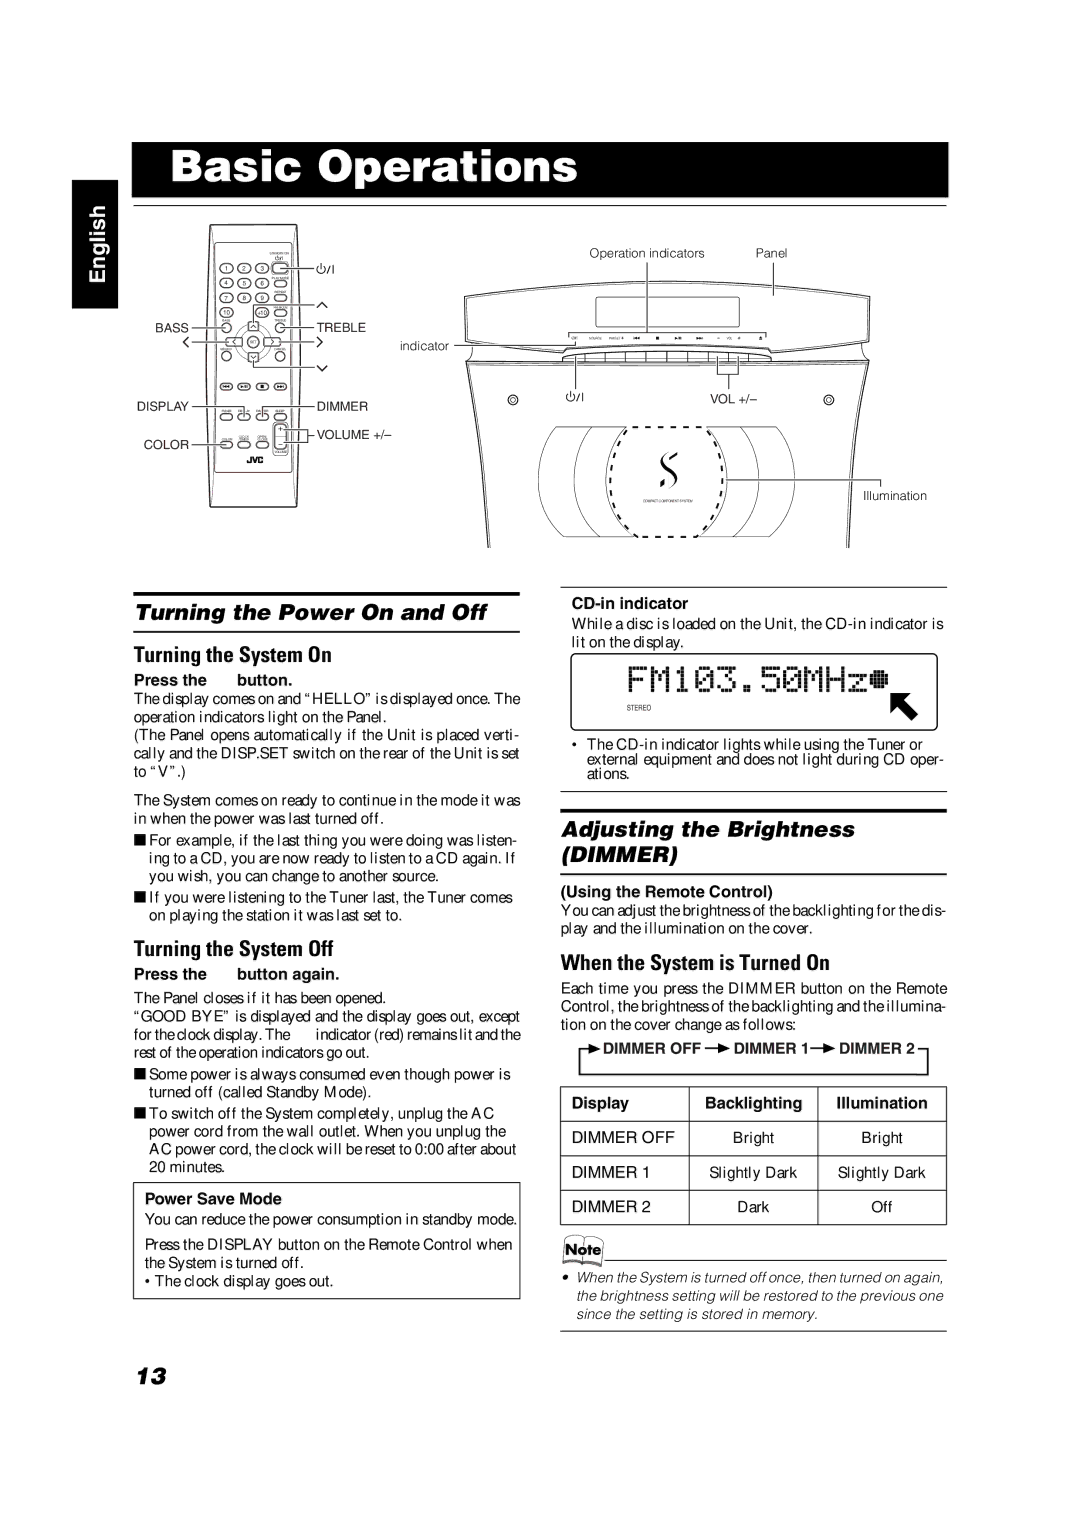
The display comes on and “HELLO” is displayed once. The operation indicators light on the Panel.
(The Panel opens automatically if the Unit is placed verti- cally and the DISP.SET switch on the rear of the Unit is set to “V”.)
The System comes on ready to continue in the mode it was in when the power was last turned off.
■For example, if the last thing you were doing was listen- ing to a CD, you are now ready to listen to a CD again. If you wish, you can change to another source.
■If you were listening to the Tuner last, the Tuner comes on playing the station it was last set to.
Turning the System Off
Press the % button again.
The Panel closes if it has been opened.
“GOOD BYE” is displayed and the display goes out, except for the clock display. The %indicator (red) remains lit and the rest of the operation indicators go out.
■Some power is always consumed even though power is turned off (called Standby Mode).
■To switch off the System completely, unplug the AC power cord from the wall outlet. When you unplug the AC power cord, the clock will be reset to 0:00 after about 20 minutes.
Power Save Mode
You can reduce the power consumption in standby mode.
Press the DISPLAY button on the Remote Control when the System is turned off.
•The clock display goes out.
CD-in indicator
While a disc is loaded on the Unit, the
STEREO
•The
Adjusting the Brightness (DIMMER)
(Using the Remote Control)
You can adjust the brightness of the backlighting for the dis- play and the illumination on the cover.
When the System is Turned On
Each time you press the DIMMER button on the Remote Control, the brightness of the backlighting and the illumina- tion on the cover change as follows:
Display | Backlighting | Illumination |
DIMMER OFF | Bright | Bright |
DIMMER 1 | Slightly Dark | Slightly Dark |
DIMMER 2 | Dark | Off |
•When the System is turned off once, then turned on again, the brightness setting will be restored to the previous one since the setting is stored in memory.
13
